Birds are just lovely creatures that I adore so much.
So for my next quilt project, I want to incorporate them.
I know you will also love this pattern, so I decided to share it here.
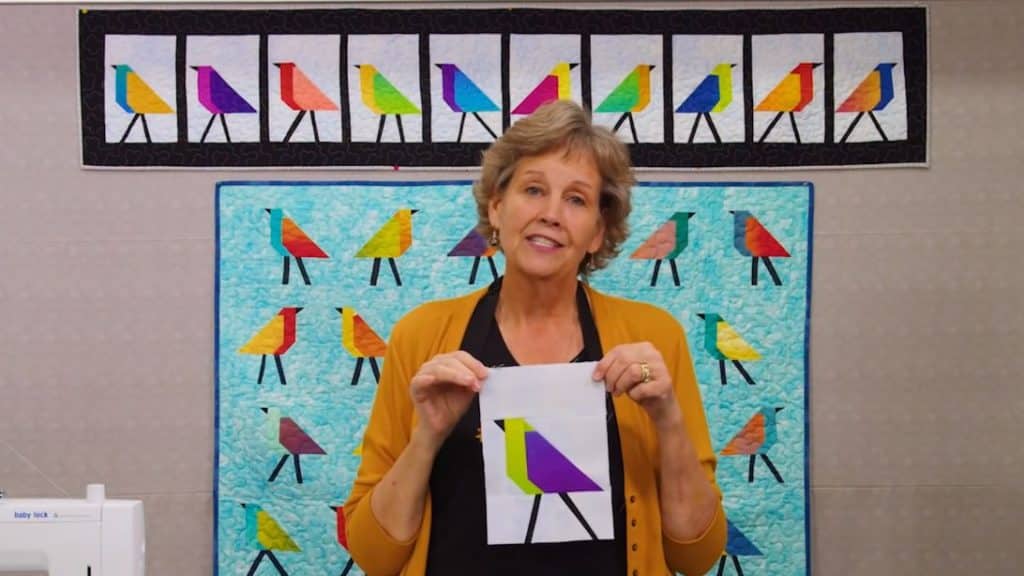
Image by: Missouri Star Quilt Company
Watch the video below for detailed instructions.
Place it on the corner of the triangle.
Sew it diagonally from corner to corner of the small square.
Trim of just below the seam.
Press it using an iron.
This will be the stomach of the bird.
You just want to verify that when you fold it up, it covers the tip.
Sew them together on the top of the square.
Fold it up using an iron.
Trim the excess on the 1-1/2 inch square by making the big triangle as the pattern.
Step 3:
Add one of the background triangles to the bird.
Remove the excess making a 4-1/2 inch square.
Trim the excess just below the seam of the bottom corner.
Next, sew it to the wing of the bird.
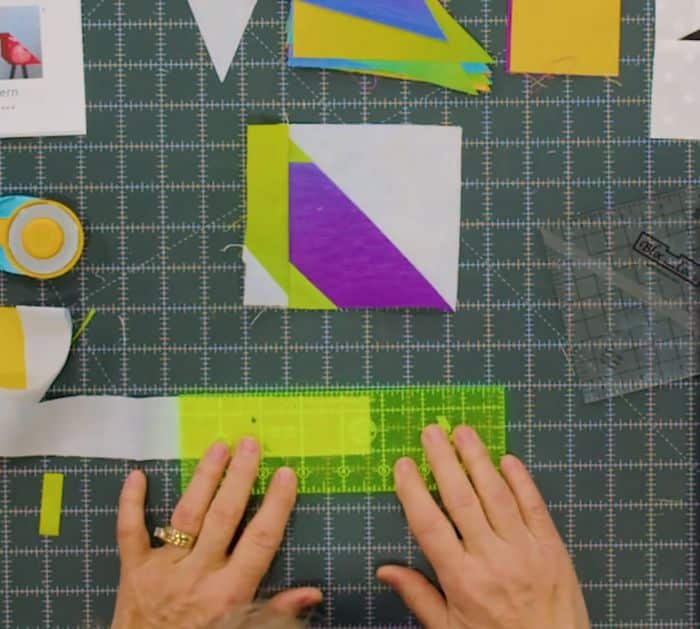
Step 5:
Get a 1-1/2 inch background strip and cut it into 4-1/2 inches long.
Then get a black fabric square and lay your beak into the 1-1/2 inch strip.
You want to confirm that the wide part of the beak goes toward the body part of the bird.
Step 6:
Lay the beak part into the birds right sides together and sew the seam.
Next, get the 3-inch strip and sew them to the top of the bird.
Trim the excess on the strips.
Then on one side make a diagonal cut not exactly on the corners and the middle.
Next on the other side but a little bit straighter.
Trim it off to make it straight.
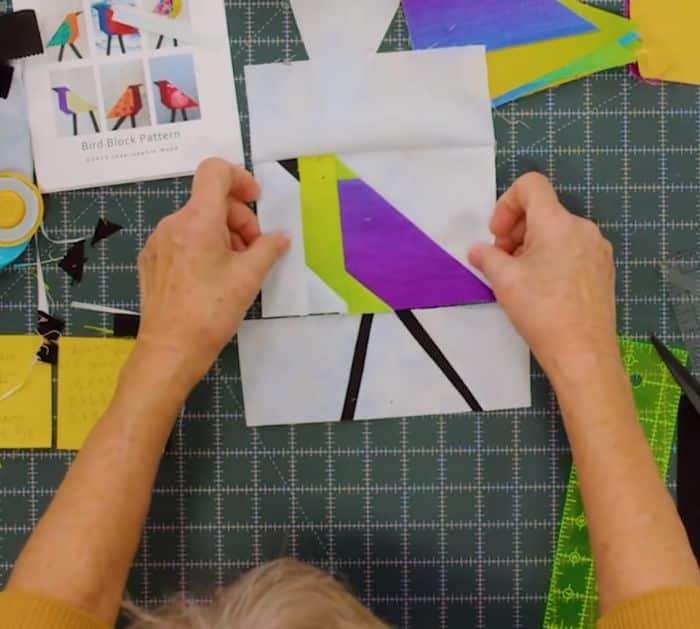
Step 8:
Sew the leg part on the bottom of the bird and you are done.
