Are you looking for a fun project this week?
This DIY exploding sun LED lamp fromCreativity Heroon Youtube is what youve been looking for!
Its fun and easy, and did I mention the materials are found just around the house?

Image credits: Creativity Hero via Youtube
Make this a weekend project with your friends and be amazed by the end result!
Watch the video tutorial below now to learn the step-by-step process.
Next, Get the 1mm needle and make tiny holes in the styrofoam.
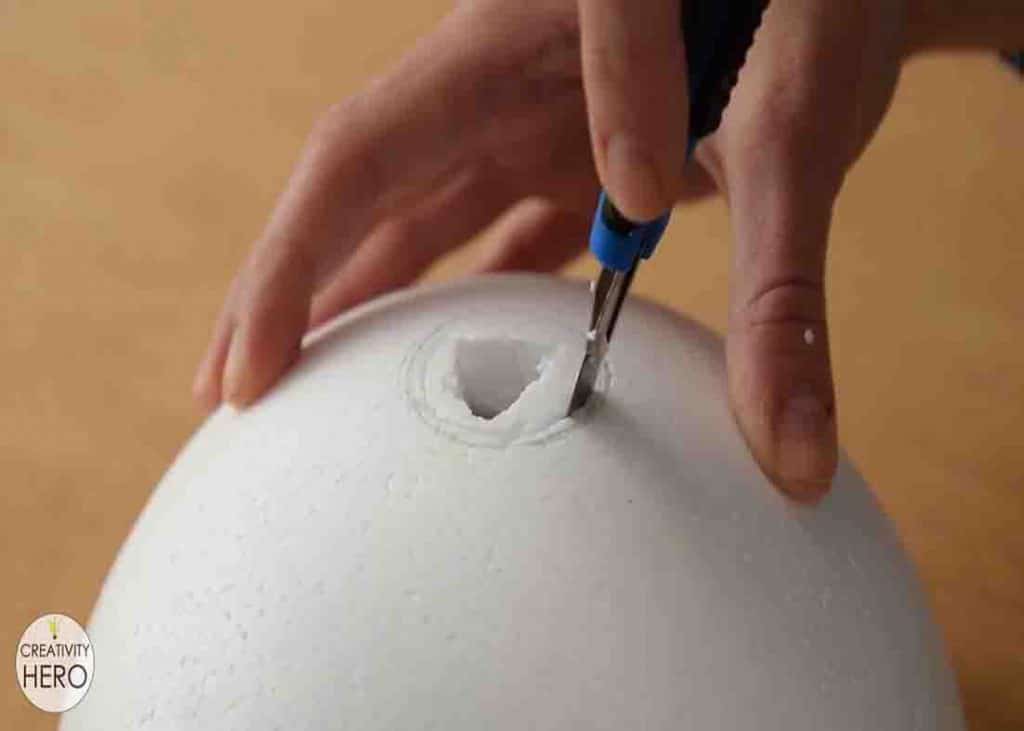
Make holes as many as possible on both halves of the styrofoam.
After this, Attach the neodymium bar magnets vertically using 5 min epoxy on both sides of the styrofoam.
Paint this color on both halves of the styrofoam.
(The shortest are 5cm and the longest are around 60cm.)
These optical fibers will give the explosion effects of the sun.
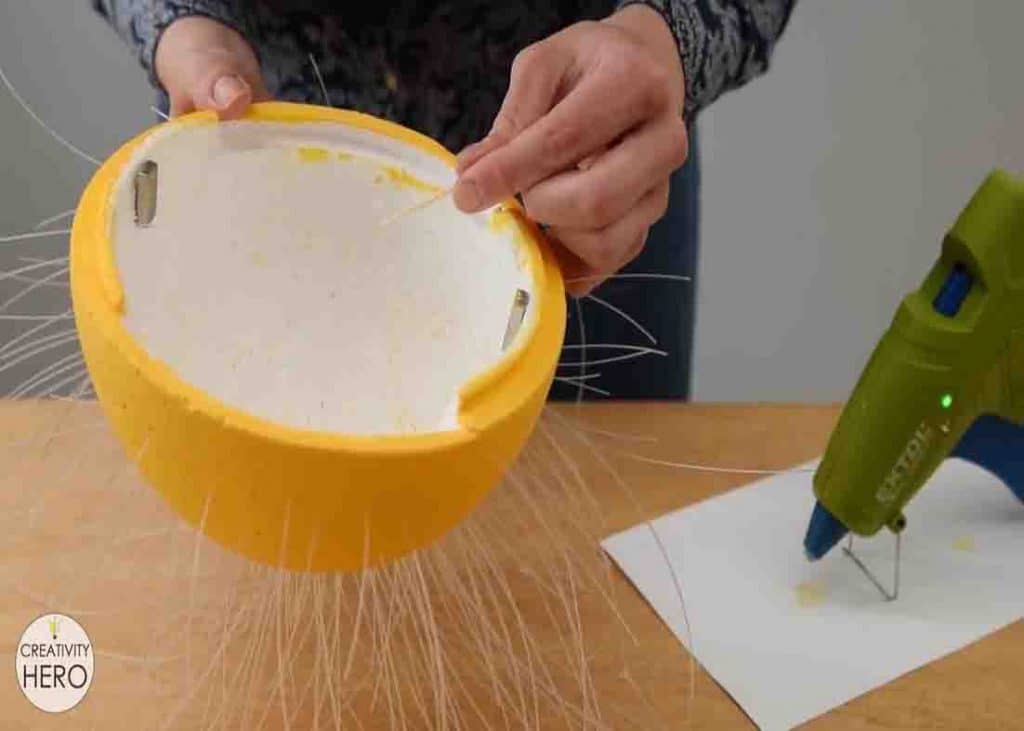
Insert the optical fibers into the holes you made earlier.
To keep the fibers in place, apply hot glue onto the fibers inside the sphere.
(Use toothpicks to apply a small amount of hot glue on each fiber.)
After this, cut around 20cm cable and remove 20cm of the jacket with a utility knife.
Use the wire strippers to remove the insulation off the wires ends.
Next, attach the wires to the socket interior and screw it on the shell.
Use a warm white light LED light bulb.
After assembling all the parts, mount it to the ceiling and attach the other half of the sphere.
Turn on the light and your exploding sun LED lamp is now finished!
