Women love wearing cute accessories that catch peoples attention from headbands to anklets.
So why not make one for your next craft like this hairband?
Its more than your ordinary headpiece project, as this involves yarn and wires.
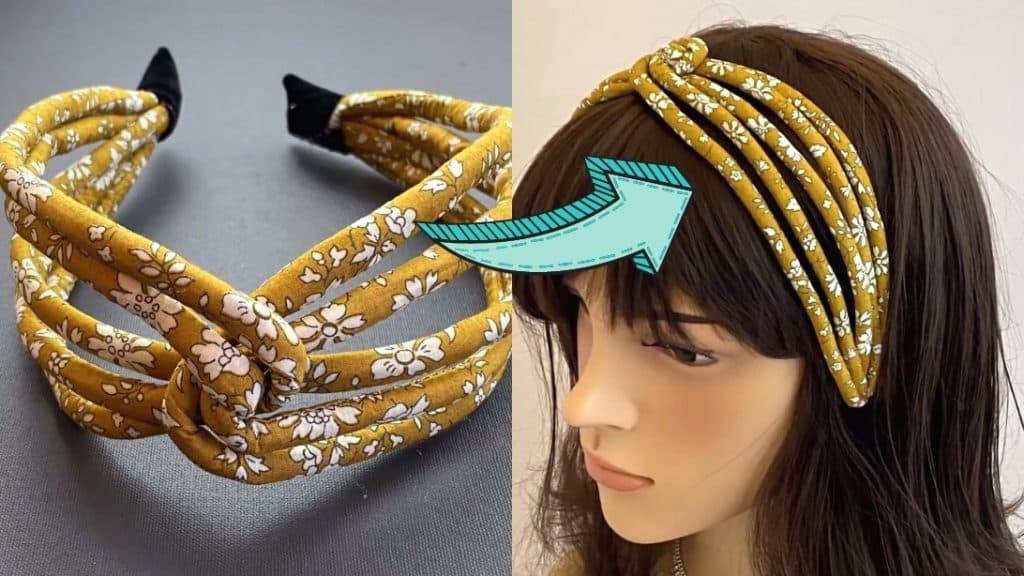
Image by: Red Blossom Designs
Get crafty and creative with this new DIY fabric headband tutorial byRed Blossoms Designson Youtube.
Trust me, its fun and easy to make!
This matches with a lovely dress or a top for summer.
It completes your outfit by adding the final touches to your look.
Learn how to make this beautiful piece by watching the tutorial below.
The one she used has a width of 0.28 inches.
Then cut a strip of thin fabric measuring 1.18 in width.
Next, measure the length of the cloth by covering the headband, then add 2 inches allowance.
Make 5 thin strips with these measurements.
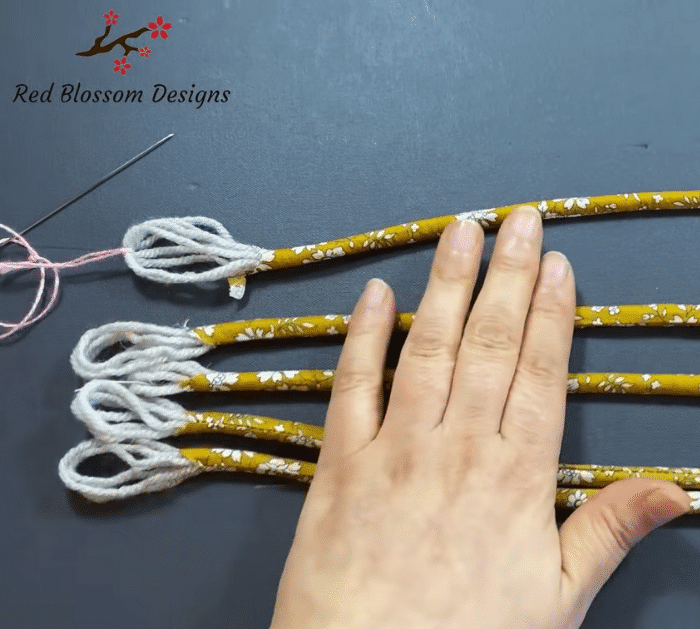
Step 2:
Fold the strips in half and sew them considering the width of the headband.
Once done, pull the right side out.
Using a needle, insert an 8-strand yarn inside the strap.
Repeat the process for the remaining 4.
Then insert the galvanized wire into the remaining straps.
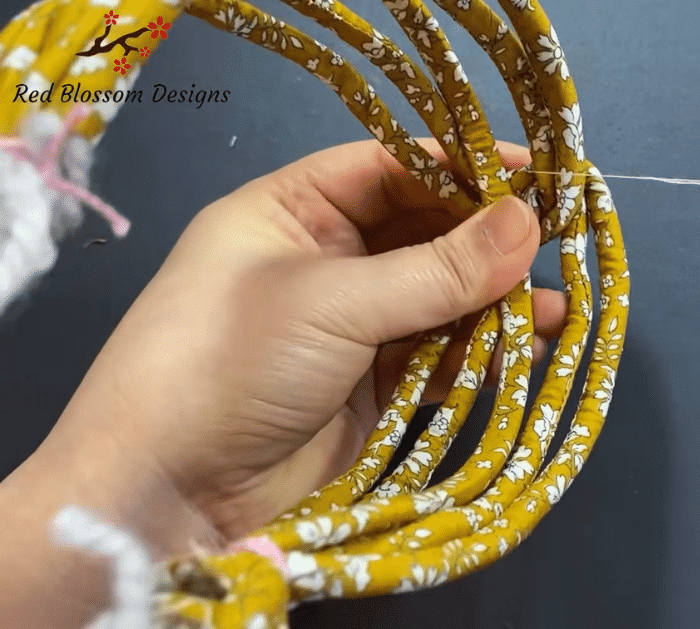
Once done, fold them in half and loop them around each other.
Next, attach them to the headband.
confirm the headband is in the center, then tie the ends properly.
Secure the top middle parts by sewing them together.
Step 4:
Cut the excess fabrics and yarns on both ends using scissors and pliers.
Then cover the ends by attaching a 1-inch ribbon.
Using a lighter, heat the edges of the ribbon.
Then glue it using a hot glue gun.
