The fall season is here; its time to go all out with our decor!
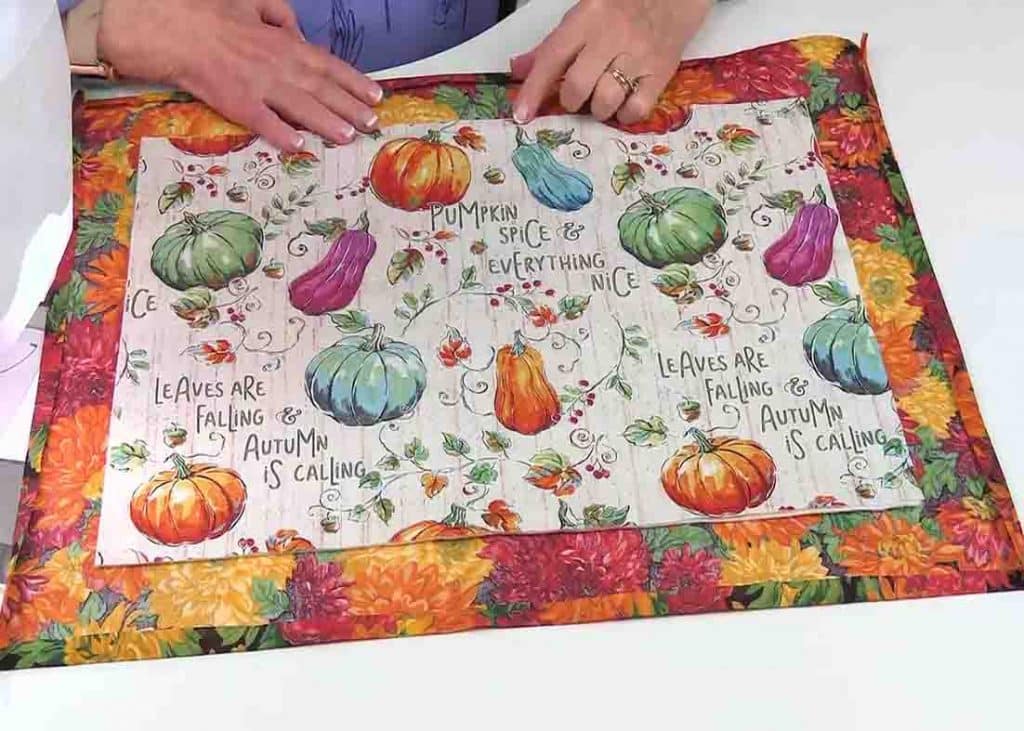
This fall-themed quilt placemat fromThe Sewing Room Channelon Youtube is the perfect addition to your dining table this year.
Its a beginner-friendly project and doesnt require a lot of materials.
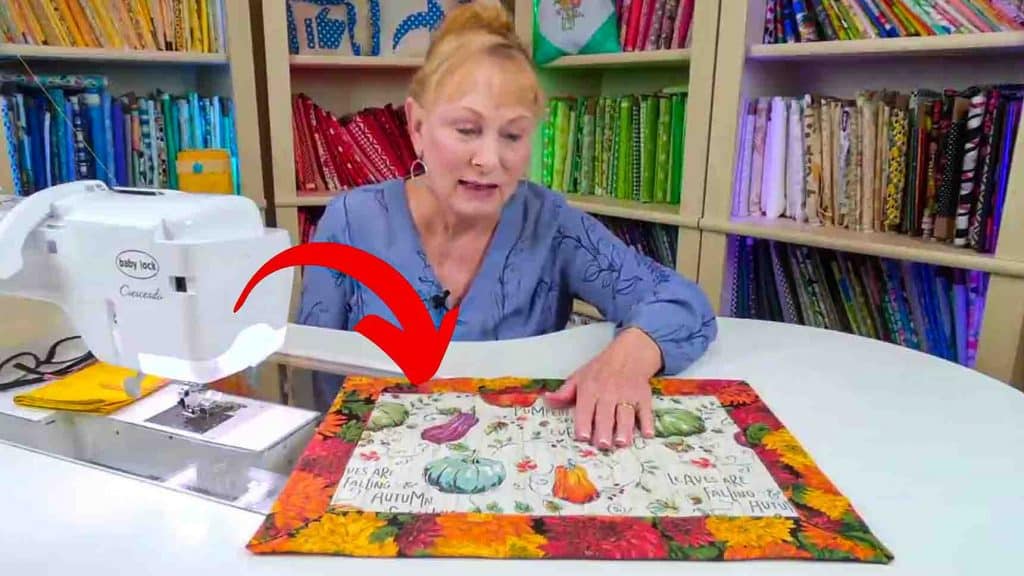
Image credits: The Sewing Room Channel via Youtube
you’re able to also give this as a present to your loved ones!
Learn the step-by-step tutorial by watching the video below.
After this, take your cotton batting and your fabric A and center them.
After pinning, stitch it really close to the edge all the way down.
Do the same thing on the other edge.
After you stitch the two edges down, cut some of the folded corners off.
(Dont cut the fabric underneath, just the folded part on top.)
Take it again that edge and bring it up again so youll get a mitered corner.
Go ahead and pin it.
Repeat this process to all of your corners.
After this, stitch one corner to the inner edge, then across up to the opposite corner.
Repeat this process on both sides.
[social_warfare]
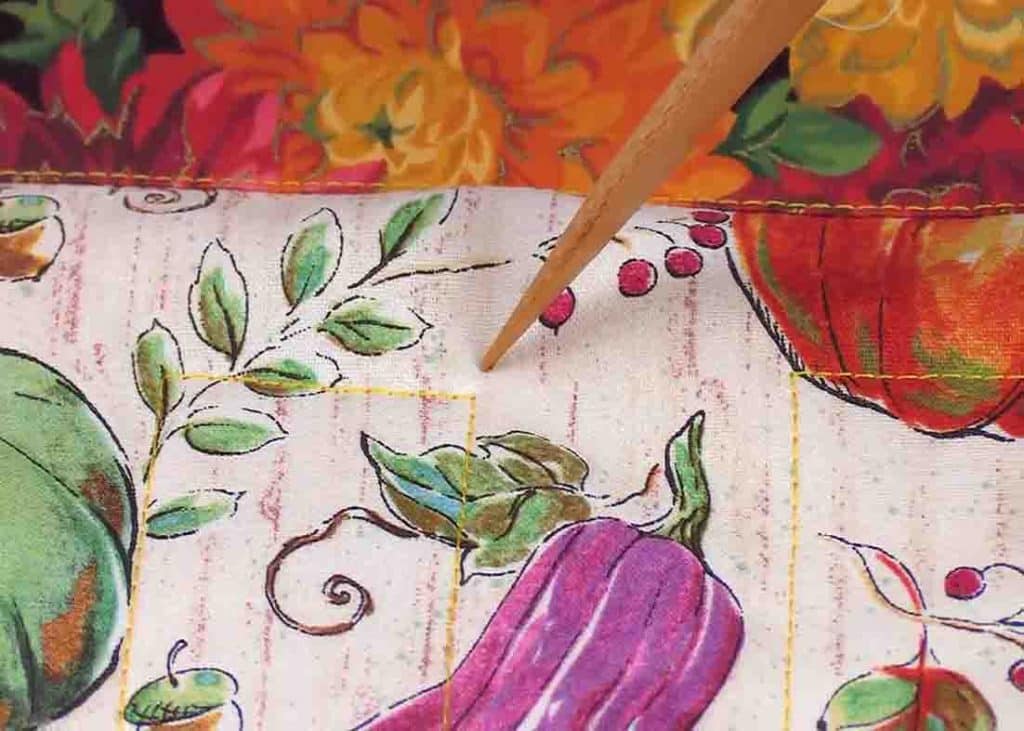
Step 2
Now, do some quilting stitches.
(Its up to you what kind of quilting stitch you like.)
