It makes shopping easier as you’re able to reach things inside your bag without the hassle.
You no longer have to worry about misplacing it ever again!
Watch the video below for the full and detailed instructions.
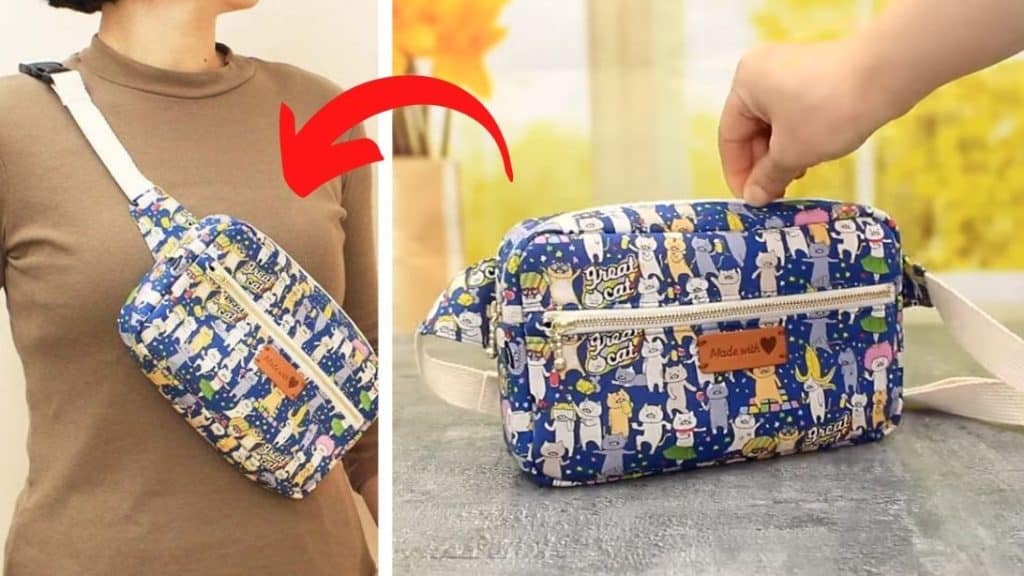
Image by: sewingtimes
From the top left corner, measure 5/8 to the left and the bottom.
Mark them using a pencil or pen then make a curve.
Fold it in half and cut the curve.
Fold again on the other side and make all corners curved.
Get the other two sizes of fusible fleece.
Press using an iron.
Place the outer fabric with fleece on the top wrong side down.
Do the same for sets B and C.
Step 4:
Do the same with the corners.
Make them round by measuring 3/8 from the corners.
Step 6:
Get set D and the zipper.
Place the 2 linings on each end at the bottom of the zipper.
Then the 2 outers are on top of the zipper.
Secure them on the outer ends with pins then sew.
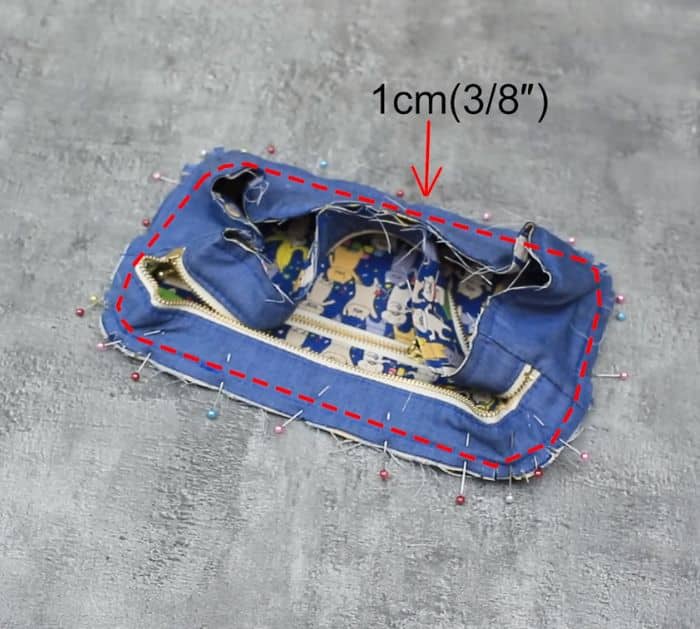
Then place the lining on the top right side down.
Sew the top edge with a 3/8 seam allowance.
Sew with a 3/8 seam allowance.
Then place the other one below the other lining right side facing down.
Sew them all together all around the edges.
Place the remaining pieces wrong sides together with the lined pieces then cut.
Place them right sides together.
Measure and cut 8 from the tape.
Insert the other end of the roll of tape into the other pair.
Secure with pins and sew with a 3/8 seam allowance.
Pull it right side out them top stitch.
Sew the remaining lining on the back right side down.
Step 10:
Sew the set F to the edges of the zipper.
Fold it in the middle so all ends meet.
Sew them with a 3/8 seam allowance.
Pull it right side out then top stitch with 1/4 seam allowance.
Sew it all around to the outer fabric with a zipper.
Then next get the outer fabric with handles and sew on the other end to make the bag.
Step 11:
Sew the bias tape around the sides on the top and bottom.
Pull it right side out and attach the buckle.
