Do you love picnics as much as I do?
If yes, then you will love this DIY food carrier fromEstadistica Datos del Mundoon Youtube!
This food carrier just made my picnics more fun because I can carry my food containers much more easily.
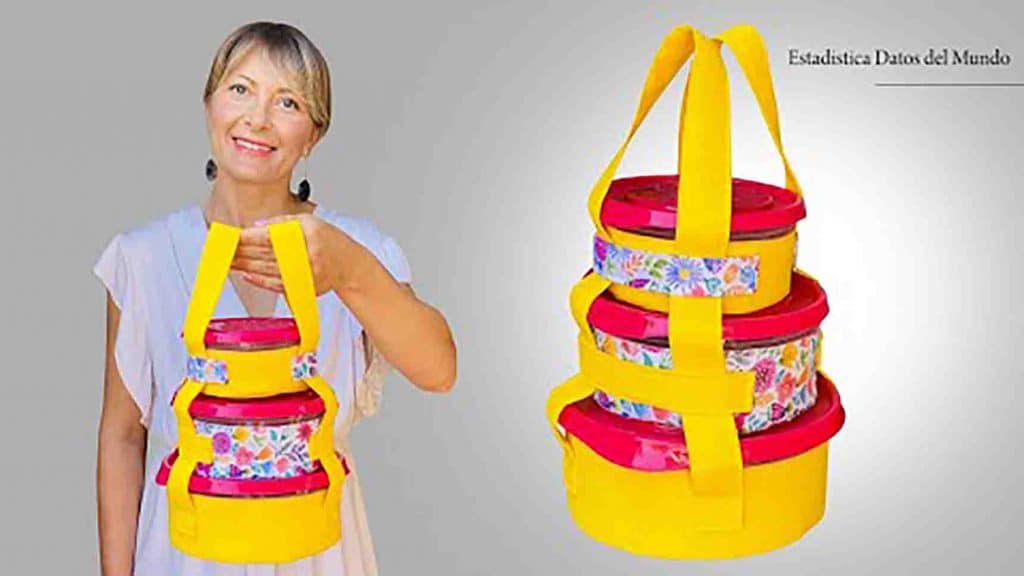
Image credits: Estadistica Datos del Mundo via Youtube
Just watch the video tutorial below to learn the process and start making it today.
Outline your container to the canvas fabric and increase it to 1.5 cm using a tape measure.
Next, trace the 1.5 cm canvas to the cotton fabric.
Next, cut 3 pieces of long cloth from each of the fabrics.
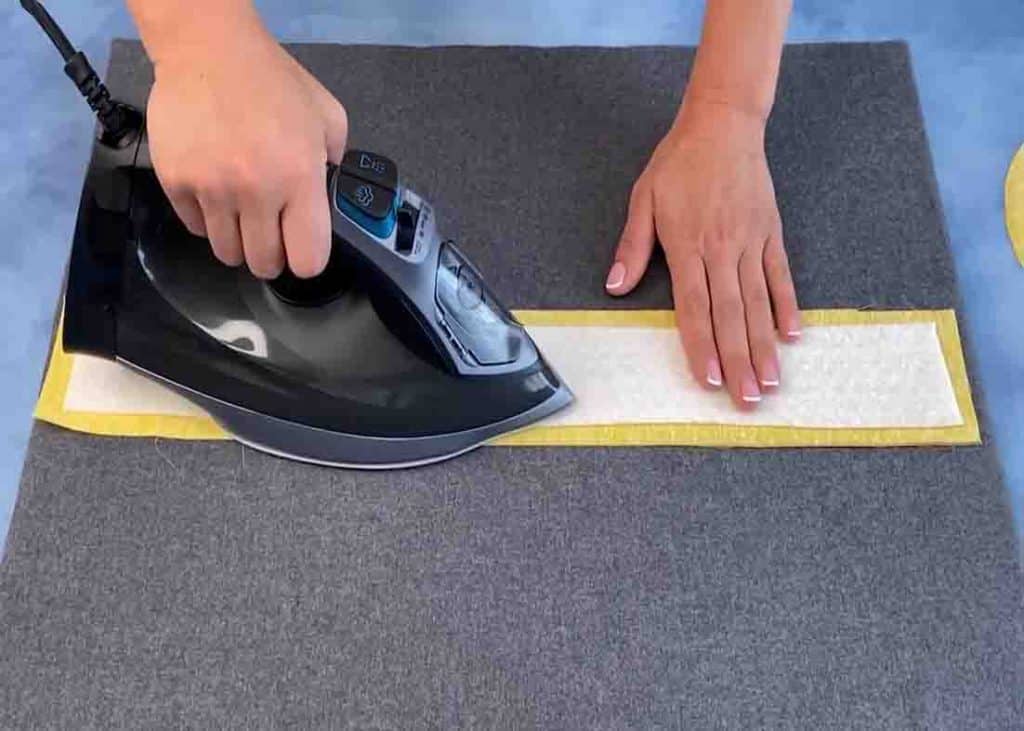
56 x 6 cm cotton, 58 x 8 cm canvas, and 58 x 8 cm thermo-adhesive wadding.
Then, cut 2 pieces of 70 x 12 cm canvas fabric for the handles.

Fold each end by 1 cm and press, then fold in half and press again.
After this, fold each edge to the center and press.
Take it to the sewing machine and sew with a 0.3 cm seam.
Place the handles on these marks and pin them in place.
Mark 2 cm on each handle.
Repeat this step on the other half of the fabric.
After this, take it to the sewing machine and sew each handle.
Mark 13 cm for the hole, then sew it with a 1 cm seam on the bottom edge.
Leave a gap for turning it.
After sewing, turn it right side out, then align the fabrics and stitch it.
The bottom part is now finished.
Now, measure the second container and just add 2 cm.
Repeat the process on top, just tweaking the measurements for the second container.
Cut 2 pieces of canvas with 17 x 10 cm measurements.
Sew each with a 0.3 cm seam.
Place the strips on each half of the canvas, then sew them.
Next, place a cotton fabric on top, sew it on one side, then open it up.
Fold it in half, wrong side up, and sew on the side with a 1 cm seam.
After sewing, align the fabrics and stitch.
Repeat this step to the third container.
