Make this a weekend project with friends or to bond with your family.
Learn the step-by-step process by watching the video tutorial below.
Next, fill it with rice in plastic.

Image credits: Miarti – Creative ideas via Youtube
After this, cut the top part of the sock, then knot it on top.
(This will be the main body of the gnome.)
Get another sock, then place a bit of rectangle-shaped polyester fiber.

Put glue and attach it horizontally on top of the main body.
Cut the excess on both sides and glue it to the body.
Cut the excess part and glue it on the face part of the gnome.
(This will be the nose of the gnome.)
Next, get the faux fur (shape it in the gnomes face already.)
and put glue around the edges.
Attach it to the lower part of the face of the gnome, this will be the beard part.
Attach small faux fur on the upper side, making them the eyebrows.
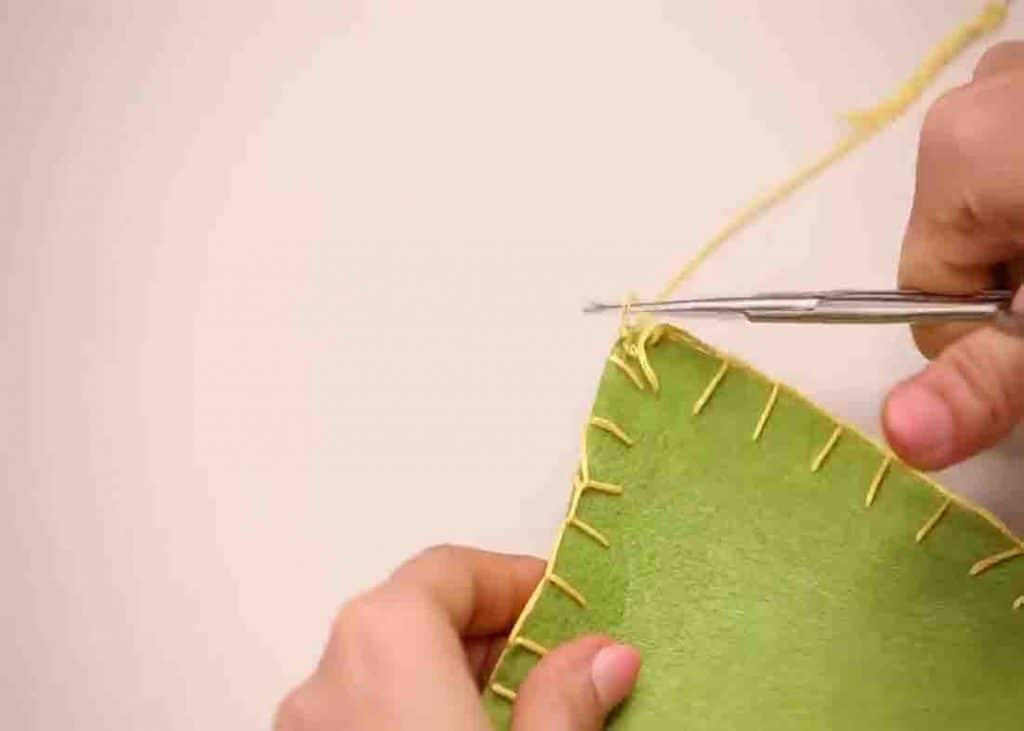
Stitch the edges using an embroidery thread.
(See the pic below for the stitch design.)
Fill the upper part of polyester fiber to make the hat stand.
Glue it on the gnomes head and fold the front part upward to make the face visible.
Cut the partner of the sock used in the body vertically.
Glue each to close, then fill them with polyester fiber.
Glue a wooden bead on each end, then attach them to each side of the gnome.
(This will be the arms of the gnome.)
(you’re able to also attach faux flowers on the hat of the gnome.)
