This DIY headband scrunchie is the best project for your unused fabric scraps.
They make as great gifts for your friends or family on special occasions.
Its a very easy craft project you’re able to do at home.

Image by: krissia jacob
Use different patterns, textures, and colors of fabric for some variation.
Learn how to make these simple yet elegant headbands through this tutorial bykrissia jacob.
Read on or watch the video below for the full instructions.
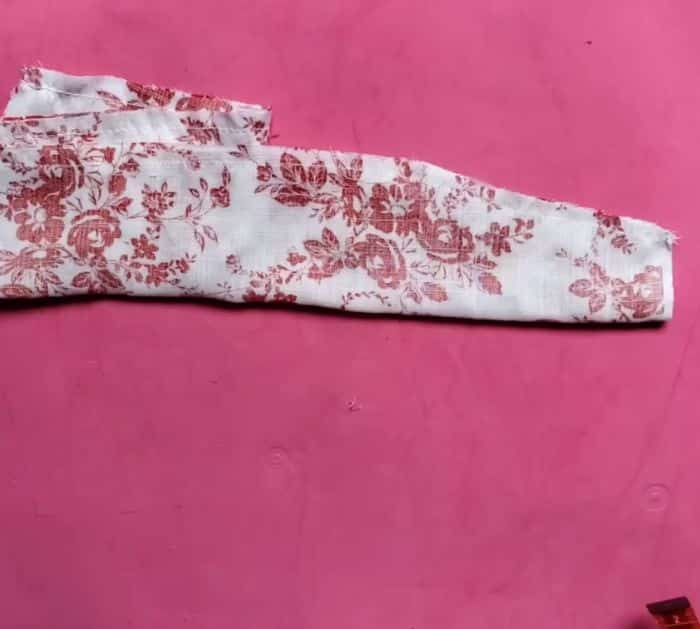
From the top edge of the long side measure 1.18, then mark with a pencil or marker.
Next, from the short edge, measure 4.72 inches, then mark.
Connect the dots to make a triangle, then cut it using a pair of scissors.
Do the same to the other side.
Step 3:
Flip the fabric right side out.
verify to add allowance on the bottom, then wrap it around.
Be careful when using hot glue, as it is very hot.
Do the same to the other end.
Let it dry completely.
Step 5:
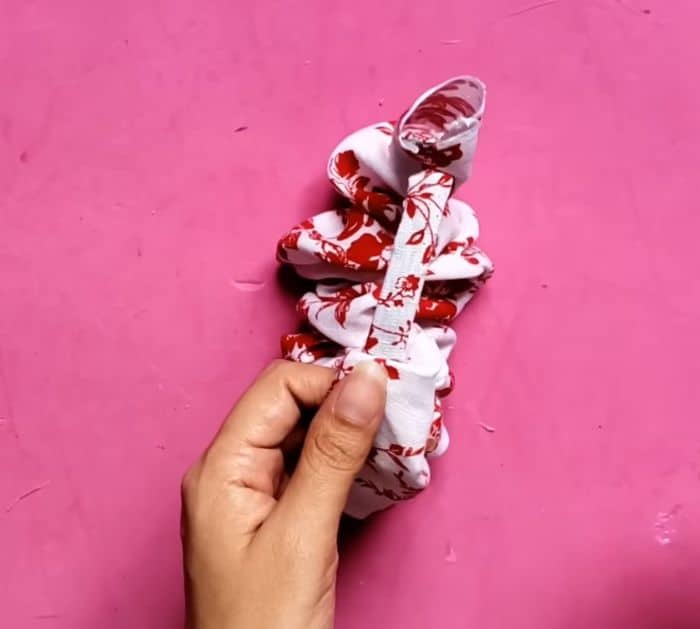
Insert the headband into the sewn fabric.
Measure 1.57 inches on one end of the headband, then glue the fabric on that mark.
Fold the ends inside then add glue to secure.
Do the same to the other side.
Let it dry completely and its done!
