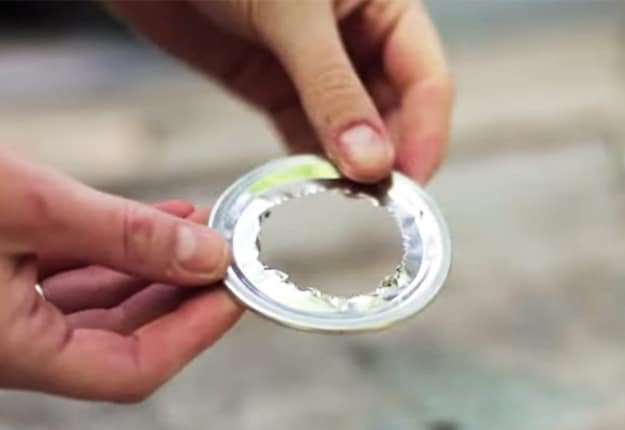
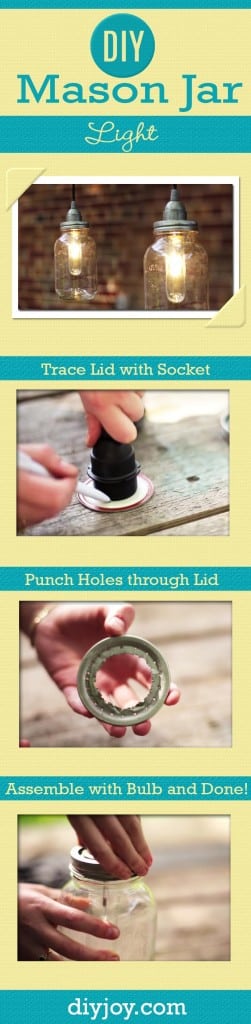
You should be left with an opening on the lid.

Let it dry completely before moving to the next step.
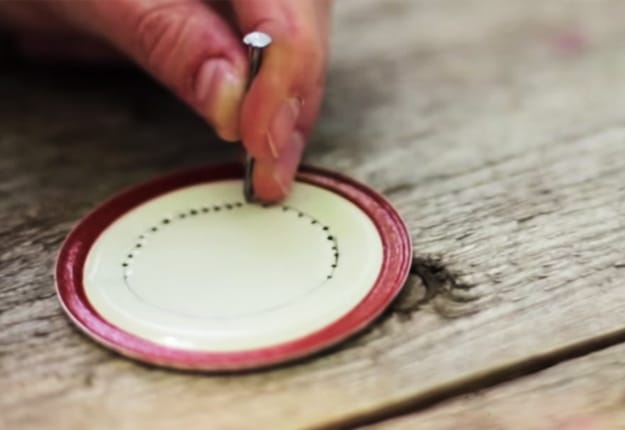
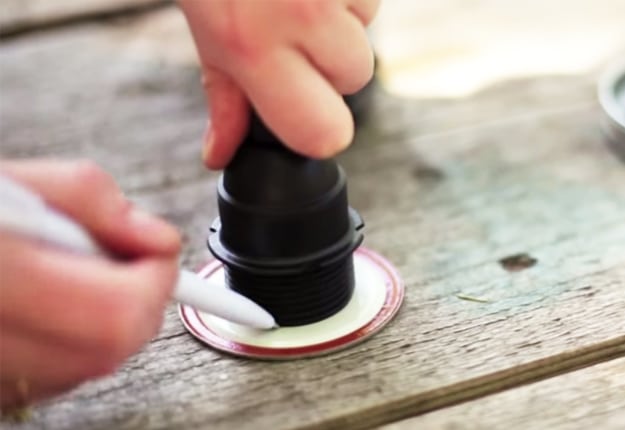
Step 5

Punch more holes on the outermost part of the lid.

DIY Projects & Crafts by DIY JOY at

This is so that the heat can escape when you have

your light on the mason jar.
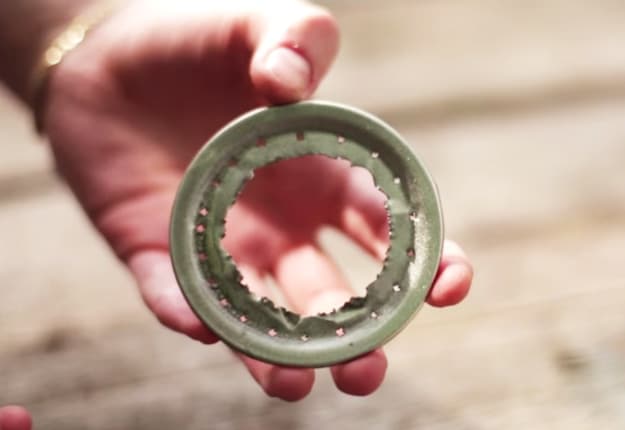
Step 6

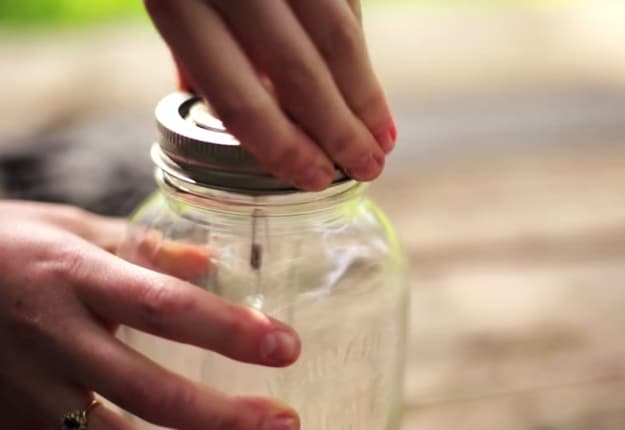
Wedge the lid onto the base of the socket and put your light in.

Assemble everything together to secure

the outer lid of the jar.

DIY Projects & Crafts by DIY JOY at http://diyjoy.com/mason-jar-lights-diy-lighting

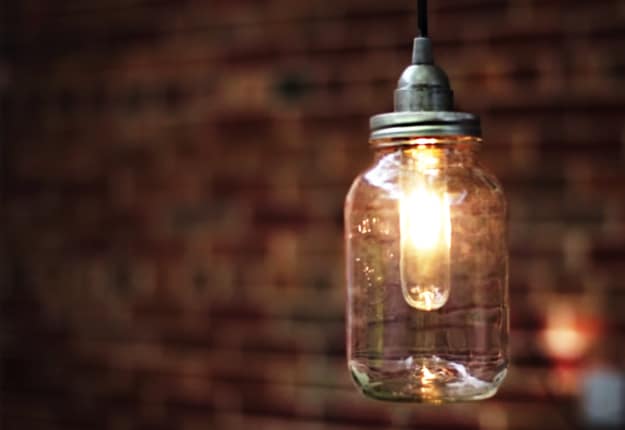
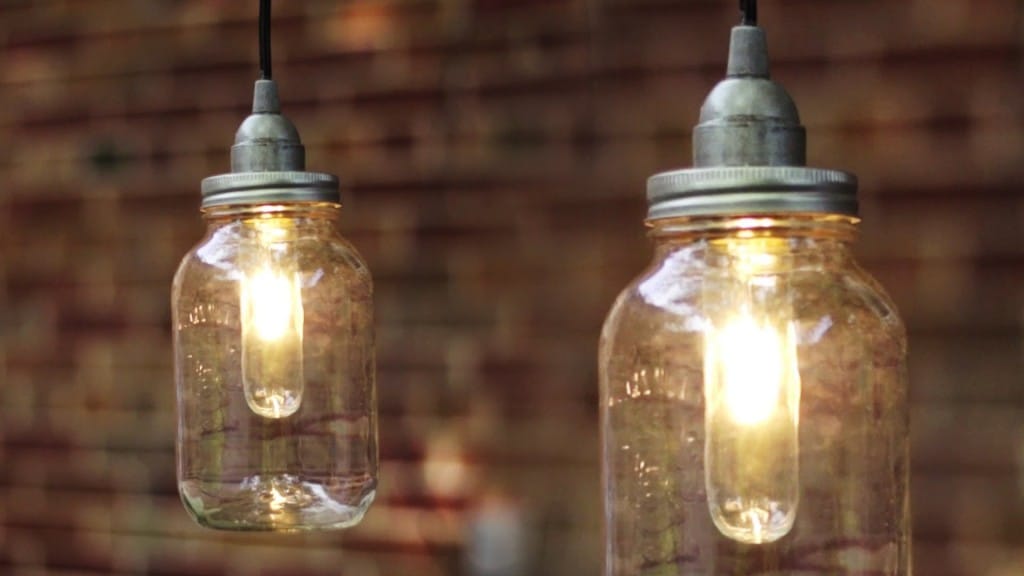
And you are ready to hang your mason jar light/lantern.

DIY Projects & Crafts by DIY JOY at http://diyjoy.com/mason-jar-lights-diy-lighting

DIY Projects & Crafts by DIY JOY at http://diyjoy.com/mason-jar-lights-diy-lighting

DIY Projects & Crafts by DIY JOY at http://diyjoy.com/mason-jar-lights-diy-lighting

DIY Projects & Crafts by DIY JOY at http://diyjoy.com/mason-jar-lights-diy-lighting

DIY Projects & Crafts by DIY JOY at http://diyjoy.com/mason-jar-lights-diy-lighting

DIY Projects & Crafts by DIY JOY at http://diyjoy.com/mason-jar-lights-diy-lighting

DIY Mason Jar Light Tutorial | Easy DIY Home Decor Ideas at http://diyjoy.com/mason-jar-lights-diy-lighting