Potholders are heroes without capes.
They have saved millions from all types of burns.
Its a nifty and fun project for sewing enthusiasts.
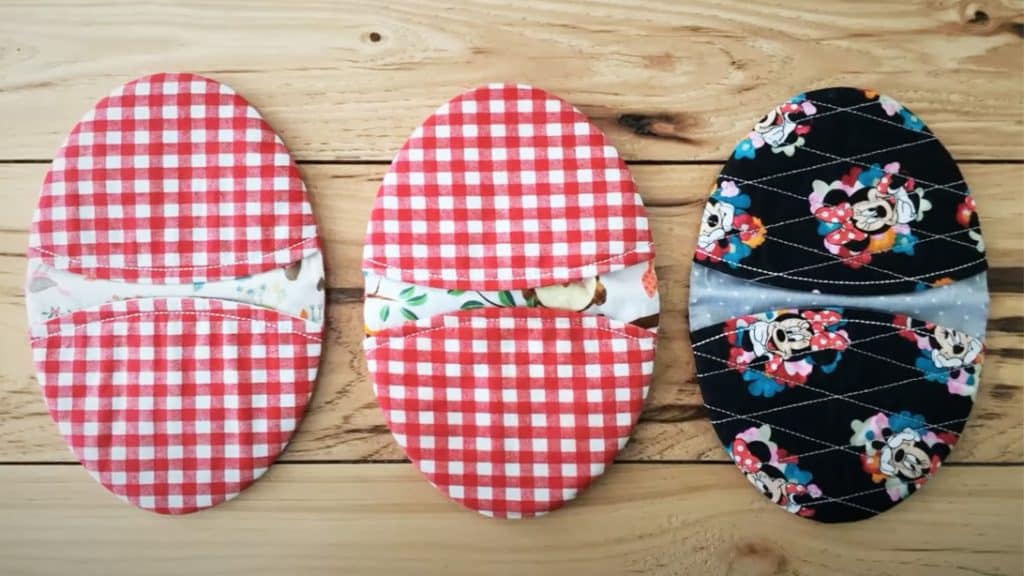
Image credit: ThreadMode Embroidery on Youtube
Materials:
Hoop 1
Hoop 2
Directions:
Prepare all the needed materials.
To begin, run in the placement stitch pattern of the potholder.
Rundown or sew the fabrics following the placement stitch pattern from the beginning.
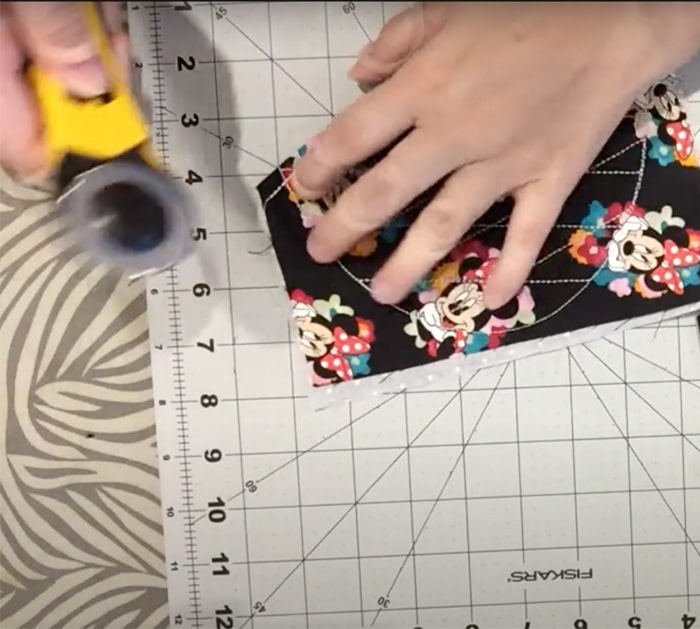
Next, cut out the excess fabrics.
Place the lining fabric right side down, facing the outside fabric when done.
Pin it in place and sew.
Cut out the excess fabric as seen in the picture.
Turn the fabric over to the other side, facing the right way.
Neatly press it with an iron.
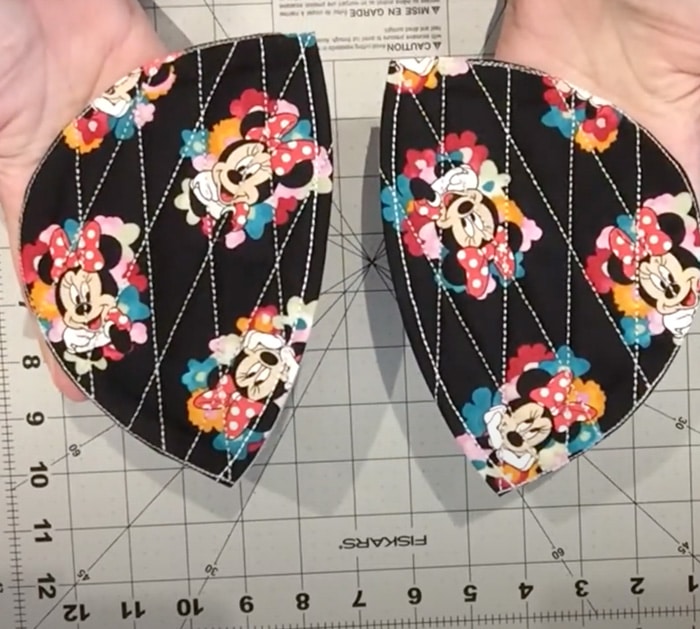
Run a top stitch around the whole mitten and cut out the excess outside fabric.
Add in the outer fabric and sew it in place.
To assemble, place the first mittens on the 2nd hoop facing right sides together.
Sew around it after taping or pinning it in place.
Place a lining fabric facing right side down on the whole fabric.
Pin in place and sew, but leave a quarter size allowance to turn the fabric.
Cut out the excess fabric.
Turn the fabric right side out, tuck in the excess opening, and stitch closed.
Lastly, flip the potholder right side out.
