This is the perfect project to repurpose pallets instead of just throwing them into the trash.
The directions are clear and super easy to follow.
Its a fun activity to do in your spare time.
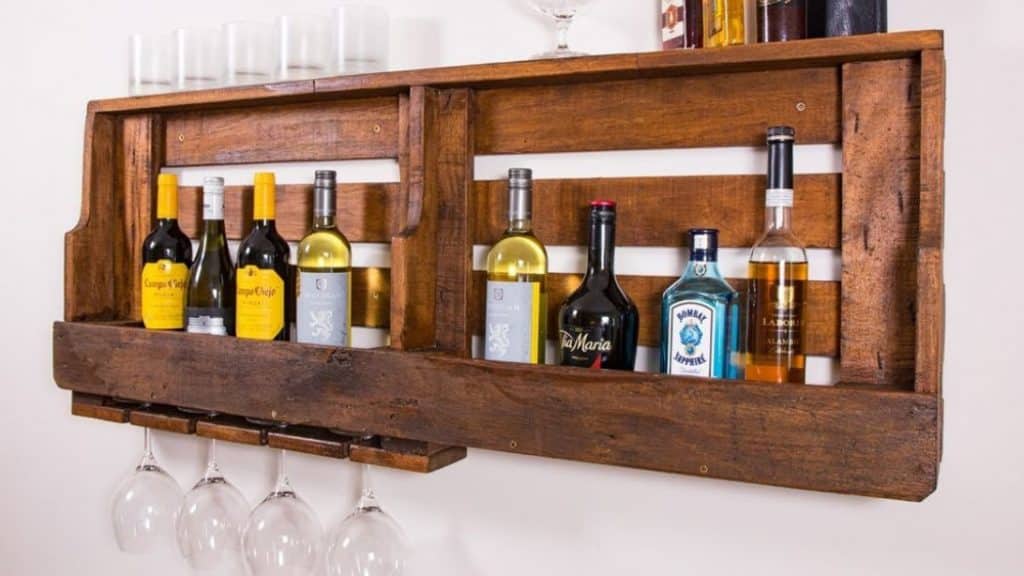
Image by: Warren Nash
Watch the video below for detailed instructions.
Measure how tall you want your wine rack to be.
double-check you’re free to remove the wine bottles.

Mark the measurements on the three planks and cut using a saw.
peek if it fits perfectly as this will be installed so the bottles wont fall.
Do this for both sides.
Mark the measurement on the front of the wine rack to screw the shelf into place.
Do this by making preliminary drill holes using a countersink, so the screws sit flush in the wood.
Screw it into place.
Step 4:
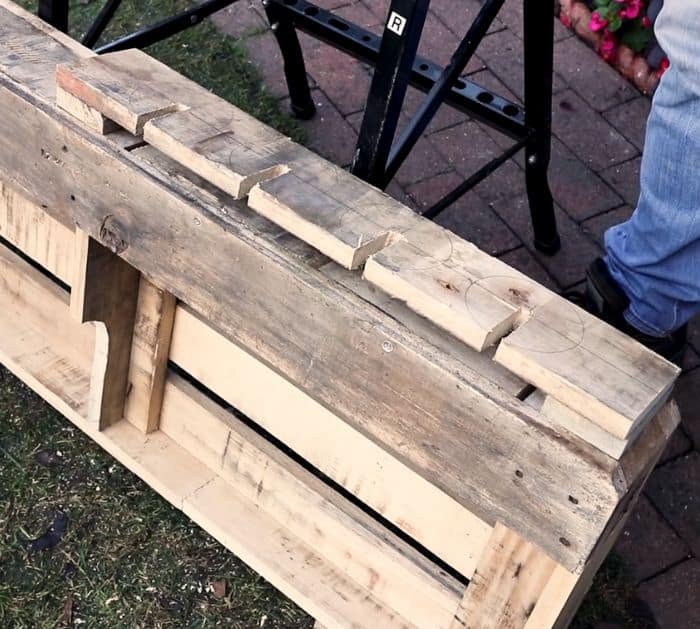
Make three supports running up the wine rack.
Measure the length of the 3 planks (the sides and the middle).
Cut these measurements from planks from the scrap pallet wood.
Put them into place and verify if it fits nicely.
Secure them in place using dowels.
Start by marking the center point at the end of your support planks.
Then mark where this will sit on the wine rack where the supports need to go.
Attach the support into place and gently hammer it down.
Do this for all of the support.
Ensure the supports are straight, then find the middle point on the back.
Screw them from the back.
Do this by making preliminary drill holes, then screwing into place all three supports.
Male a center point on each of the circles.
These will be the slots for your wine glass.
Make any minor adjustments if necessary.
With scrap woods, make supports to attach the glass holder to the bottom of the wine rack.
Sand all the way around and stain.
Let it dry and double-check that your rack is structurally sound.
