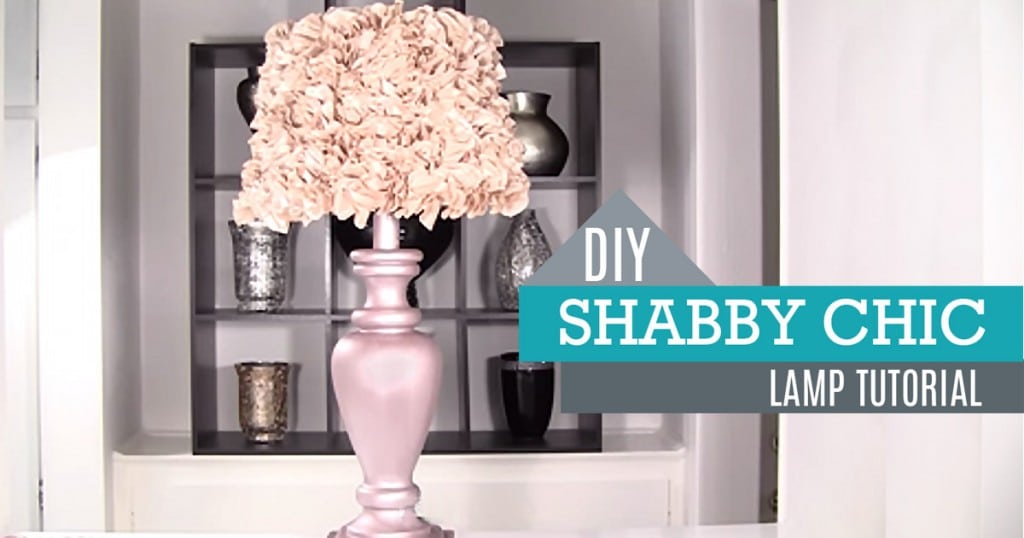
Personalizing your lighting at home can never be this easy!

Step 2

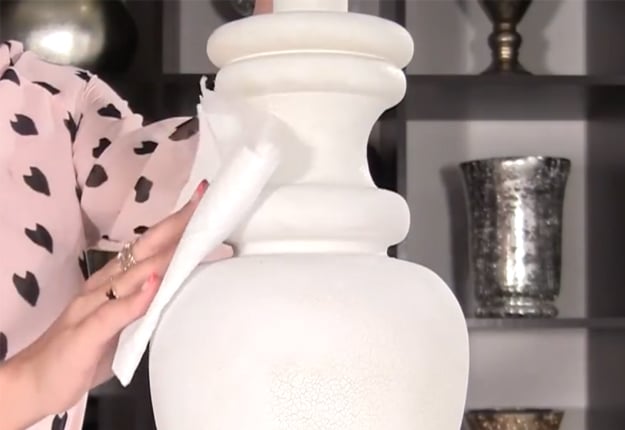
Paint lamp base ensuring all surfaces are painted.

Apply second coat after the first coat has dried.
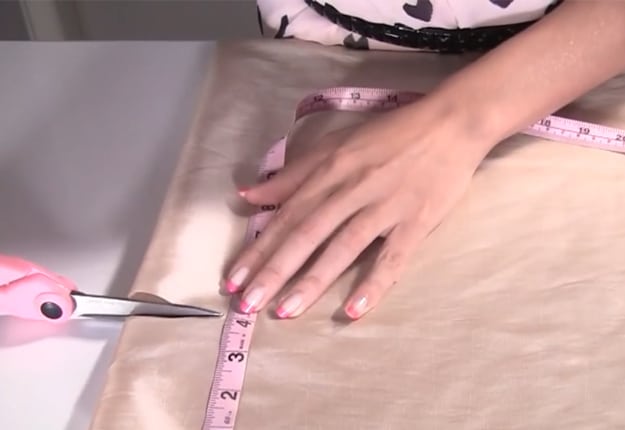
DIY Shabby Chic Lamp Tutorial - Country Crafts and Rustic Home Decor Ideas at

Step 3

Lay out the fabric and cut 4-inch strips.

Repeat the steps cutting several strips.
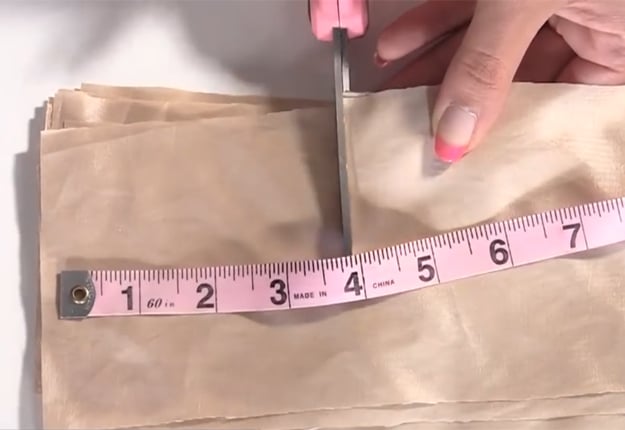
Step 4

Lay the fabric strips and cut once more into 4-inch strips.

DIY Projects & Crafts by DIY JOY at http://diyjoy.com/shabby-chic-decor-diy-lighting

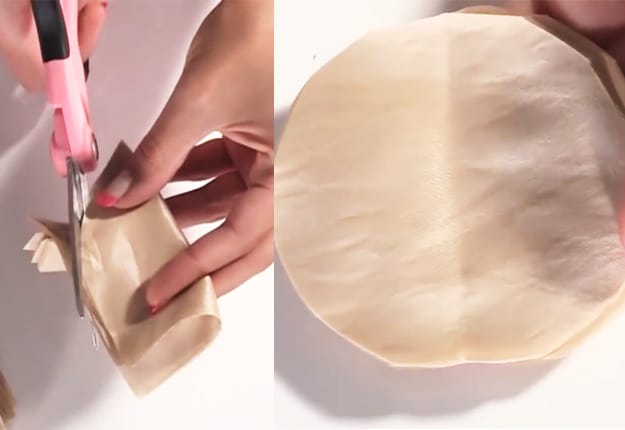
You should get a stack of 4-inch squares.
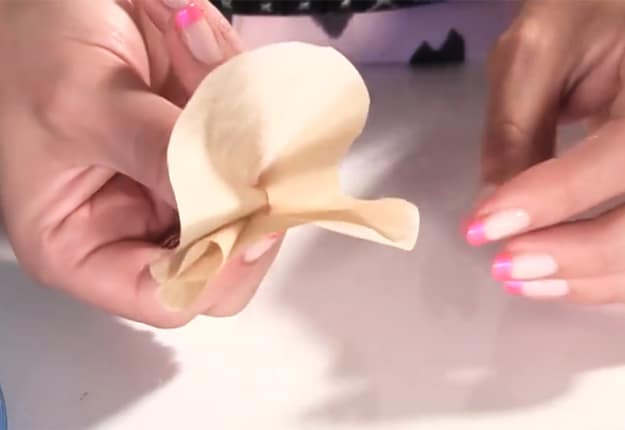
Now, pinch the glue

together.

Repeat the steps for all circles.
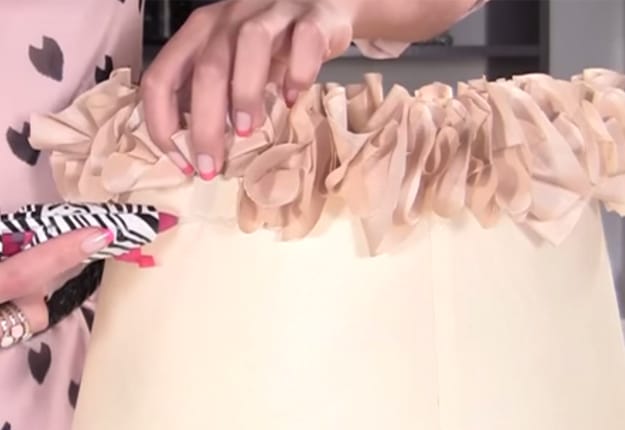
DIY Projects & Crafts by DIY JOY at http://diyjoy.com/shabby-chic-decor-diy-lighting

Step 7

Place a strip of glue into your lamp shade and press the flowers.

Repeat over entire lamp shade.

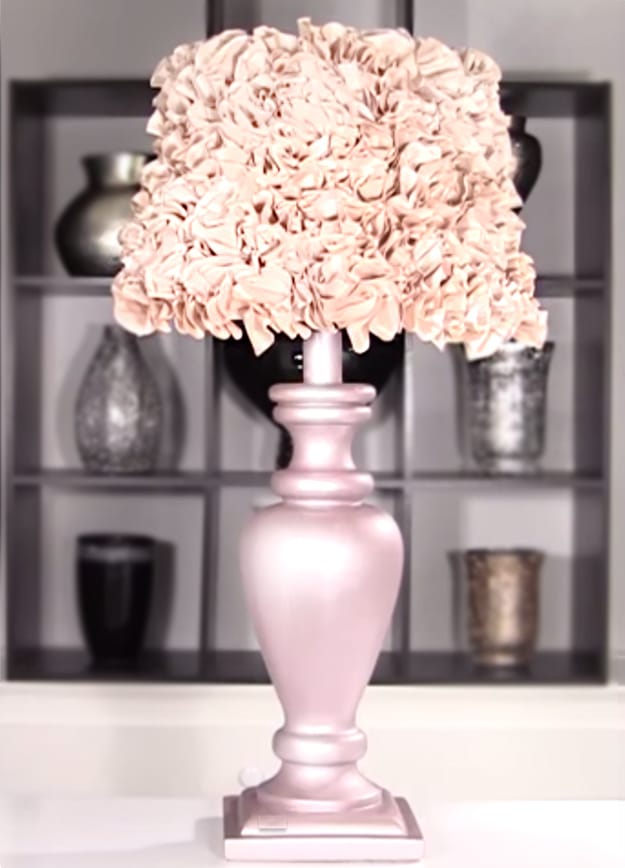
And now your DIY Shabby Chic Lamp and Shabby Chic Lampshade are done!

DIY Projects & Crafts by DIY JOY at http://diyjoy.com/shabby-chic-decor-diy-lighting

DIY Projects & Crafts by DIY JOY at http://diyjoy.com/shabby-chic-decor-diy-lighting

DIY Projects & Crafts by DIY JOY at http://diyjoy.com/shabby-chic-decor-diy-lighting

DIY Projects & Crafts by DIY JOY at http://diyjoy.com/shabby-chic-decor-diy-lighting

DIY Projects & Crafts by DIY JOY at http://diyjoy.com/shabby-chic-decor-diy-lighting

DIY Projects & Crafts by DIY JOY at http://diyjoy.com/shabby-chic-decor-diy-lighting