Halloween is almost upon us!
Are your decors in their right places already?
Make this last-minute decor today by watching the video tutorial below.
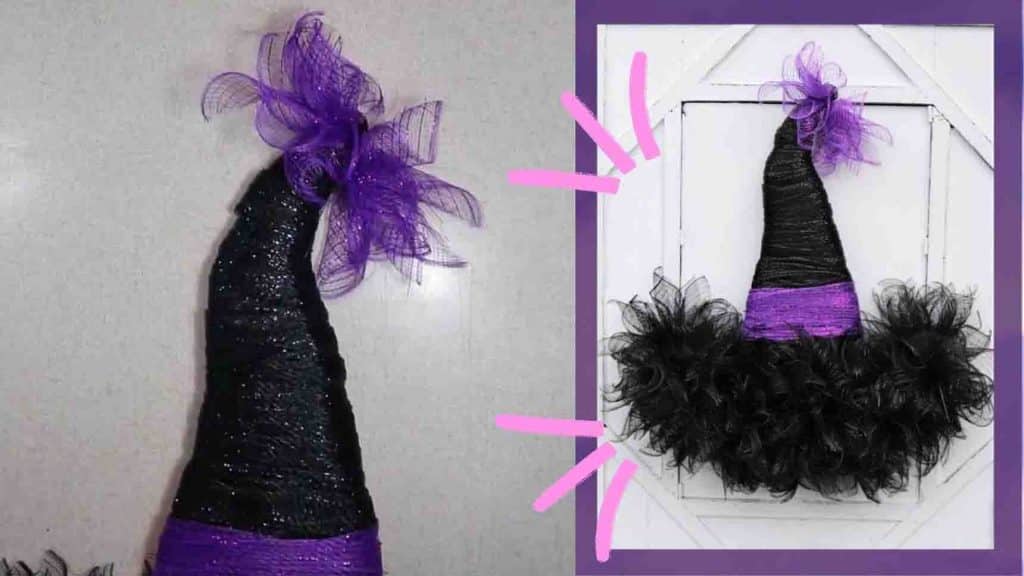
Image credits: Southern Wreaths via Youtube
This creates a rope and as youre wrapping it around, you want to overlap it.
(it’s possible for you to also use this zip tie to start your next roll.)
Now, start wrapping again with your second roll of black mesh.
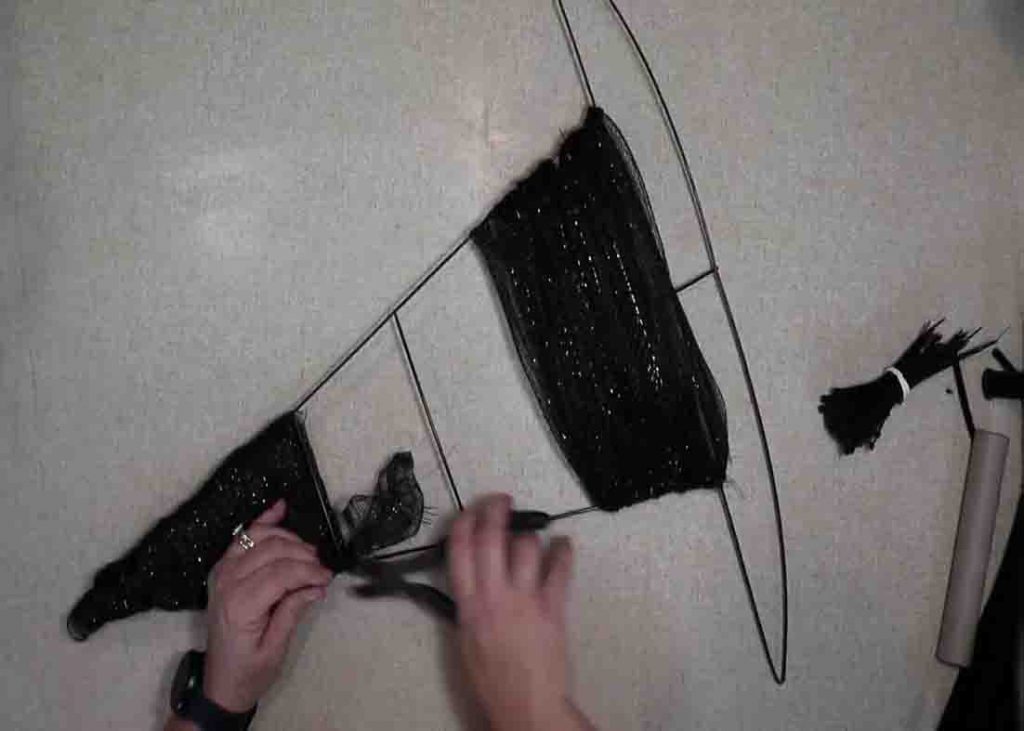
After you reach the end, secure again with a zip tie.
To make your bundles, shape the pieces into petals and shape them into a flower.
Make a bunch of this for the bottom of the hat.
Do this until you have added all the bundles at the bottom.
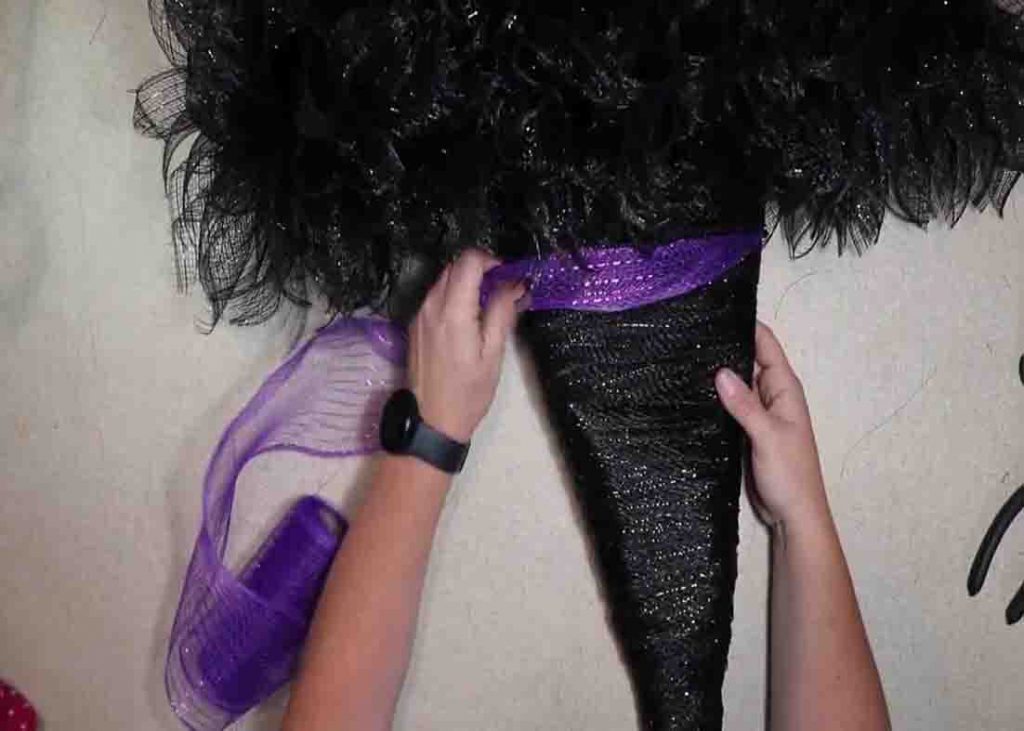
After you completely finish the wreath, add a band of purple mesh to it.
Find the crossbar beneath the black mesh, then attach the zip tie together with the purple mesh.
Create a rope out of the mesh, then just keep wrapping.
After this, secure the end with a zip tie.
For the tip, add a pipe cleaner through it, twist it up, and make it sturdy.
After this, attach the poof.
(Made out of purple mesh.)
