They make the perfect pieces to embellish your space.
A little decoration comes a long way in making a room better and visually appealing.
These wonderful craft ideas of turning crates into an organizer and flower crate are fromWendi Lee.
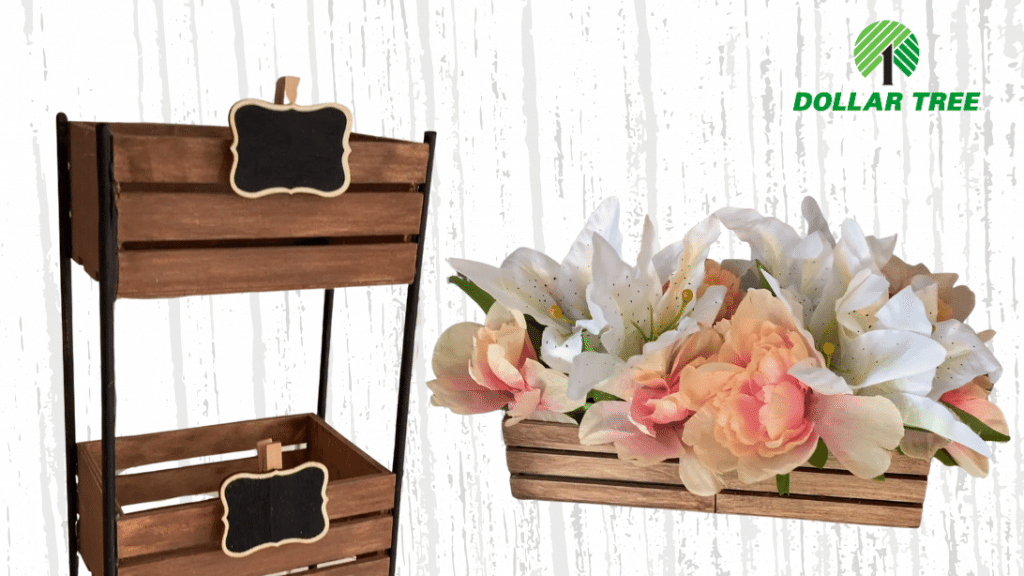
Image by: Wendi Lee
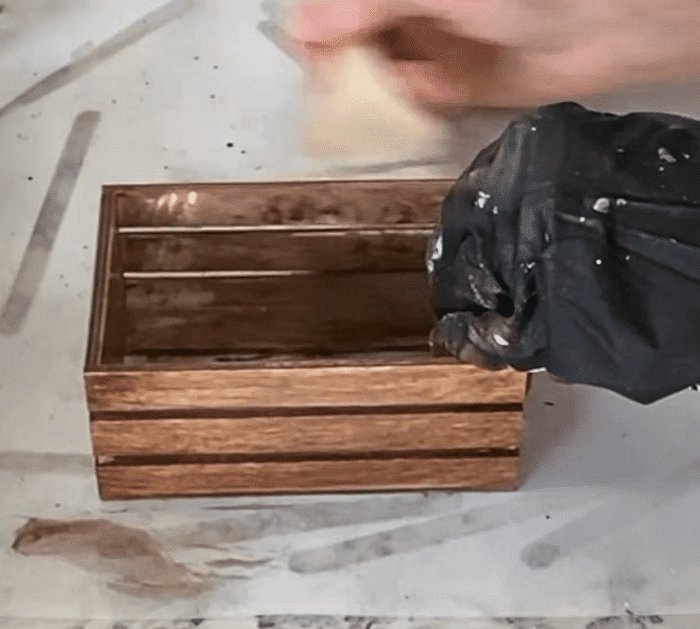
The black and brown paint instantly transformed these plain crates into a more stylish look.
Great for rustic and country designs.
you could even use the organizer as a herb garden!
Already loving this project?
Then watch the video below and start crafting.
Once done, set them aside and let them dry.
Cut them in 12-14 inches.
(Depending on how you want the crates spaced out).
You need 6 of these in total.
Once done cutting, paint them with black paint.
Step 3:
Once all are dry, its time to glue them to the crates.
Put glue on the sides of the crate and attach the sticks.
Then sand the top end of the stick.
Next, touch up the paint on everything and let it dry.
If you want to label them, you might buy little chalkboard clips from dollar tree.
Once done, set them aside and let them dry.
Put glue to one side of the crate and attach the other one.
Take the floral foam piece and cut 2 blocks that will fit in your crates.
Next, take the fake flowers and cut the stems.
Then start decorating them into the foam.
