A clamshell quilt can be difficult to sew, especially on the curved part.
I have found this method bySewVeryEasythat is so much easier and quicker!
You will definitely enjoy making this quilt from now on.
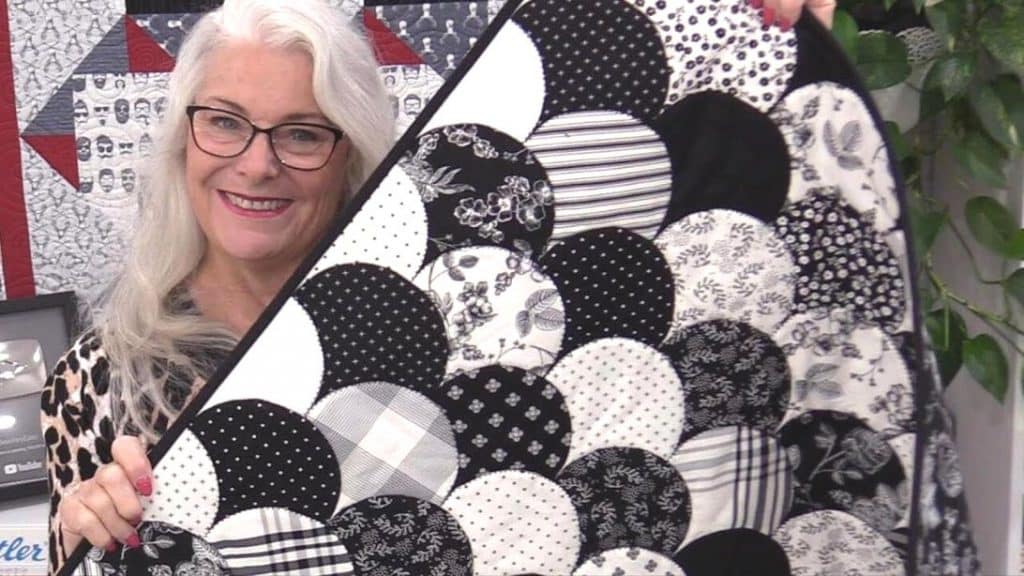
Image by SewVeryEasy
Watch the video below for detailed instructions.
Press all of the fabric squares.
Take one stabilizer and place it on top of one fabric square.
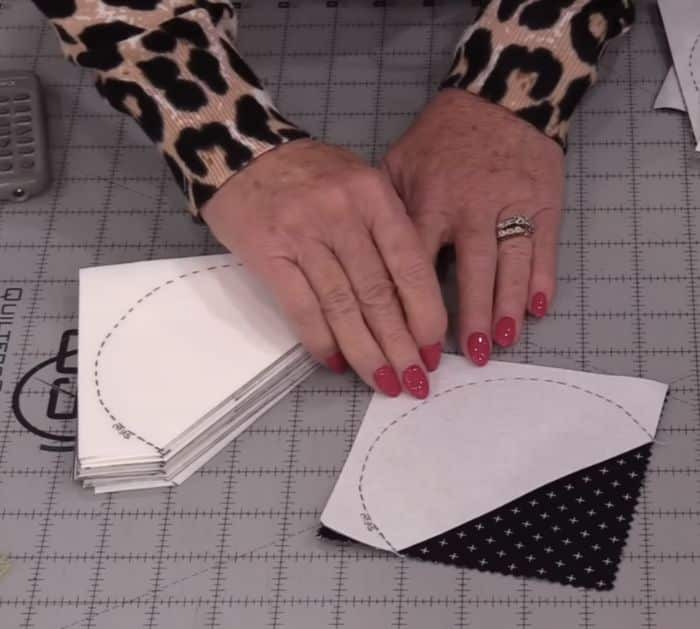
confirm that the glue side and the right side of the fabric are touching.
Step 2:
Sew around the curved area.
Make the stitches a little bit smaller at about two.
Do the same for all fabric squares.
Step 3:
Trim the excess close to the stitching line.
confirm to not hit the stitching line.
Once trimmed off, turn it right side out and press it with your hands.
Do the same for the remaining fabric squares.
Step 4:
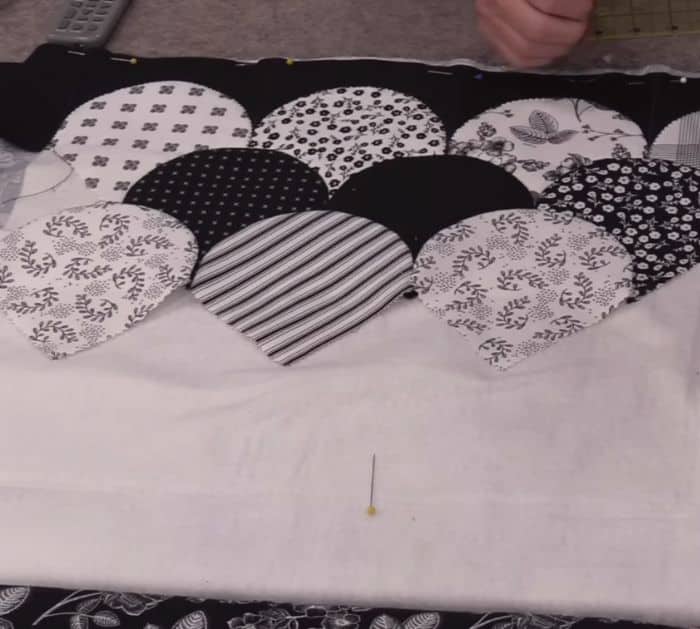
Put the batting on your backing fabric.
There should be a 4-inch strip of fabric at the top of the batting secure it with pins.
Divide the strip into 5-inch segments.
Place the other cone-shaped fabrics.
Use a ruler to find out if the points are straight, then secure them with pins.
Applique all the way around from one edge to another.
Do not stitch the pointed part.
Step 6:
Add the second layer.
Align the end of the fusible from one point to another.
Press the fabric and applique all the way around from one edge to another.
Do the next rows.
Step 7:
For every other row, you will notice some quilt batting exposed.
Cut off a portion of that.
Keep in mind that you oughta put an allowance of a quarter inch before cutting them.
For the top, leave a quarter of an inch allowance for the binding.
