Do you have some unfinished quilting projects piled up in a corner?
Its time to finish them with this easy binding method fromArt Gallery Fabricson Youtube!
Start learning this method today by watching the video tutorial below.
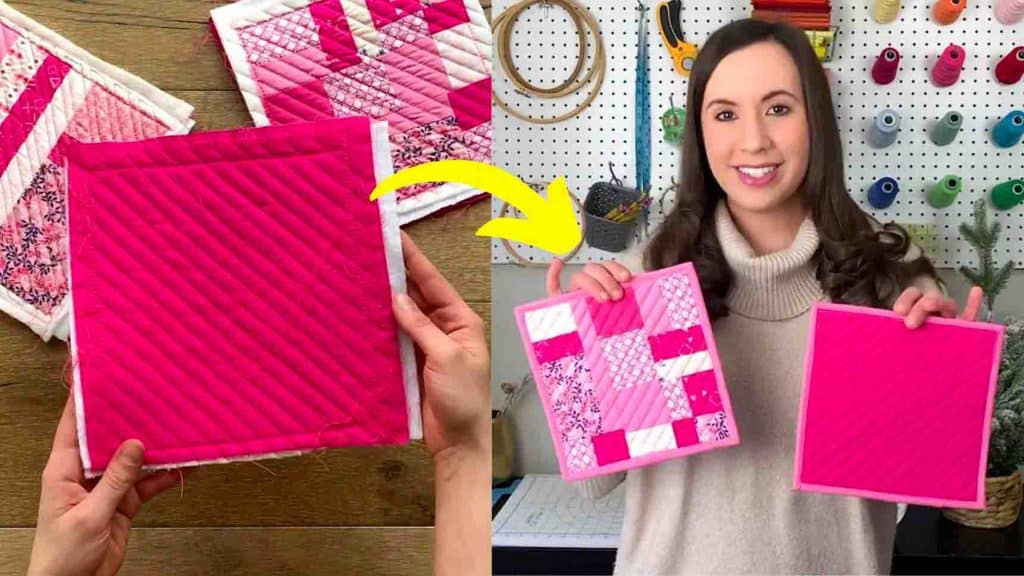
Image credits: Art Gallery Fabrics via Youtube
Next, pick your binding that will match back your project.
(In this case, agf pure solids were used.)
Measure all four sides of your project to find out how long you will make your binding strip.
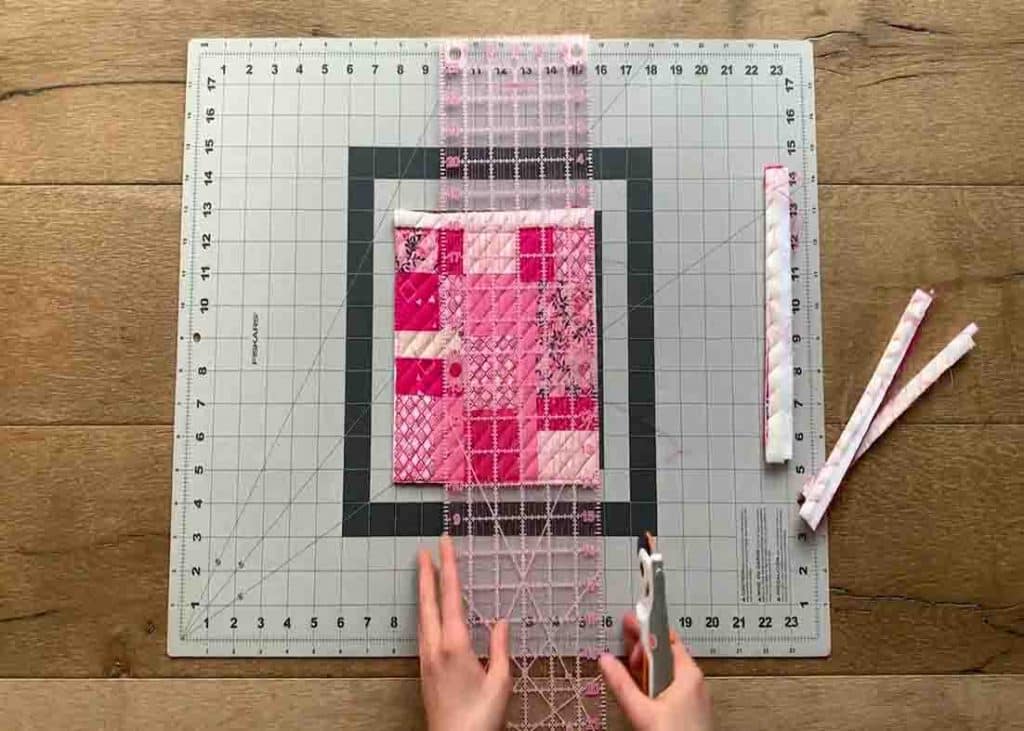
(The project here was measured 8 so multiply x 4 sides and get 32 inches.)
see to it to add a few extra inches to add some extra room.
Cut the strips at 2 and 1/4 by the width of fabric.
To attach the strips, place a 45-degree lined up with the end of one of your strips.
Draw a 45-degree line going through the corner of your strip with a fabric marking pen.
Place the strips right sides together to form a 90-degree angle.
Pin to place and sew on the line you drew.
The strips should be lined up perfectly to create one long binding strip.
Give the excess fabric trim at 1/4 and press the seam flat.
Fold that edge at 1/4 and press it flat.
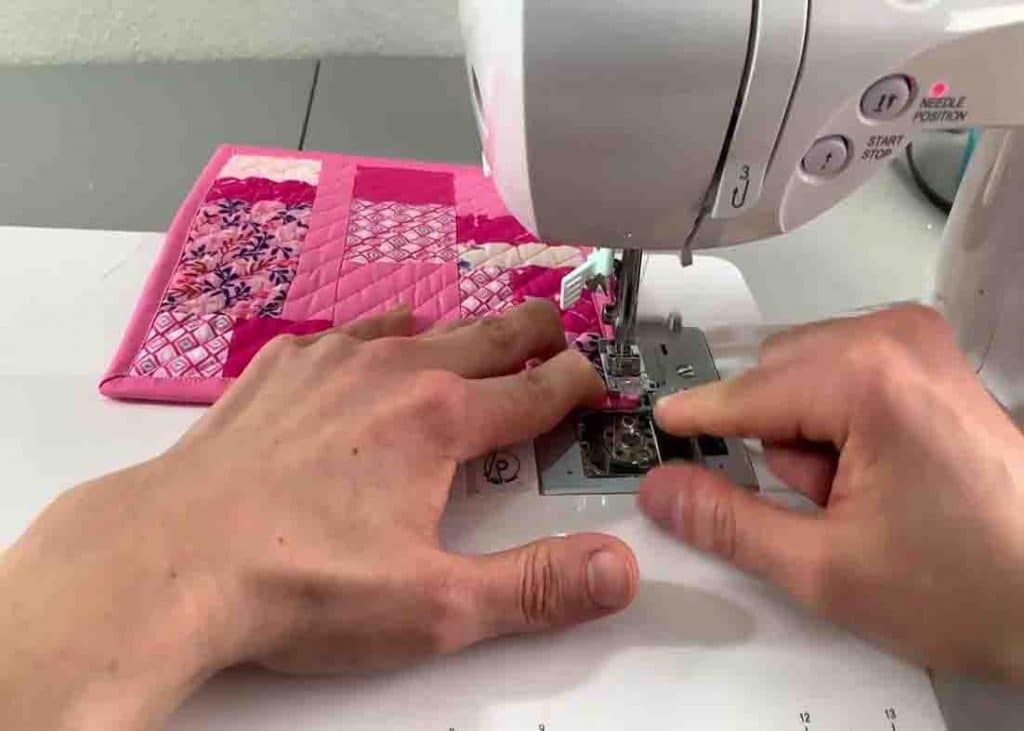
Place the raw edge of the binding to the raw edge of the wrong side of the project.
Sew again at about 2 down from the top of the binding strip.
Sew at 1/4 around the entire project.
Finish sewing the rest of the binding to the end.
Step 3
Trim any excess fabric and threads before folding over the binding.
