Do you love updating the look of your space from time to time?
Then Im sure you will be excited to make this cinderblock and epoxy patio table fromBM Sculptureson Youtube.
This gorgeous epoxy patio table will absolutely give your outdated space some new look.
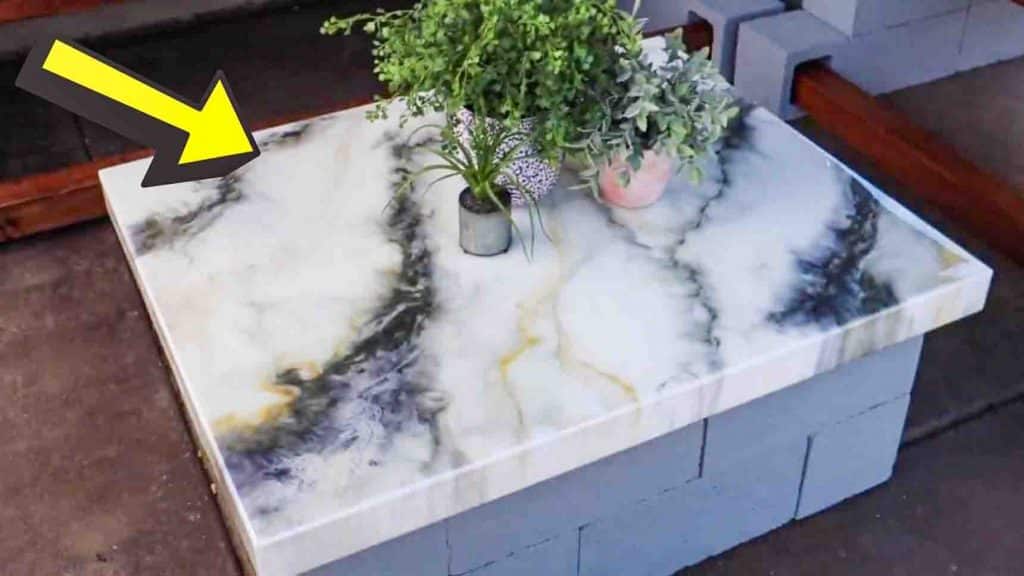
Image credits: BM Sculptures via Youtube
Learn how to make one by watching the video tutorial below.
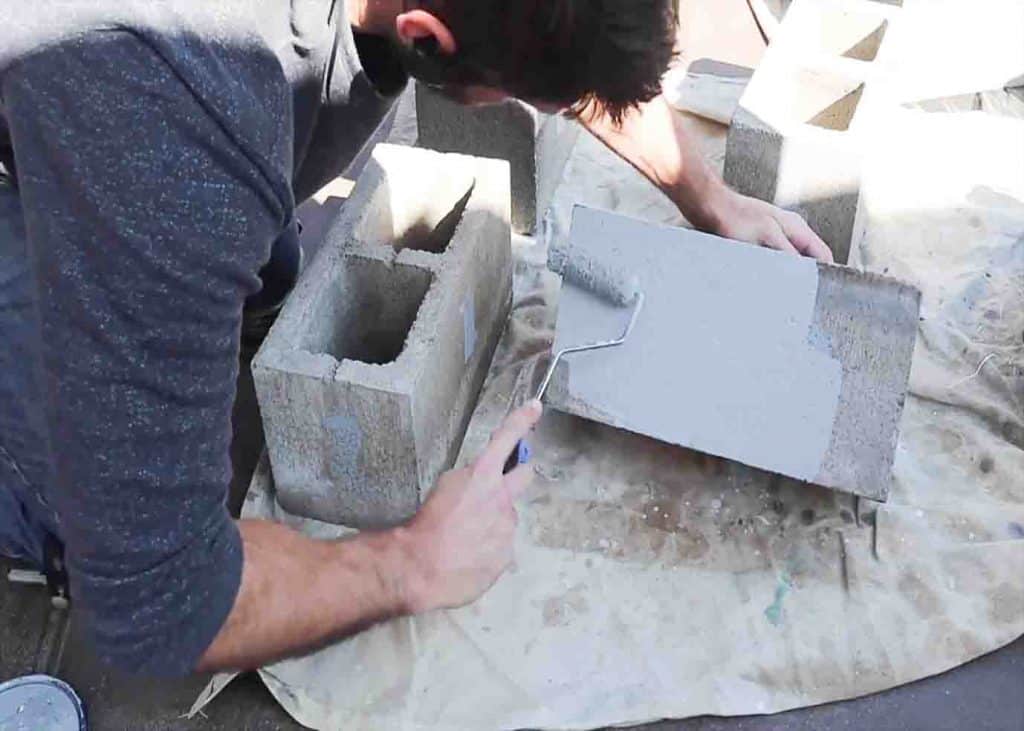
Once the paint is dry, assemble the cinderblocks where you intend to place them.
(This will be the base of the table.)
Moving on with the tabletop.
That way, it can overhang the cinderblocks, creating a little more dimension.
Next, cut down the sides of the table, around 2 inches in measurement.

(Four pieces of this.)
After this, assemble the pieces, then glue and nail them.
Sand everything down, then round all the sides of the tabletop.
Fill in the holes from nailing with wood filler or drywall compound.
(Depends on whats available to you.)
Once everything is done, paint it with some white paint.
Let it dry overnight.
[social_warfare]
Step 2
After drying the tabletop overnight, it is time for the epoxy.
check that that is everything leveled first for epoxy not to drip.
Let the epoxy dry completely, then pull off the tape.
Leave it for a night to let everything settle down ultimately.
After a night, you’re able to now place it on top of the cinderblocks.
Your table is now complete.
