you might use this when you go on picnics or to the beach.
This wonderful and easy DIY drawstring toy bag tutorial is bySailrite Workbenchon Youtube.
Read on or watch the video below for full instructions.
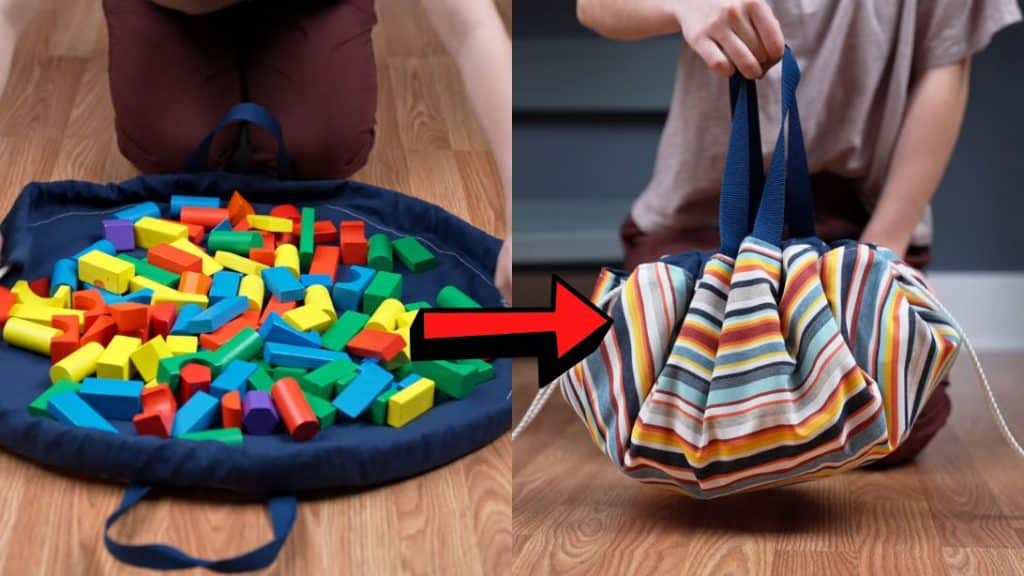
Image by: Sailrite Workbench
Set aside the excess fabric as youll use it later.
Place the end of a ruler into the center fold corner and measure a radius of 14 inches.
Move the angle little by little to make a pattern for your quarter circle.
Trace it with your flexible curve.
Cut it out using scissors.
Once done, set it aside.
These will be used to open and close bags.
it’s possible for you to sew the pieces together to make the 41 long strips.
Hem the ends of each strip by one inch.
Step 4:
Place the outside fabric of your bag on your workspace.
Fold it inside twice making a quarter circle.
Mark the center of the circle and the center points of each corner.
Step 5:
If you have a printed fabric put the right side up.
Next, cut two pieces of 18-inch strips of webbing.
Pin the webbing with handles in place an equal distance apart on either side of the circle.
Place the two ends of the webbing four inches apart.
verify to pin down the strips with hems facing up.
Do the same for the other strip for the other half of the circle.
There will be an opening on both ends measuring 5 inches apart.
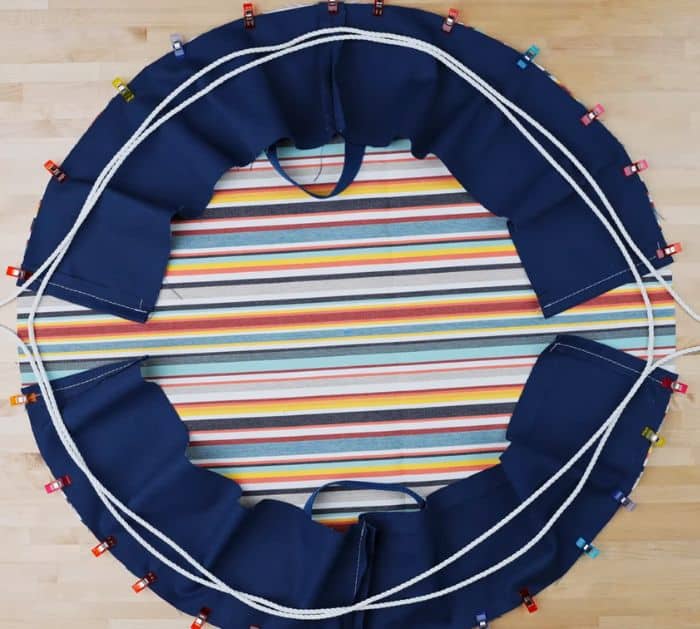
Step 7:
Cut the top in half and loop each rope around the edges like this.
Fold the fabric strip on top of the rope and pin it down.
Pin it in place.
Stitch along the edge with a half-inch seam allowance.
Do not sew them completely.
Step 9:
Pull the fabric right side out through the opening.
Lastly, add a topstitch.
Fold the openings inward then continue the top stitch around the edge of a bag.
Tie the knot on the handles.
