Are you looking for something to elevate the overall look of your space?
Watch the video tutorial below to learn.
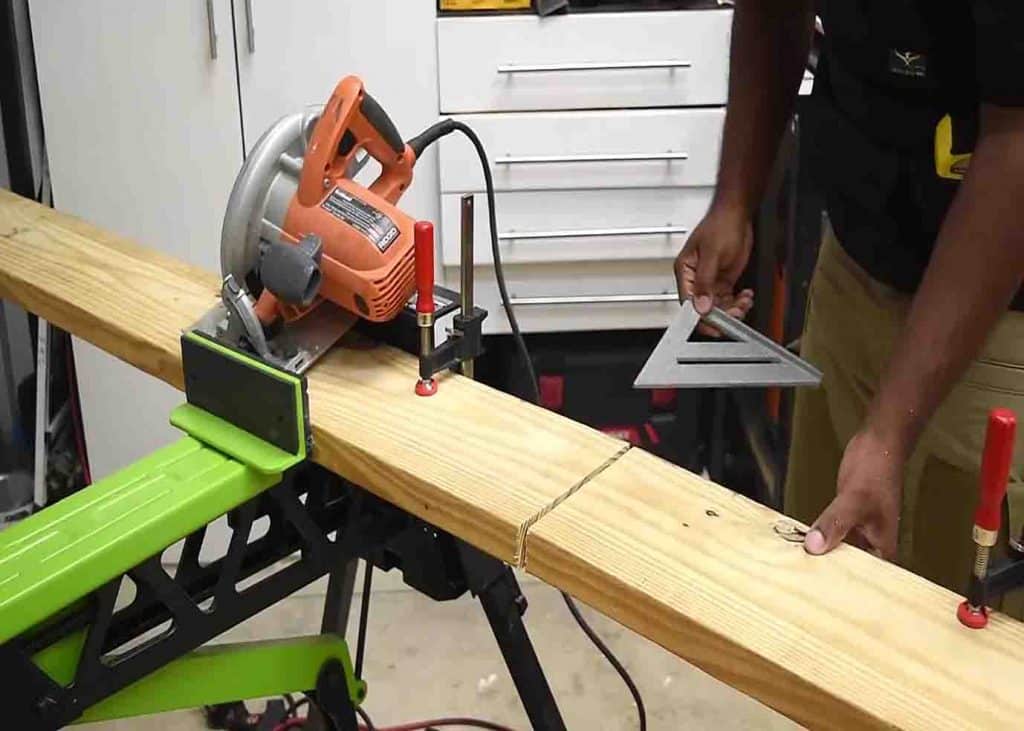
(The final length of each board will be 31 inches.)
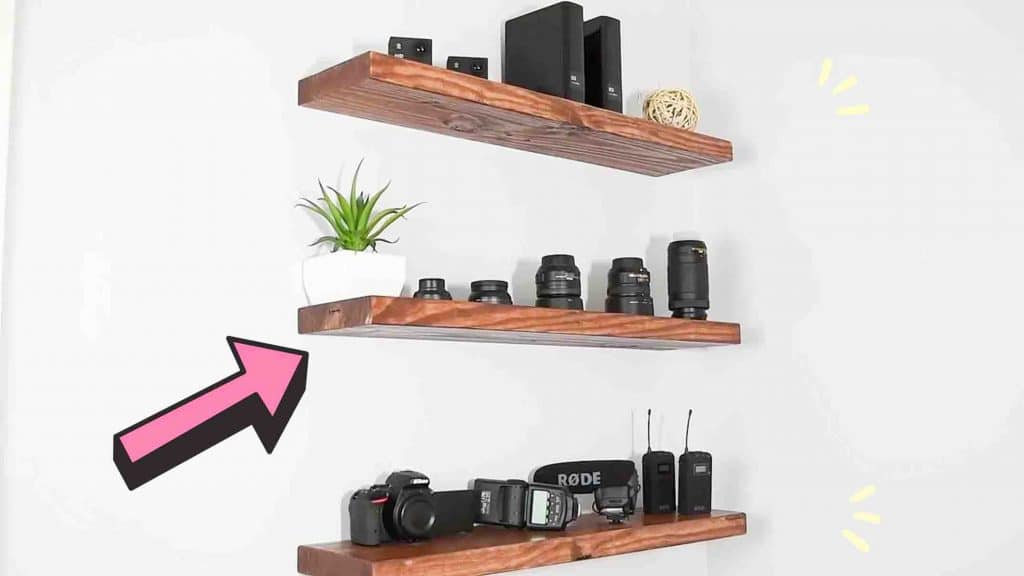
Image credits: DIY Creators via Youtube
Next, mark the dowel into four inches; you should end up with nine pieces.
After this, mark three locations on the shelves for the dowels.
(One in the middle and then two inches from the outside.)
Find the center point of each line and put a mark on it.
(You should end up with 9 marks, this will be drilled on later.)
Next, take a half-inch bit, then put tape around it.
(This is going to set the depth of the dowel.)
Repeat the same step for all nine holes.
After this, sand down and clean up the area where you drilled holes.
(If you have a table saw, this will be much easier.)
After this, grab the half-inch bit again and also the half-inch dowels.
(Dont overdo it, just check that that the dowels will slide in.)
Repeat the process over and over until all of them are done.
[social_warfare]
Step 2
After this, sand down all the shelves.
Line up the pieces, drop the dowels inside of them, then hammer those down to lock them.
Repeat the same process to the remaining shelves.
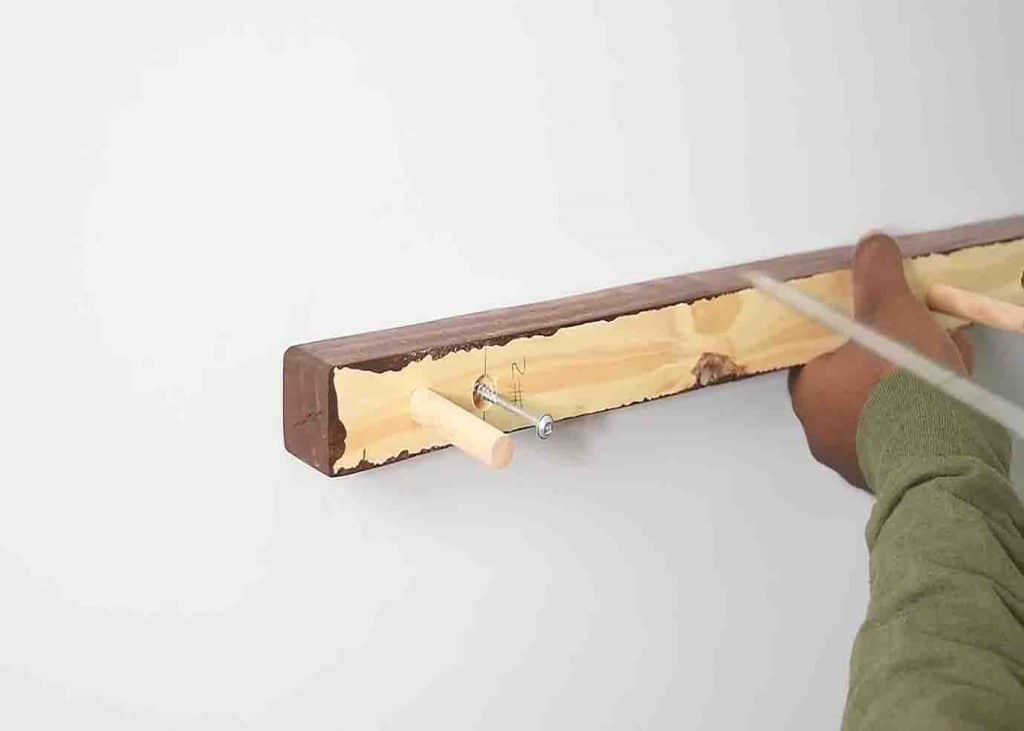
Install a screw right through the dowel and into the wood, locking them in place.
Add a clamp on the top part aligned to the dowels, pre-drill, and countersink the screw.
Prep the shelves by painting 1 coat of Minwax pre-stain conditioner.
After it dries, lightly sand it down.
The next step is adding the stain.
To finish off, add a top coat by using a spray-on polyurethane.
Place the wood over the mark that you put on the wall and screw it into the stud.
Now, align the shelves with the dowel pin and slide it into place.
Repeat the same process to the remaining shelves, then add the safety screw.
