This is a great tutorial for those who are interested in making paper roses.
They looked so complicated at first.
But when you try it, you will realize that its really easy.
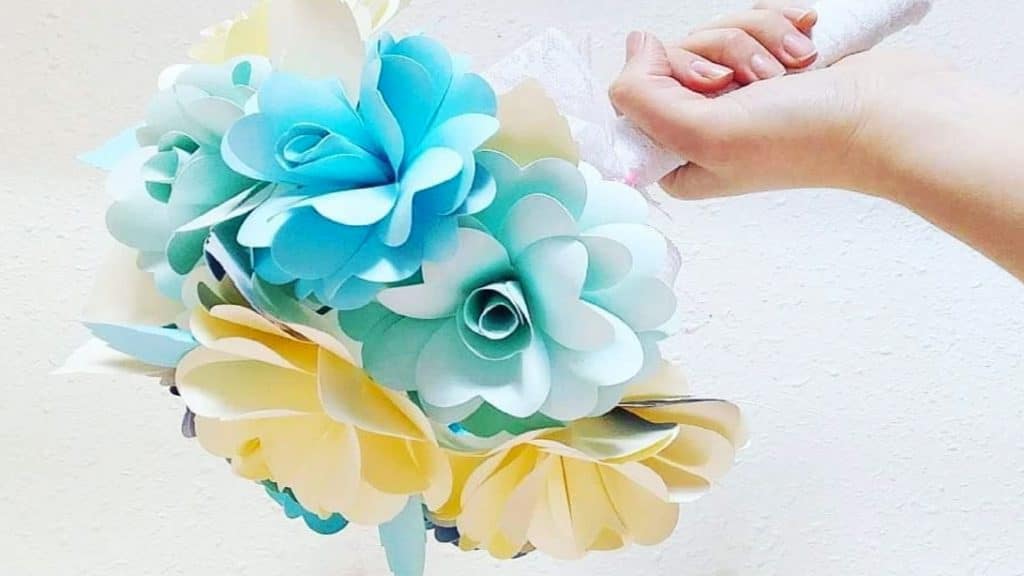
Image credit:Let’s get craftin’ with Supreet Kaur on Youtube
There are just a few steps, and you just repeat them for each square with some variations.
If you have a daughter, this is a good project to put in her nursery.
Materials:
Directions:
Take your 4 square sheets.
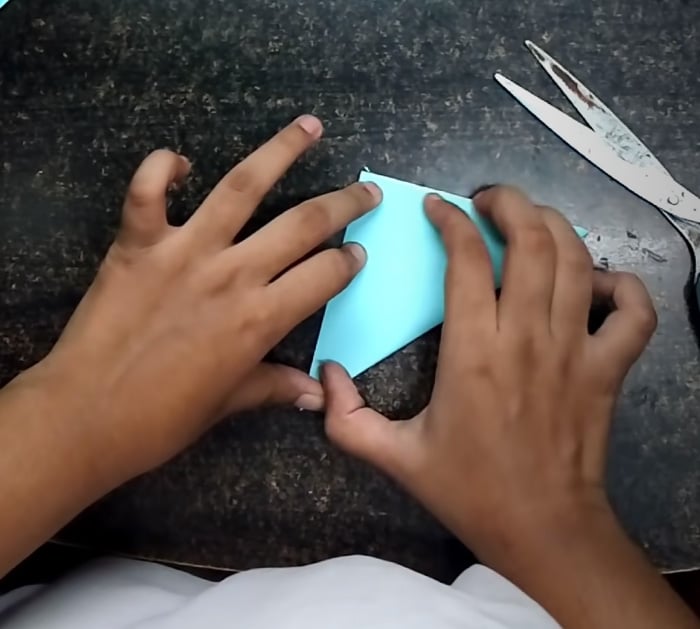
Take one sheet and fold it diagonally.
Then fold it diagonally once more.
Then fold it the third time.
Now, from the side thats open, draw the petals as a guide before you cut them.
Cut along the lines of your drawing.
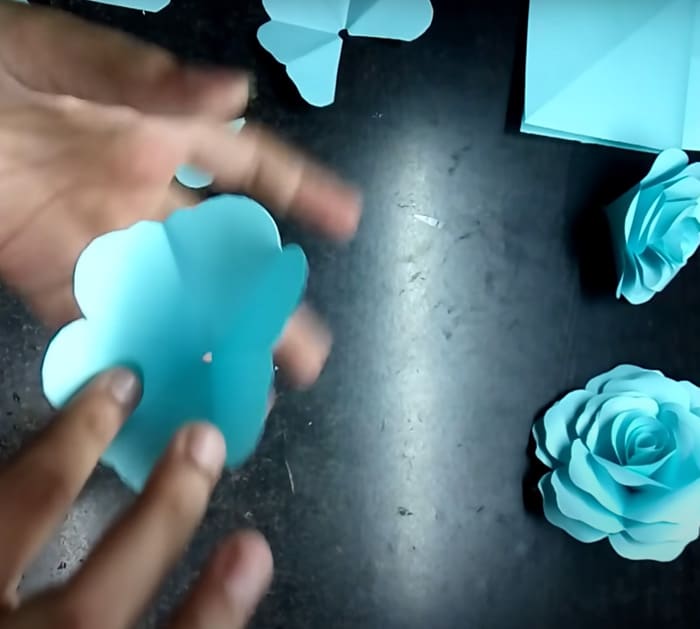
Then fire up the folded sheet.
It will look like the petals of a flower.
Fold it again and cut a small part of the closed edge to make a hole.
Do the same process with the other 3 sheets.
Then take one of the sheets and cut one petal along the folded lines.
Then take another sheet,and cut 2 petals.
Get another one and cut 3 petals.
Then lastly, the fourth one, you cut four petals from it.
Then take the flower with one missing petal.
You put glue on the edge of one petal and seal the edges together to make a cone shape.
Shape it a little and pinch it outwards.
Do the same process with the others.
Dont forget to pinch each one outwards.
Put the cone shapes on top of each other to make them look like petals forming a flower.
Then pick the cut out petals and glue them together to form small cone shapes.
Flick the edges of the petals with a pencil to make them look like theyre a bit folded out.
Glue the bottom edges of all the cone shaped petals, from big to small.
The smallest cone should be the last layer.
Now you have formed a paper rose!
If you want to make bigger roses, you will just need bigger squares of paper.
