This classy and gorgeous roman shade will surely freshen up your outdated space.
Its also a fun project you might make with your family.
Watch the video tutorial down below to learn the step-by-step process.
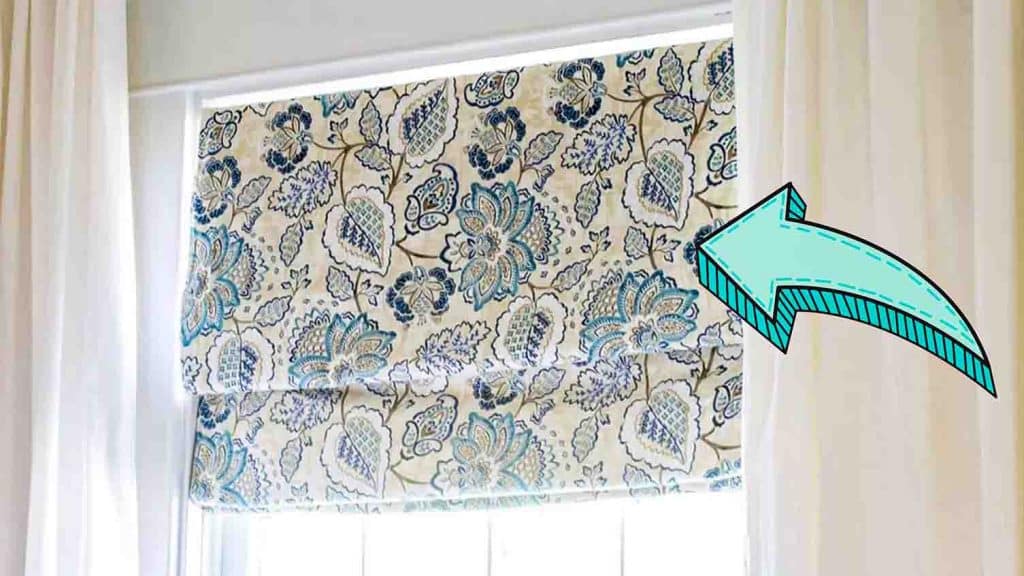
Image credits: A Butterfly House via Youtube
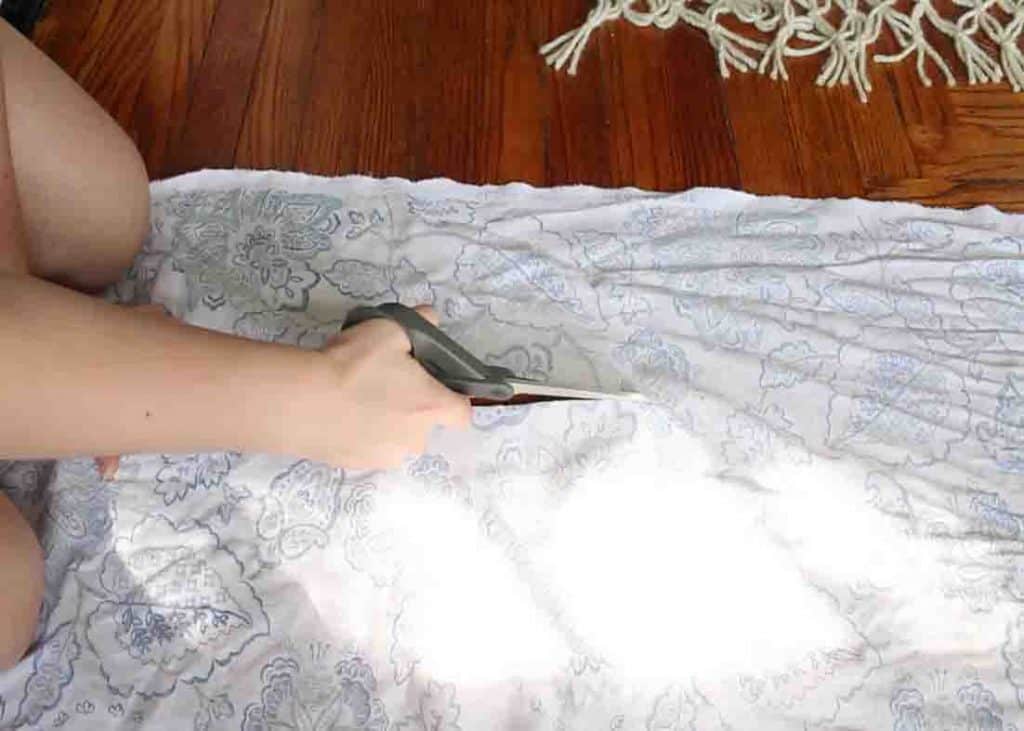
Next, cut the width of the fabric 1 inch larger than the width of your window.
Cut the blackout shade in the same length as the fabric but one inch shorter and in width.
Fold each side over half an inch and sew it in place.
Next, make the dowel pockets.
To make the first pocket, fold the bottom of the fabric up at least half an inch.
Pin in place and sew a seam at least a half inch away from the fold.
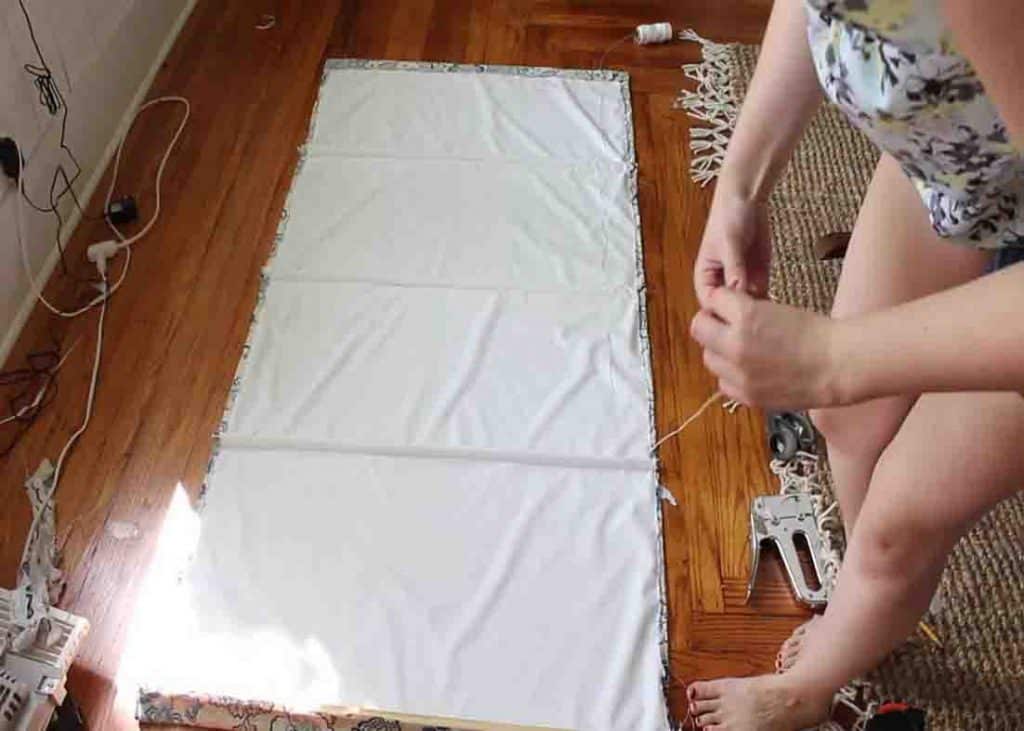
Hand sew the small plastic rings to the dowel pockets.
Each pocket gets two rings, one on each side, a couple of inches in from the edges.
Next, build a mounting board (a 1 x 2 cut to the width of your window.)
Add a 1 & 1/2-inch angle bracket and a small screw eye to each end.
After this, staple the fabric to the top of the mounting board using a staple gun.
Finally, all that was left was adding the nylon string that operates the shade.
The second string only goes through the rings on the left side.
It goes up the left side, goes through the screw eye on top, then comes back down.
One is tied in place while the others are left free to work the sheet.
Your roman shade is now finished.
