Are you looking for a beginner-friendly doll-making tutorial?
Then this DIY sock doll tutorial fromColorful Craftson Youtube might interest you.
Make this your next project by following the video tutorial below.
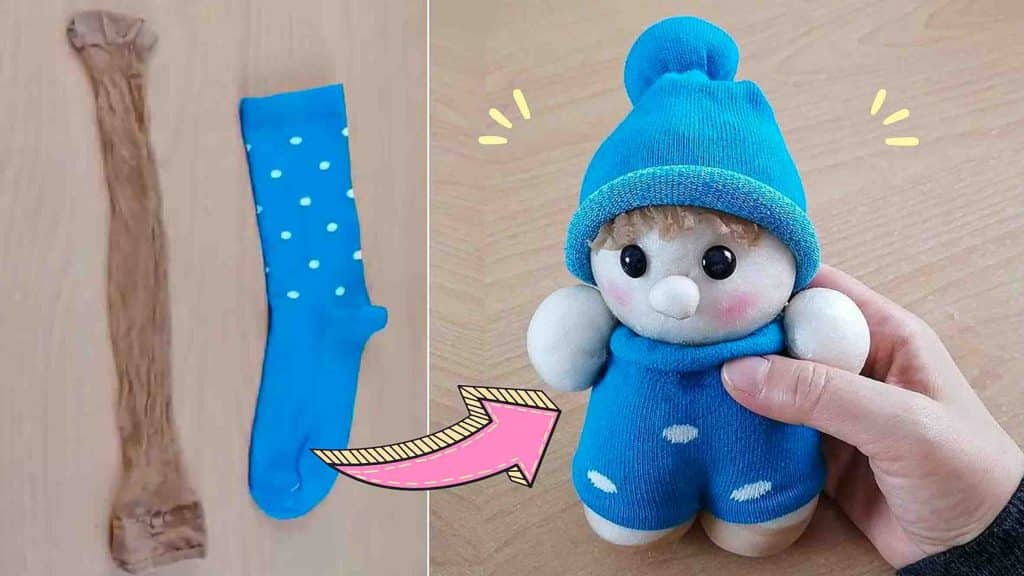
Image credits: Colorful Crafts via Youtube
Tie the stocking to secure the cotton fiber inside.
Divide the stuffed stocking by wrapping a thread in the middle.
trigger the needle twice on this part, then secure it.
(Dont cut the thread yet.)
This will serve as the legs of the doll.
Next, place the sock over the stuffed stocking to measure how big is needed for the clothes.
Cut the sock according to the measurement youre happy with, then put it on the stuffed stocking.
Stitch the sock onto the body using the needle and thread earlier.
After securing the sock, cut the thread.
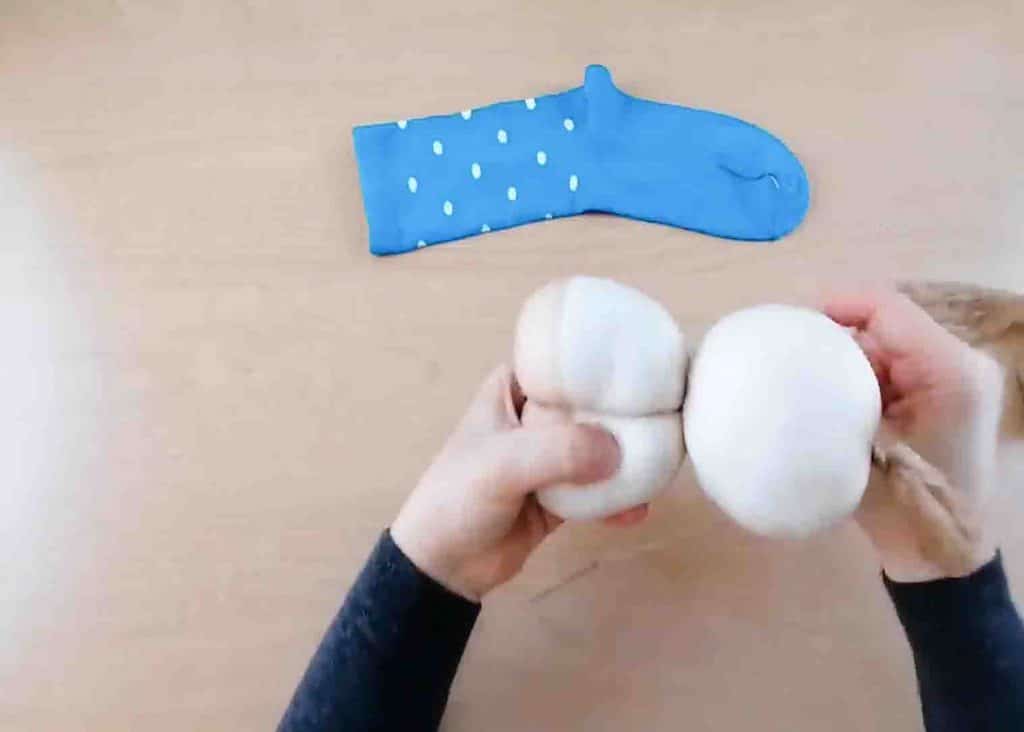
Grab another piece of stocking and cut a small piece and two medium pieces.
Stuffed the small piece with cotton fiber.
Do the same with the other two pieces of stocking.
Secure each with a thread, then cut the excess part.
Sew the two medium circle pieces on both sides of the doll.
This will serve as the arms.
[social_warfare]
Step 2
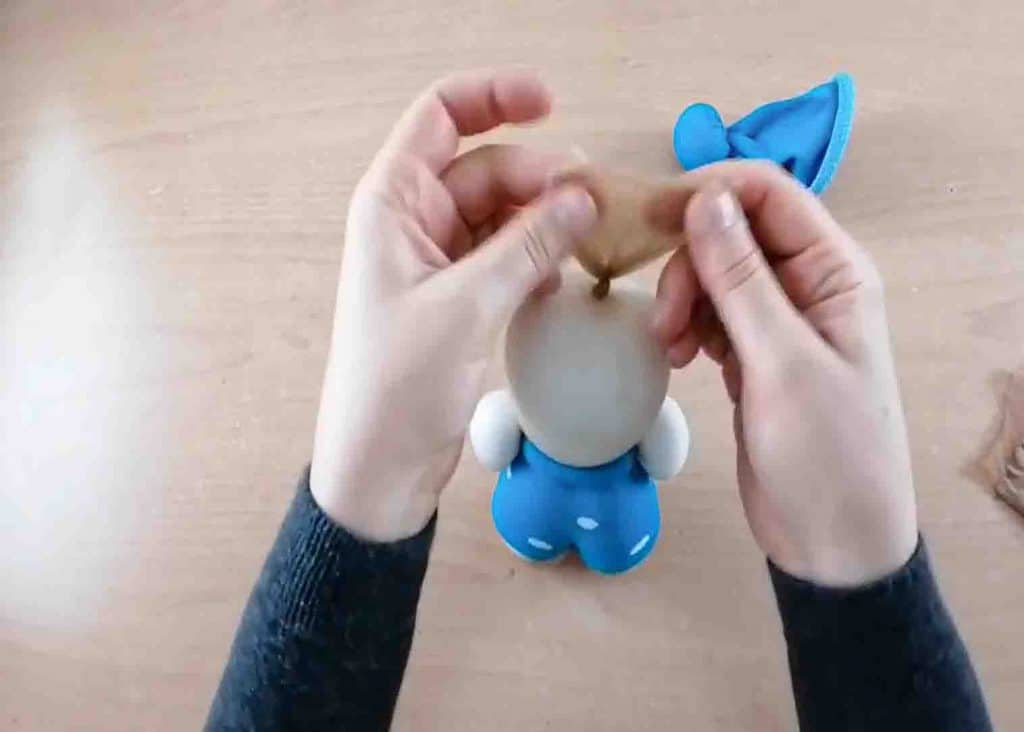
Grab the sock again and cut it.
Stuff the top part with some cotton fiber, then secure it by tying a thread around it.
Put it on the head of the doll.
Next, sew the small piece of the circle on the face of the doll.
This will serve as the nose.
After this, sew 2 buttons for the eyes of the doll.
Lastly, draw some blush on the cheeks using a pink crayon.
