Are you looking for your next DIY craft to pass the weekend?
Try this easy soft doll toy tutorial fromMiarti Creative Ideason Youtube.
Its straight-up fun and easy, and the results will make you look like a pro!
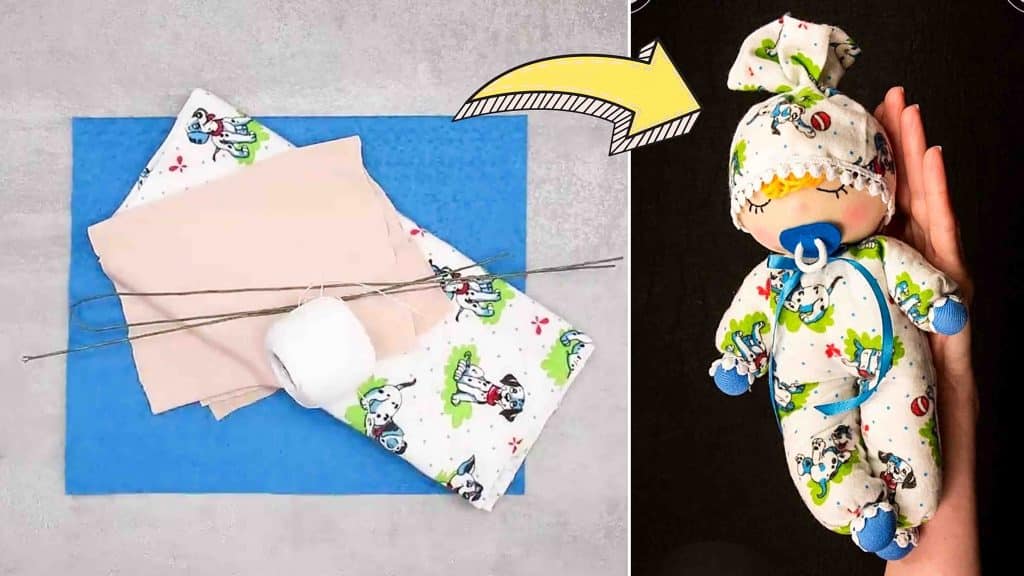
Image credits to Miarti – Creative Ideas via Youtube
This adorable soft doll will never leave your bed, Im sure.
Learn to make it by following the tutorial below.
Grab your cotton fiber and textile yarn again, then wrap them together around the wire.
Using small pliers, twist each end of the wires forming a circle.
Get the sock and cut out four identical pieces of circles.
Sew it around on the edges, then put a bit of cotton fiber inside.

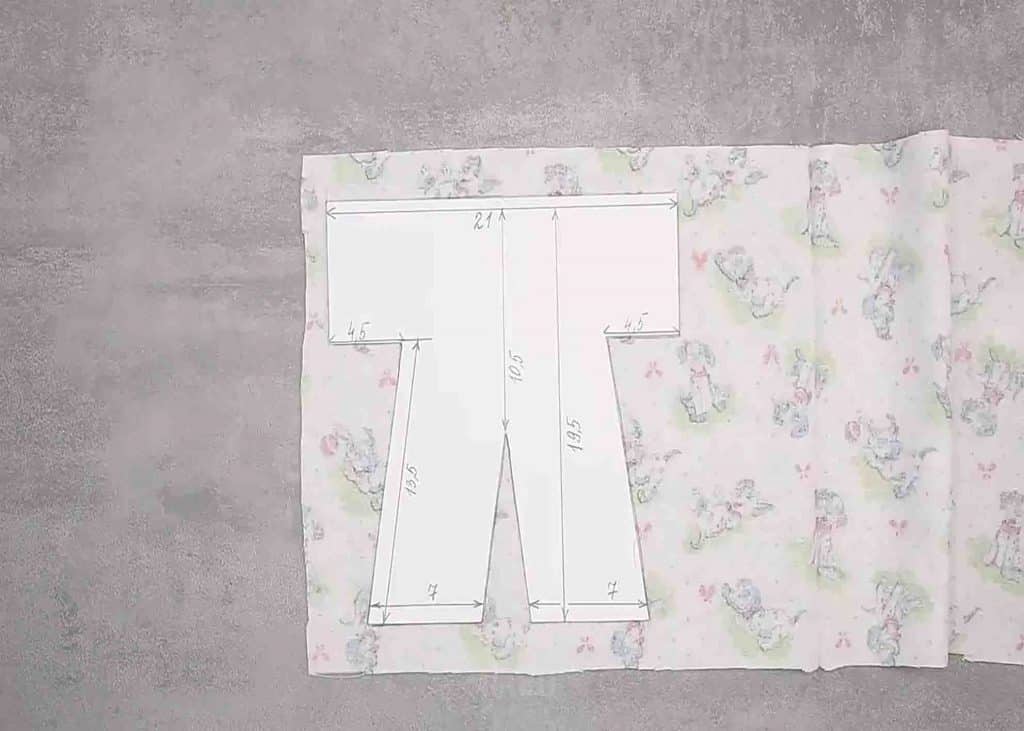
(See the image below for the template and dimensions.)
Sew them together using a sewing machine.
Next, put the soft doll toy skeleton inside the sewed fabric, then fill it with cotton fiber.
Sew it around the edges, then fill it with cotton fiber inside.
After filling it, see to it to stitch it at the back to lock it.
After this, attach the head to the body.
Step 3
Start putting details on the doll.
First, grab the same fabric you use for the body and cut out a piece for the hat.
Sew the hat to the dolls head.
Glue the pacifier onto the doll, making it the mouth part.
