Lucky for us,The Sewing Room Channelfrom Youtube got us this super easy no-binding potholder tutorial.
No confusing stitch just a straightforward guide to turning your scraps into colorful potholders.
Learn this by watching the tutorial below.
Image credits: The Sewing Room Channel via Youtube
Put these three together at the center of the 10 square fabric.
Next, top stitch them all together.
Trim some of the excess fabric off the corners.
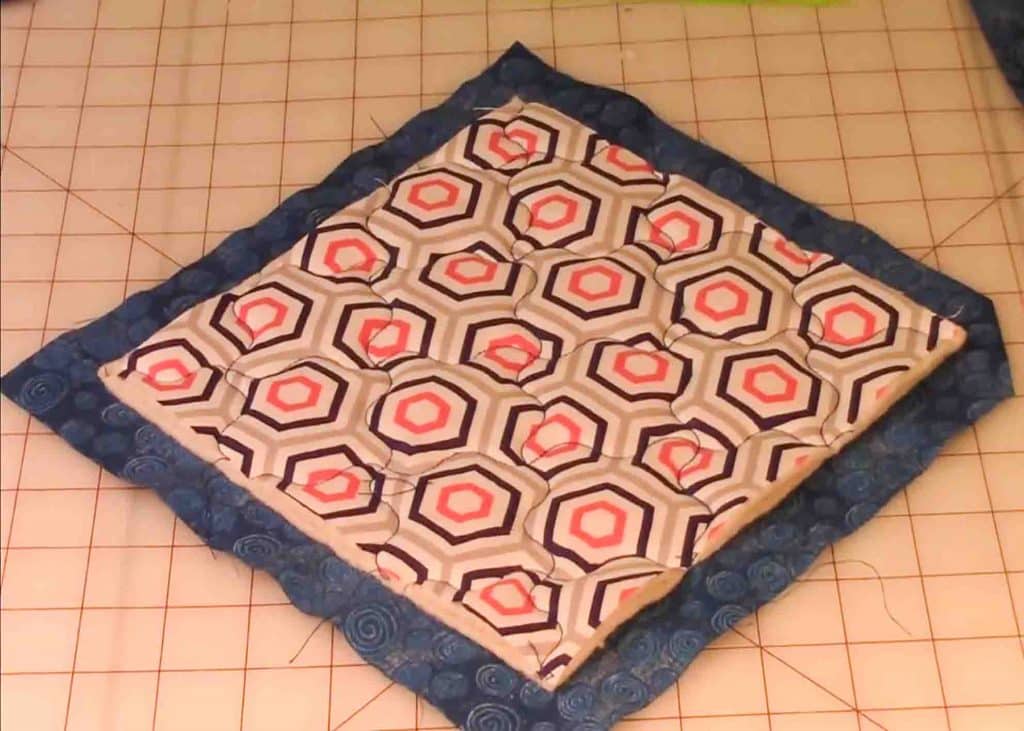
Take a ruler and place a line from corner to corner.
Do this to all four corners.
Turn the fabric over and just repeat the process.
If you go for the decorative or the wavy stitch, you’re able to still go side-to-side.
Start in the center, stitch down, turn the fabric over, then do the other side.
Step 2
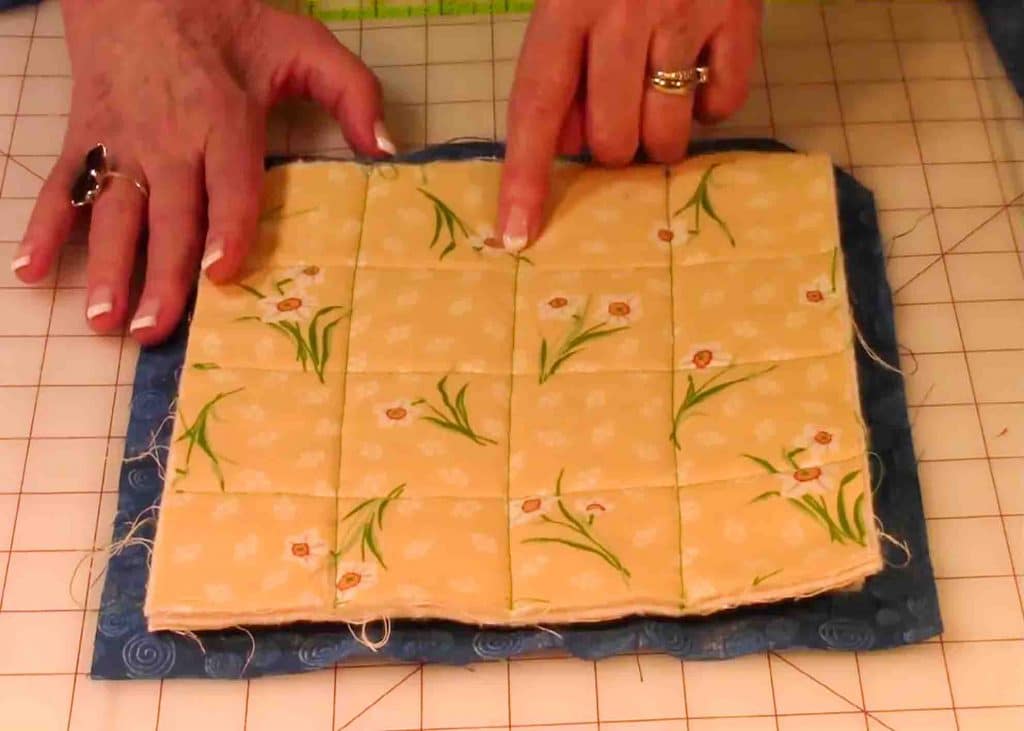
After trimming the edges, fold the fabric towards the corner.
(double-check the fabrics raw edge just barely covers the corners tip.)
Next, with an iron, press all four corners.
After this, go ahead and fold all the fabric on the straight edges in 1/4 then press them.
Fold over one side and stitch down on the folded edge of the back fabric.
Do this on the opposite side also.
Fold over the other two opposite remaining sides and stitch them down.
double-check the diagonal folded edge goes over a bit to the top of the other stitched folded side.
Start stitching in the corner, going back and forth to secure it.
