This quilt project has these patterns combined.
Its also easy enough for beginners.
Watch the video below for the step-by-step instructions.
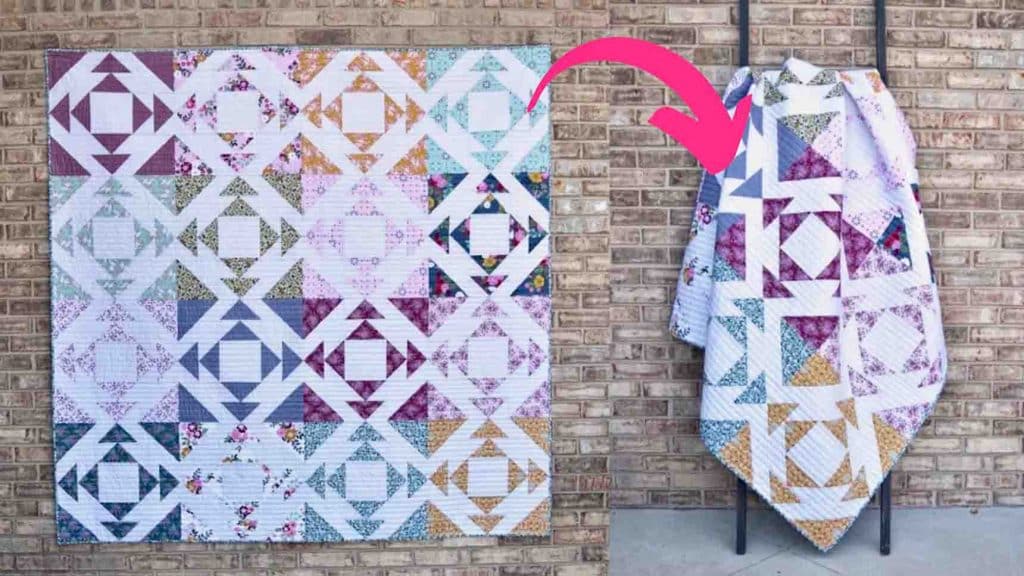
Image credits: Material Girl Quilts via Youtube
7 & 1/4 squares of your print fabric from your fat quarters and 2 pcs.
7 squares from your fat quarters.
From the background fabric, you will need to cut 2 pcs.

7 squares, 1 pc.
6 & 1/2 squares, and 8 pcs.
3 & 7/8 squares.
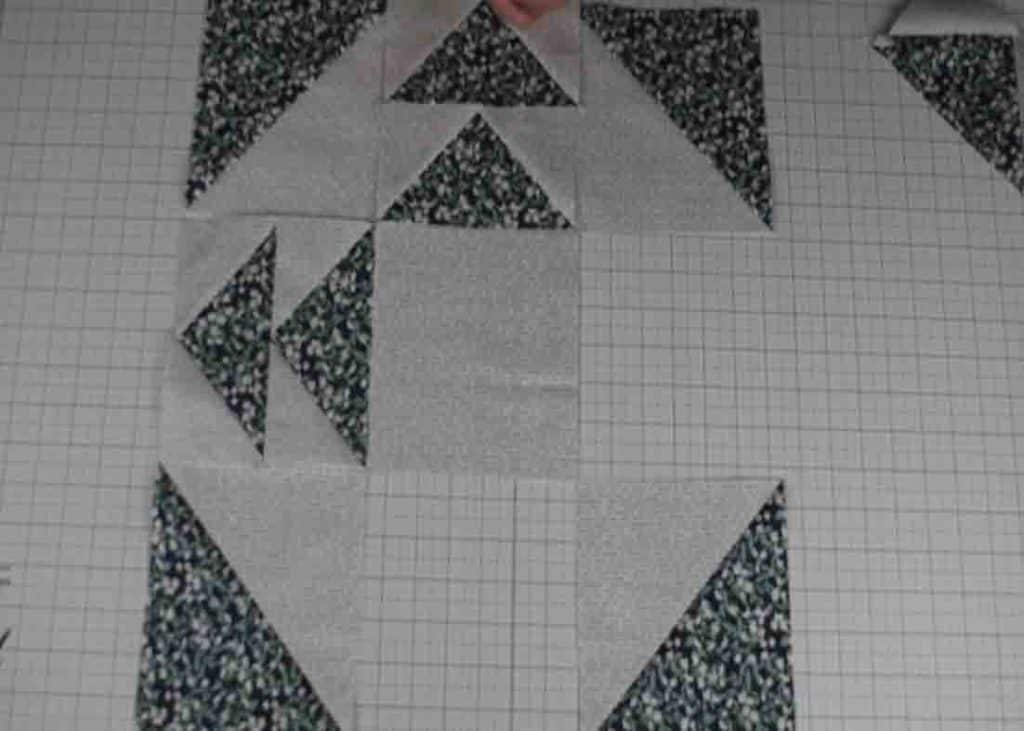
Now, to piece this block, make the half-square triangles that are in the corner of the block.
To do that, place right sides together of the 7 print square and 7 background square.
Draw a line diagonally across the fabric, then sew 1/4 on either side of that line.
Once youve done that, you will then cut directly on your drawn line and press it open.
Repeat this process to create a total of four half-square triangles for the corners of your blocks.
Draw a line on the diagonal across those squares.
Sew 1/4 on either side of the drawn line.
At this point, you will press these open towards the background fabric.
Press again towards the background fabric and that will give you your flying geese.
When youre done, you’re gonna wanna trim these and square them up if necessary.
when you land those trimmed for, youre going to sew these into pairs.
So youll have 4 different pairs of flying geese sewn together.
After this, you will now lay out the quilt block.
Sew these into three different rows and then sew the three rows together to complete the block.
