Just like this super cute and reversible bucket hat byHello Sewingon YouTube.
Materials:
Directions:
Step 1
Download, print, and cut the bucket hatpattern.
Repeat the process with the outer fabric.
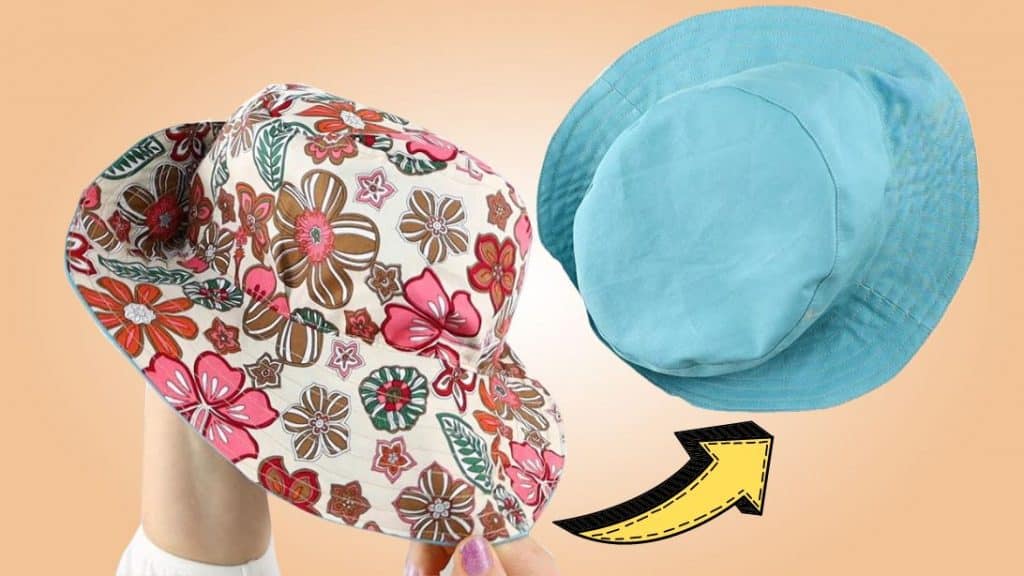
Image Credit: Hello Sewing via YouTube
Next, launch the circle you created and press the seams open.
bring up the crown piece and place it into your head to check the fit.
Place the oval crown piece vertically, then fold it in half, and mark the side creases.
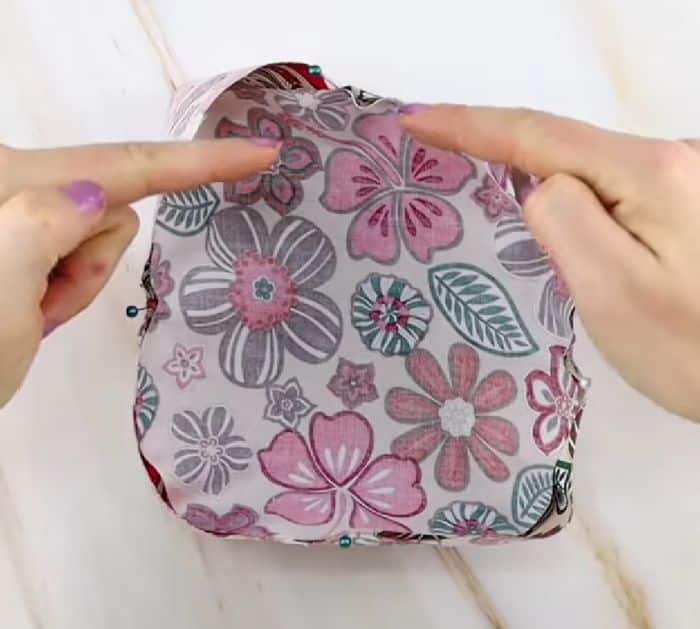
Pin the other center to the bottom side of the oval and the seams to either side.
Now, pin the rest of the pieces together nicely.
Line up the brim seams with the crown and pin them together on the wrong side of the fabric.
Pin the middle to the middle of each side and pin it around the bucket.
Step 3
Create another hat shape using the first few instructions.
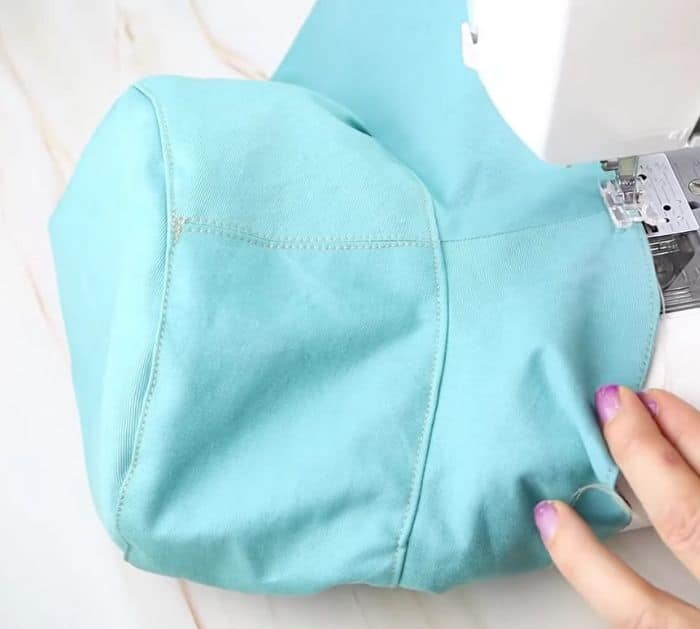
Stitch around the brim with a 3/8 seam allowance leaving a 3-inch gap for turning.
These stitch lines help to stabilize the hat and you will most probably need 5 or 6 of them.
*All these images are credited toHello Sewingvia YouTube.
