No longer have the inspiration to try out new sewing projects?
How about you look at this easy tote bag with cover tutorial byAe PooiMon Youtube?
I am certain youll be excited to get your hands on the sewing machine again with this lovely bag.
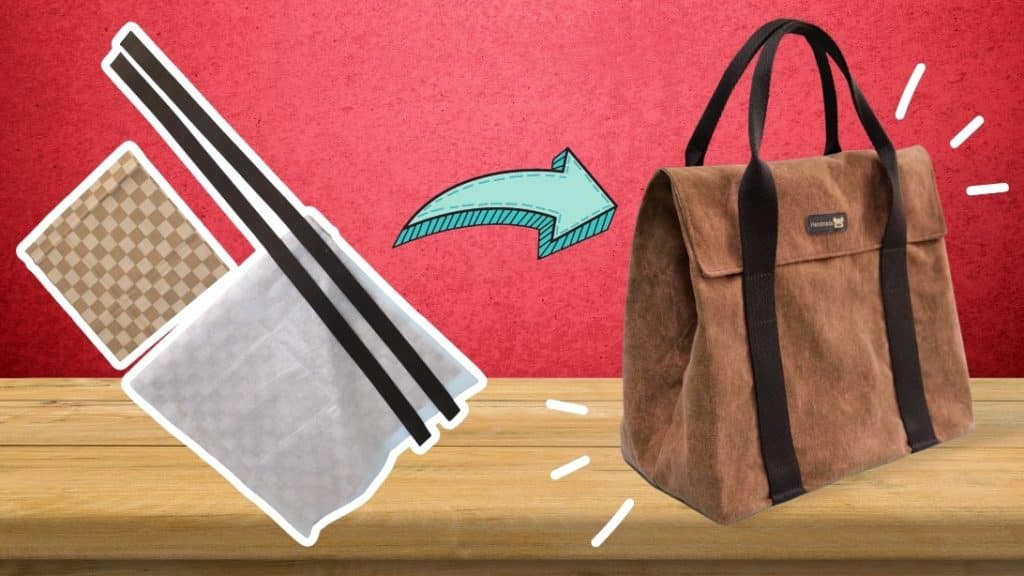
Image by: Ae PooiM
How can you not fall in love with this beautiful piece?
And yes, this tote bag is easy to make and beginner-friendly!
Watch the video below and start getting crafty!
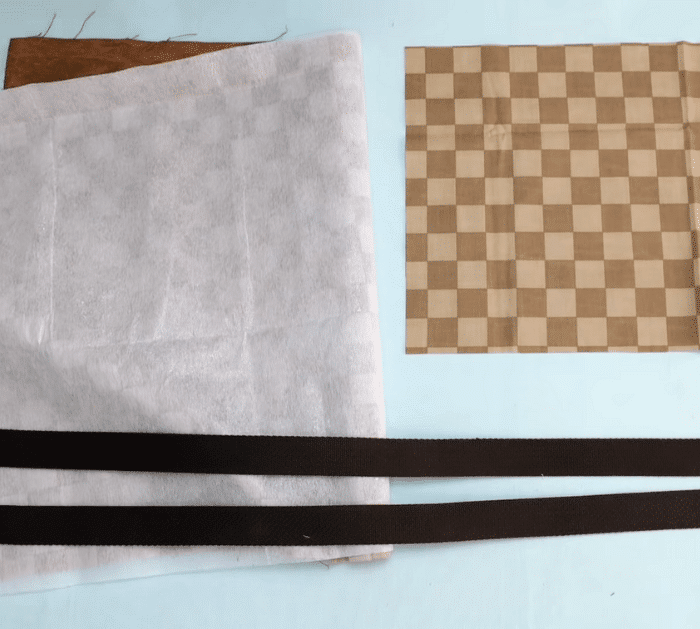
Use an iron to smoothen the fabrics.
Then fold it until the end is in line with the rectangular cutout.
Next, turn the fabrics, so the rectangular excess is on the top.
Trace 2 7/8 x 2 1/2 on the end corners and cut them.
Cut the lining in the same shape as the canvas.
Step 4:
Fold the handle in half.
From the folded end, measure 5 1/2 and mark using a pencil for both sides.
Open it up and fold the parts from the first to second mark lengthwise using clips.
Do the same for the other handle.
Step 5:
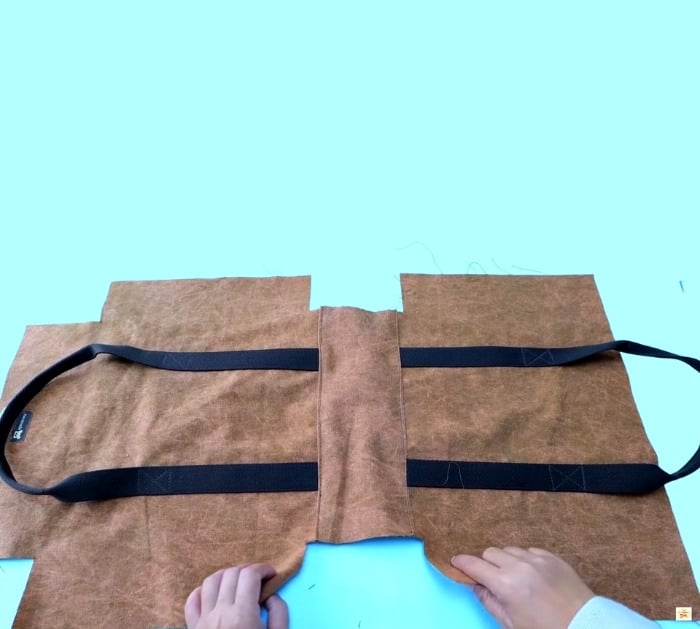
Get the cotton canvas.
From the end of the two lines, measure 2 3/8 and mark them.
Get your handles and place them on the marks on the line.
From the ends of the handles, measure 8 1/4 and mark.
Then stitch the handles from the marks.
Step 6:
Get the 12 1/2 x 5 1/8 and lay it right side down.
Fold the edges and press using an iron.
Place and sew this on the middle of the stitched canvas.
This will be the bottom of your bag.
Then stitch the perimeter leaving an opening on the top.
Cut the corners and pull the right side out.
Sew the top and bottom lengthwise.
Get the lining with cutouts.
Place the stitched rectangular cloth just above the rectangular cutouts in the middle, then stitch.
Step 8:
Now get your canvas with handles and interfacing.
Place the wrong side up on the lining.
Then stitch both ends leaving a 3/8 seam.
Cut the corners and create diagonal cuts on the inner corners.
Fold it in half so the lining is on the right and the interfacing is on the left.
Then stitch the edges with a 3/8 seam and leaving an opening on one side.
Now, sew the corners to make boxes.
Step 9:
Pull the right side out from the opening.
Once done, sew the opening.
Then stitch the rectangular ends of the cover.
Press the corners using an iron.
Then from the sides, sew 2 3/8.
Now, fold the bottom part a little and stitch on the handles.
Finally, attach the magnet buttons.
