As a quilter, doing patchwork can be tedious at times.
But with this fast and easy way fromMinki Kimon Youtube, doing patchwork will be so much easier!
Instead of sewing individual squares together, this tutorial will let you do it 3x faster.
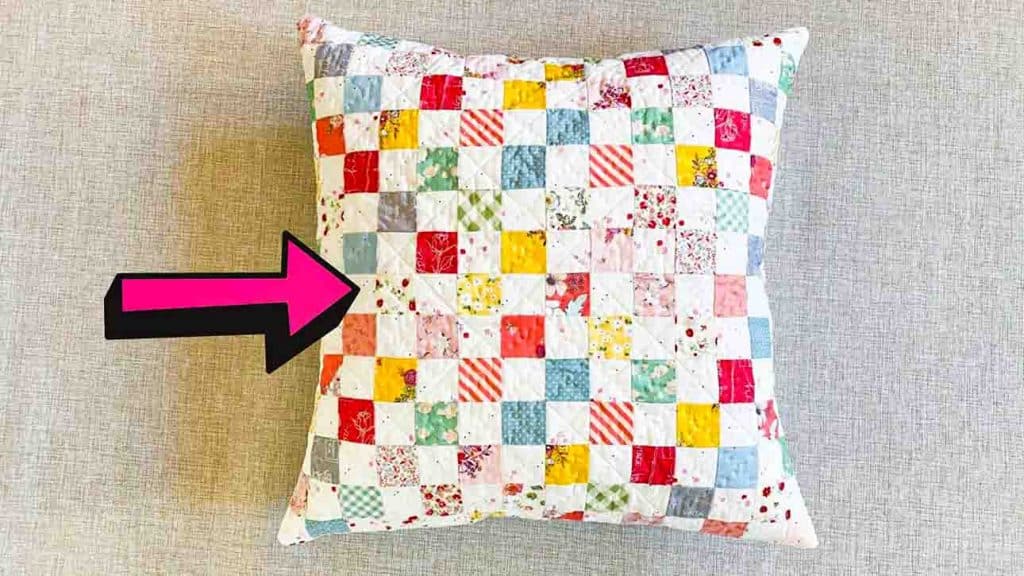
Image credits: Minki Kim via Youtube
you’re free to apply this technique not just for pillow covers; but to other quilts too.
Watch the video tutorial below to learn this.
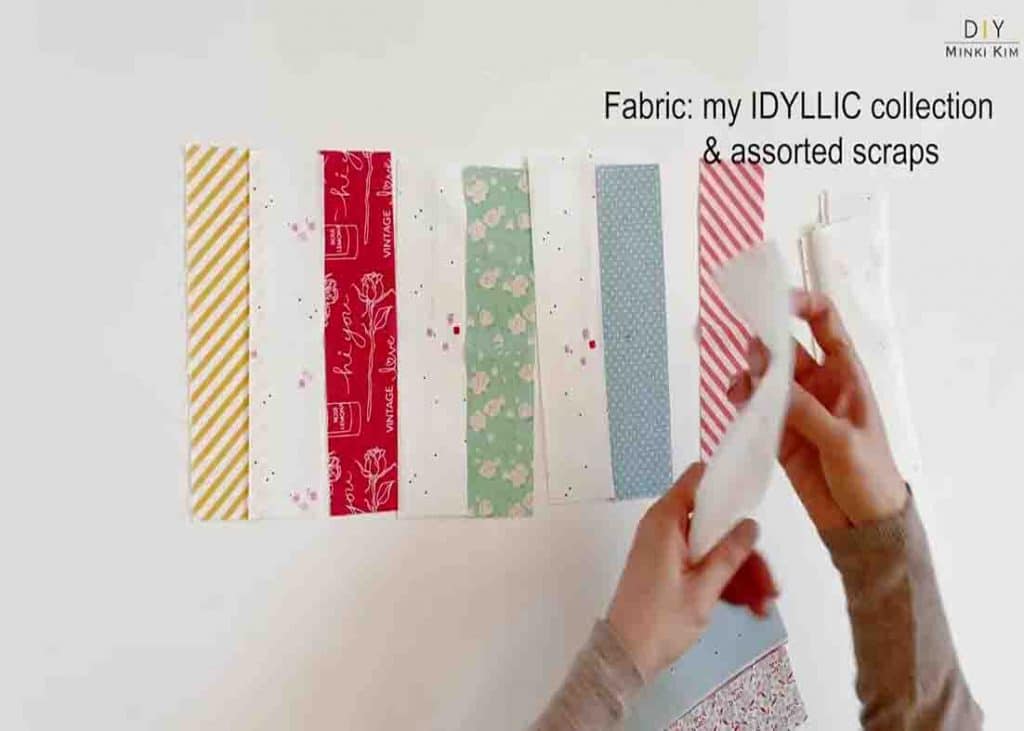
(Fabric is from IDYLLIC collection & assorted scraps.)
Next, stitch together to make 21 1/2 x 8 (54.6cm x 20cm) rectangle.
Press the seam allowances to the wrong side of the fabric.
Sub-cut the rectangle to (4) 2 x 21 1/2(5 x 54.6cm) long strips.

Repeat it for the fourth patchwork rectangle.
Now, you have 14 rows of 2 x 21 1/2 patchwork strips.
Sew together all the rows to make 21 1/2 patchwork square.
Layer 22 1/2 x 22 1/2 (57cm) cotton batting and patchwork on top.
Draw a guideline for the quilting.
Set a walking foot and stitch length 3.0.
(Quilt along the guideline.)
Press to remove the marks (if you used a frixion pen, it will disappear with heat.)
Trim pillow top to 21 1/2(54.6cm) square.
With the right side up, place patchwork on your table and then layer a small rectangle on top.
Layer the big rectangle, overlapping folded edges about 4 (10cm).
Next, stitch through the layers all the way around.
Stitch across overlaps again on side edges for strength.
Do a zigzag stitch all the way around the raw edges.
Now, turn the pillow cover inside out and its finished.
