This full reversible apron with pockets bySewVeryEasyis the perfect gift for someone who loves crafting or sewing!
It has deep pockets and can store a lot of things while you are working.
There are 4 sides to this pocket, so you’re able to change it however you like.

Image by SewVeryEasy
Watch the video below for detailed instructions.
Use the plate to connect the two points and make a curve.
This will be the neckline.

Go over 2 inches to the side and draw a small 1-inch line.
From that end, draw a line towards the starting point on the quarter circle.
This will be the shoulder.
Step 3:
From your working edge, measure 16 inches down and put a mark.
Make a diagonal line from the shoulder to the 16-inch mark.
Step 4:
Cut the neck part, shoulder, and side.
Cut the other remaining fabrics using this as the pattern.
Step 5:
Match two sides of the two other fabrics and stitch along the bottom edge.
Do it on both sides.
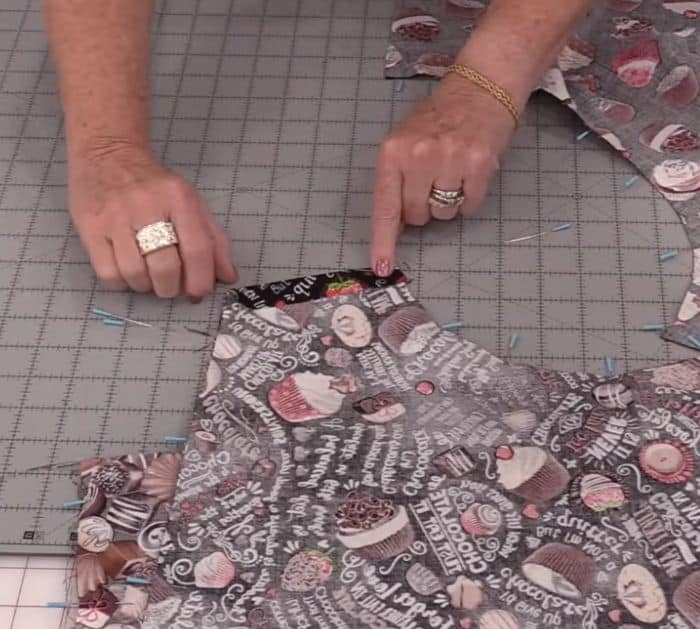
Measure how deep you want your pocket to be.
For this project, we will make a 12-inch deep pocket.
Stitch a line where the bottom of the pocket is going to be.
So, measure 12 inches from the end and stitch.
Once done, pull the apron along that stitch line.
Now, take the bottom layer so you have the pocket inside.
Do the same for the other pair.
Leave the shoulder open on both sides.
Next, do the other pair.
For the shoulder seams, fold them back half an inch and press them.
Pin the fold together and stitch the side seam and neck.
Leave the shoulder open.
Step 7:
Turn them right side out on the shoulder part.
Press all the seams to flatten.
Step 8:
Join the two together.
Measure 3 inches from the shoulders of the unfolded apron, then make a line.
Slide it to the folded edge of the other apron.
Line it up and secure it with pins.
Step 9:
Stitch the ties however you want.
