This method will allow you to have a professionally finished look without binding strips.
Its fast and easy, and you will surely apply this to your future quilting project.
Watch the video tutorial below to learn the step-by-step process.
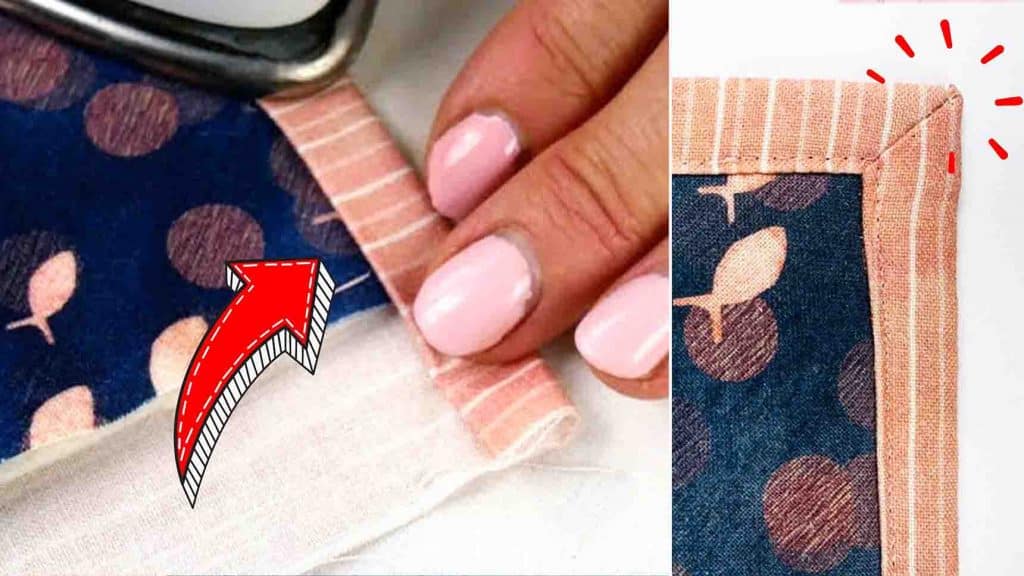
Image credits: WonderFil Threads via Youtube
Now, youll need to square up your quilt before it’s possible for you to begin binding.
Tuck your backing out of the way and trim the other layers with your rotary cutter.
(Be careful not to cut any of your backing fabric.)
Youll need an inch of back fabric from the edge of your quilt.
Use your ruler and trim it all the way around.
(You dont need to overlap the quilt top, just have it lined up against the edge.)
Press with an iron to hold it in place.
After this, fold your binding over one more time.
Press again with the iron to keep it stuck down.
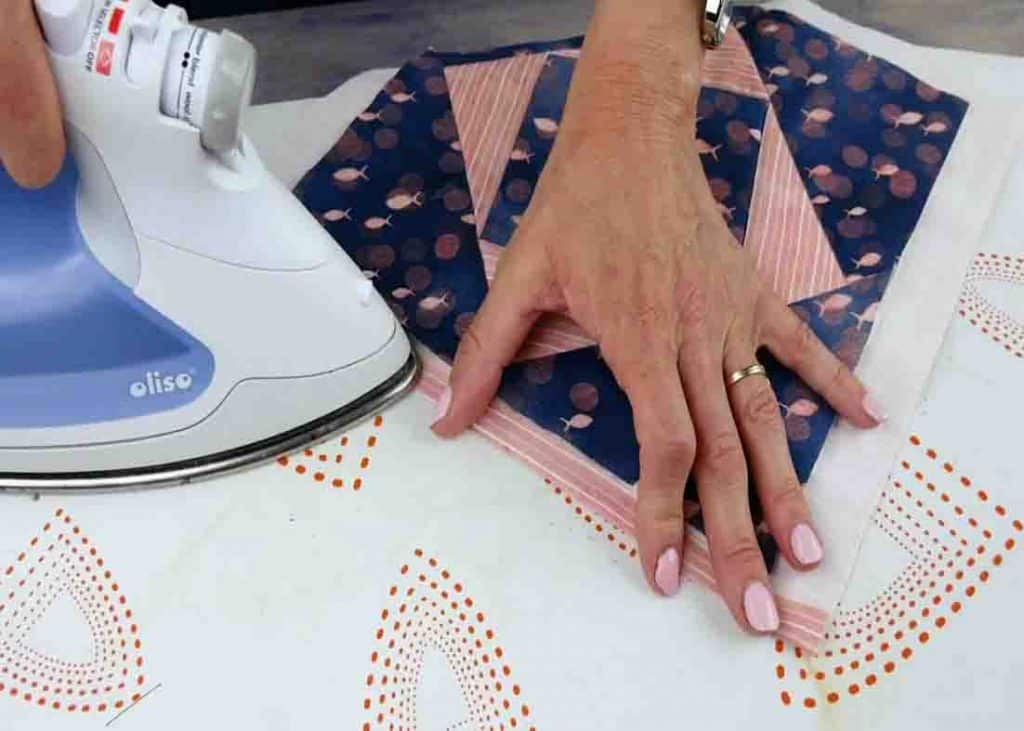
Add another dab of glue and press it down with the iron.
Repeat the process to the three other edges.
Dab glue in the corner and press.
Re-press the side, mitering the final corner.
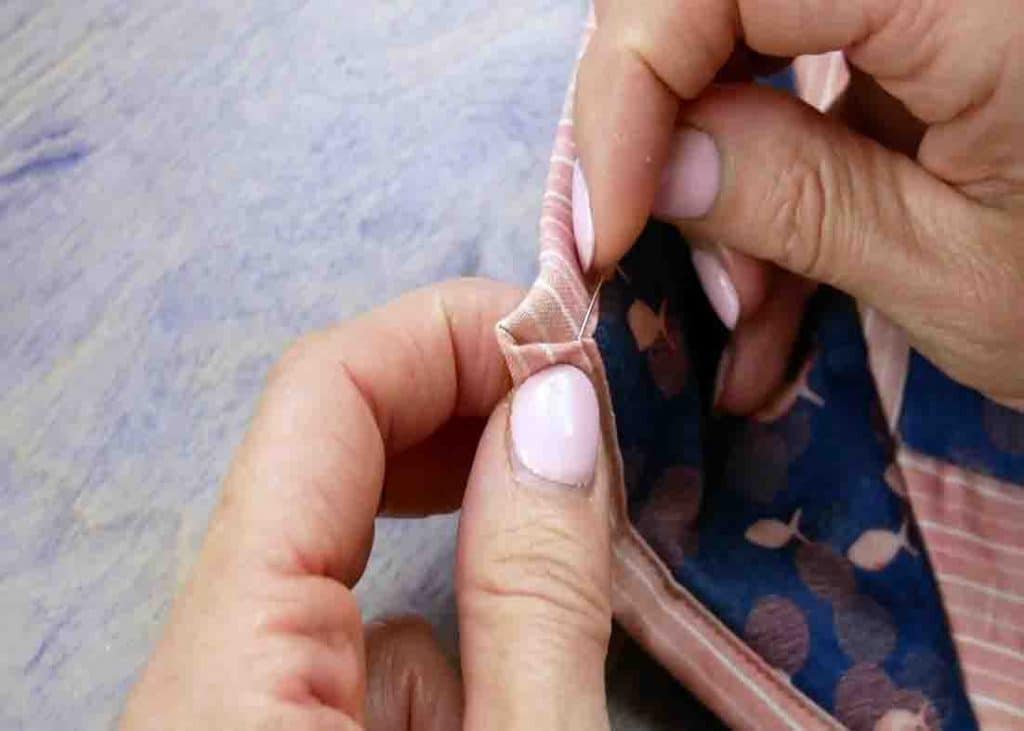
Now, after stitching your binding, there will be a gap at the mitered corners.
