Been wanting to sew this pattern?
Learn how to make a chandelier quilt with this tutorial byMissouri Star Quilt Company.
This design may look complicated, but its not, thanks to Jennys step-by-step instructions.
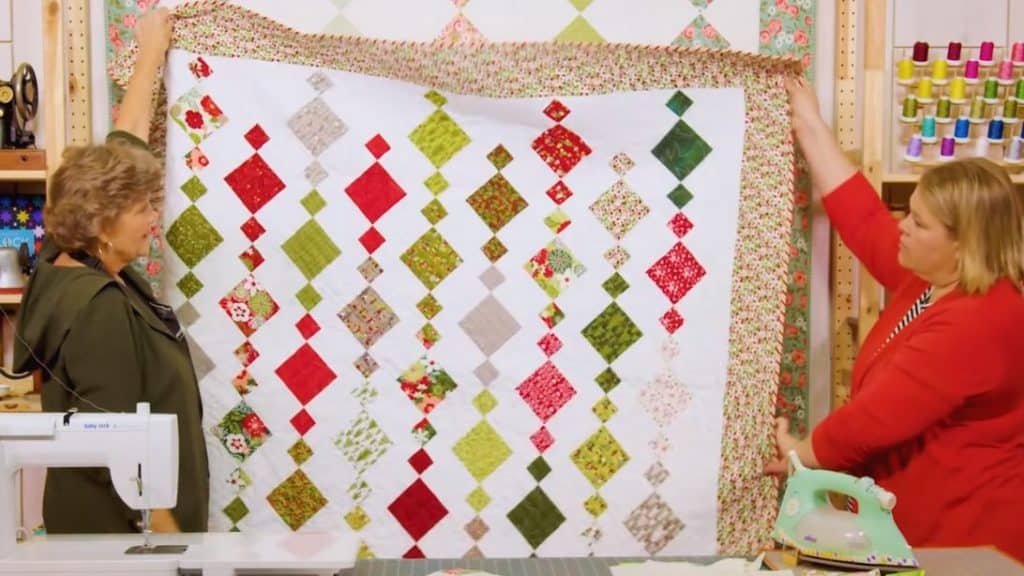
Image by: Missouri Star Quilt Company
If you want to start a Christmas quilt, then this is it!
Its gorgeous, making it the perfect gift to friends and families.
Watch the video below for a detailed explanation of each step.

Leave one whole and cut the other one in half using a rotary cutter.
Set aside one half, and cut the other half again making 2 squares.
Make 2 pieces of 2 1/2 x 5 rectangles and 2 pieces of 2 1/2 x 7.

Do a quarter-inch seam and run right down the side.
Press using an iron.
Take the two seven-inch pieces and sew the 2 small squares on the end of each.
Sew them together and press them open.
Step 5:
Cut a 13 3/8 inch square on the background fabric.
Cut the square diagonally in both directions, from one corner to another, making 4 setting squares.
For your corner triangles, cut a 6 7/8 inch square and cut it once diagonally.
Step 6:
All are set in diagonal rows.
Sew the opposite corners of the blocks together.
you’re gonna wanna make two of that row.
Sew each row first, then lay them out.
The middle row will have the corner squares on it and caps on top and bottom.
For the sides, you want to find the middle of the block and setting square.
It should hand over about a quarter inch on either side.
Sew a quarter of an inch down the side and press.
Sew the other blocks into that and the little cap on the other end.
Step 7:
Once you are done, sew the six-inch border, backing, and binding.
