That means its time to put up some decorations.
For the gnome lovers out there, I came acrossPatti J. Goodstutorial for a DIY gnome.
The supplies are cheap and can be easily found at a dollar store.
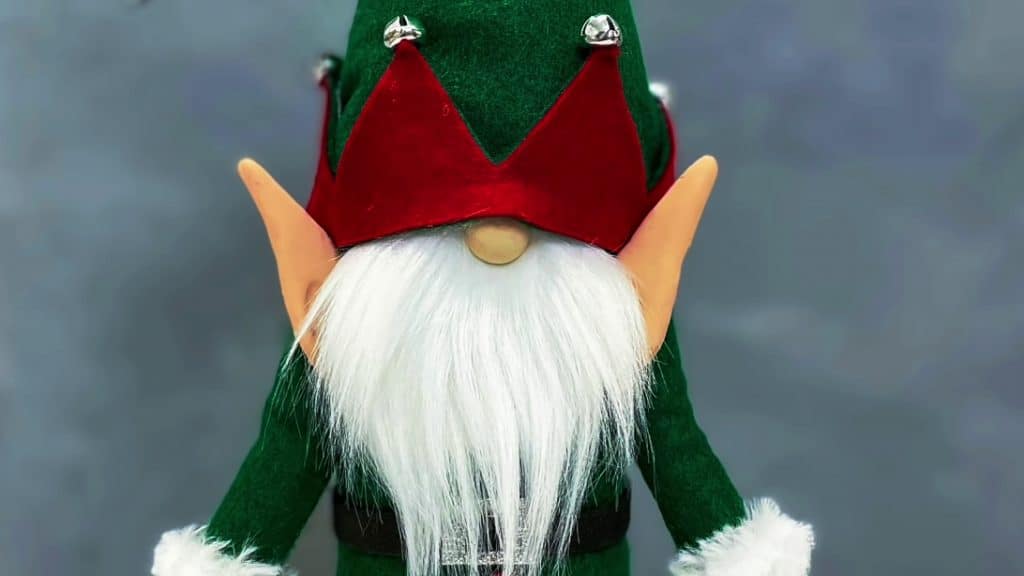
Image credit: Patti J. Good
Then, fold and glue together the curled-up parts or the toes.
Take the baby shoe and glue it all the way around the design.
Once thats done, you’ve got the option to exit the gap.
Then, glue the inside of the shoe and tuck down the felt.
Take your fur yarn and glue it around the shoes opening.
Add a little bell to the tip of the toe.
Place some weights inside of the shoe and cover it with felt.
Trim out a thin piece of felt and glue it around the bottom part of the shoe.
Repeat the same steps for the other pair.
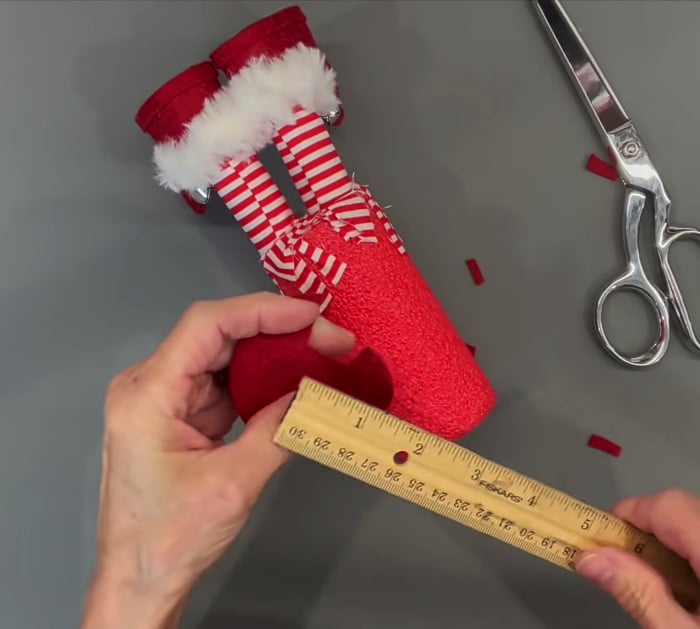
Step 2:
For the legs, take two dowel rods and measure them at 5 inches each.
Cut these evenly with your miter cutter and sharpen them using a pencil sharpener.
Put two corks on the blunt end of each of the rods.
This serves as the bottom part of the legs, while the sharp end serves as the top part.
Then, take a knife and shave the bottom bit of the cork.
Measure the cork one inch from the bottom.
Hem the two sides of your fabric.
Glue the fabric onto the rods, leaving one inch from the bottom.
Cut slits into the material on the top part of the legs, and pull those back.
Glue the bottom part of the legs onto the shoes.
Then, push the top part of the legs into the pool noodle.
Glue the fabric tabs right down to the noodle.
Cut out a circle from the felt and put it right between the legs.
Glue the other half down, followed by the other side, and glue it down.
Pin the V jacket pattern around the tube.
Start by cutting the green felt following the pattern, creating the jagged edge of the jacket.
Remove the pattern and attach the pool noodles for the legs to the green tube.
Close up the felt so that the pool noodles wont be seen.
Step 4:
To build the hat, cut 10 1/4 by 11 of green felt.
Fold it in half.
Cut that pattern off.
Curve the bottom about half an inch.
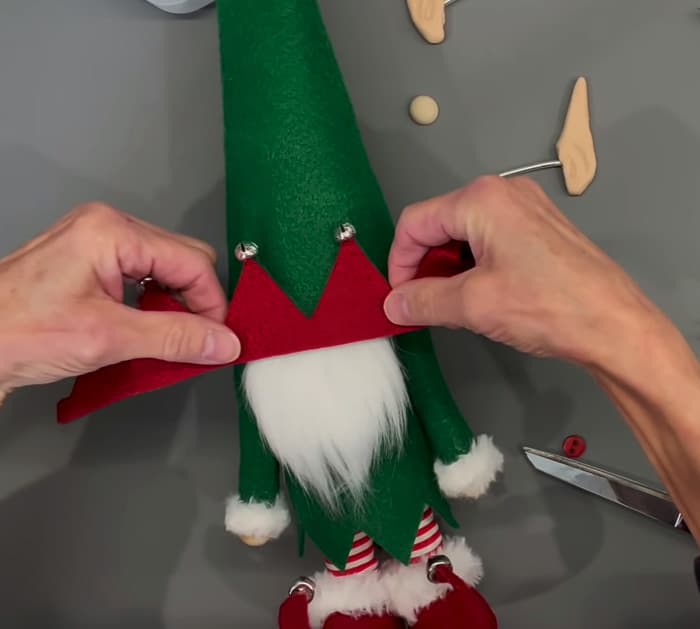
Cut two V patterns from red and green felt and glue them together.
Leave the tips open a little bit to add the bells.
Step 5:
For the arms, take your small pool noodles and cut them at 3.
Take a piece of your green felt and sew a seam on one side.
Take a clay ball and glue it to your noodle.
Roll your noodle onto the fabric, making sure that the bottom overlaps a bit.
Then, glue it down.
Take your fur yarn and glue it around the end of the arm.
Repeat the steps with the other arm.
Then, attach the arms to the body.
Remember to ensure that the seams are facing the body so that they wont show.
Step 6:
For the gnomes beard, use white faux fur.
Mark two inches across and two inches down.
Cut a U shape behind the faux fur and not through it.
Then, glue the beard an inch from the top of the body.
Step 7:
To attach the hat, take two pipe cleaners.
Twirl and bend them together at the end, so they have a blunt tip.
Fill the gnomes hat with stuffing.
Then, pull and glue the hat down over the arms and the top part of the beard.
Attach a jingle bell to the top of the hat for its finishing touch.
Step 8:
To make its ears, take two 34-inch clay balls.
Roll them out and cut them into the shape of a pie.
Then, shape them into ears.
Attach a piece of wire to each of the ears and bake them at 250 degrees for 15 minutes.
After that, attach the ears to the gnome and its nose, button, and other accessories.
And there you have it, a DIY elf gnome to keep you company for the holidays!
