Save a lot more money by making it instead of buying it at the shop.
Learn how to make a DIY ottoman with storage using a bucket through this awesome tutorial byChristine Noreon Youtube.
Step 2:
Wrap the cloth around the bucket to measure its size, then cut it.
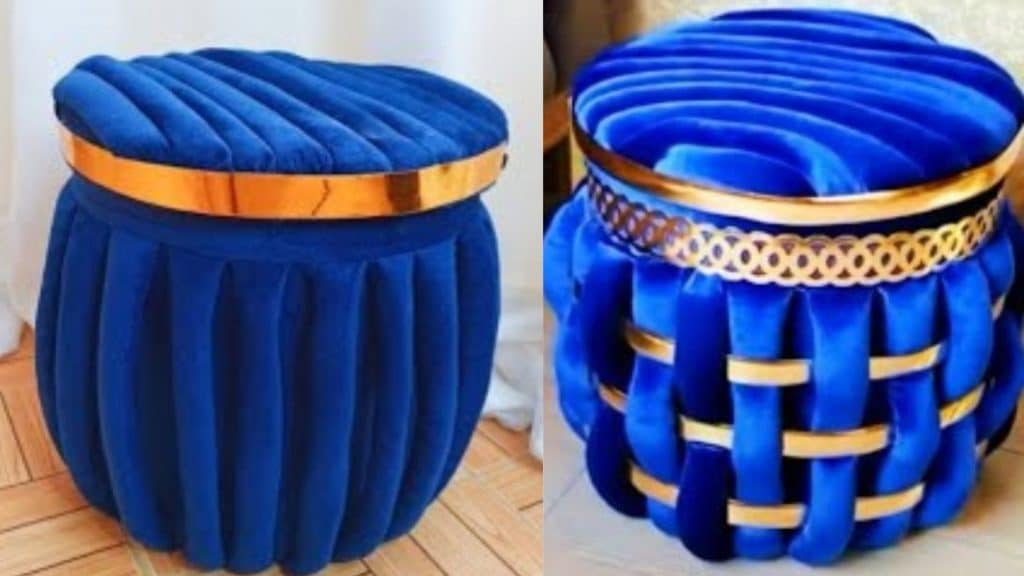
Image by Christine Nore
Make another one but a bit bigger.
Step 3:
Cut some strips of cloth then fold each in half right sides together.
Sew them on the edge, and flip it right side out.
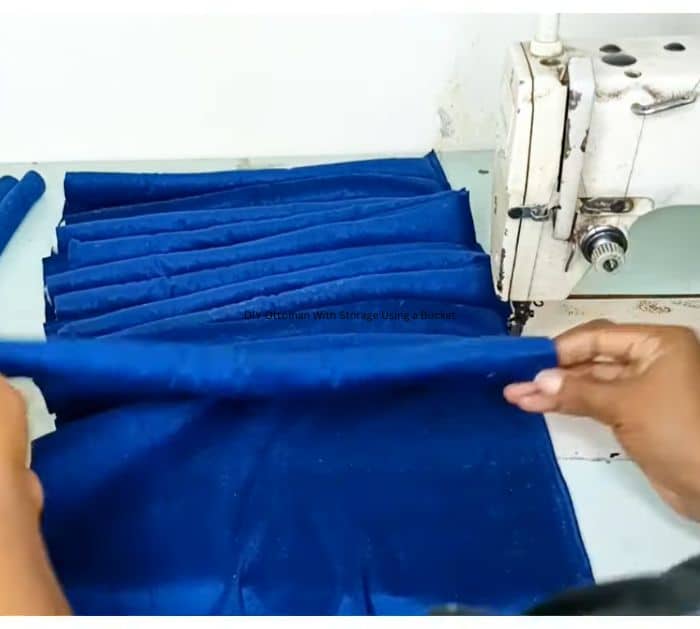
Step 4:
Fill each of them with foam.
After that, sew the bigger cloth.
Step 5:
Insert the cover into the basket with the smaller cloth on the inside.
Glue it on the bottom of the bucket.
Do the same on the outer cover but use a gun tacker.
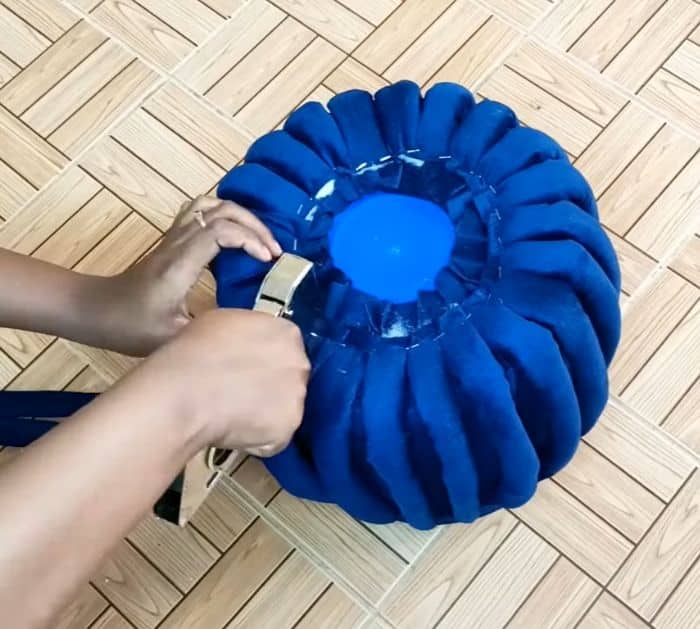
Step 6:
Attach each foam to the bottom of the bucket using a gun tacker.
Cut a circle on the cloth, big enough to cover the bottom middle of the ottoman.
Use a glue gun to attach the edges to the strips.
Step 7:
Cover the lid of the bucket with the cloth.
Once done, get the remaining foams and cut them into the size of the lid.
Use a gun tacker to attach them to the lid.
Step 8:
Glue a strip of reflective paper around the edges of the lid.
