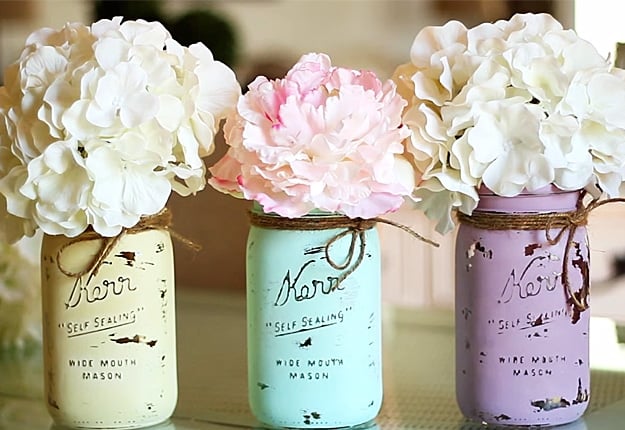
This crafty idea has been my favorite thing to make all year.
It requires only a few supplies and the results are always gorgeous.
Imperfection makes them even more charming.
See what you think of the step by step video and be sure to check out the instructions below.
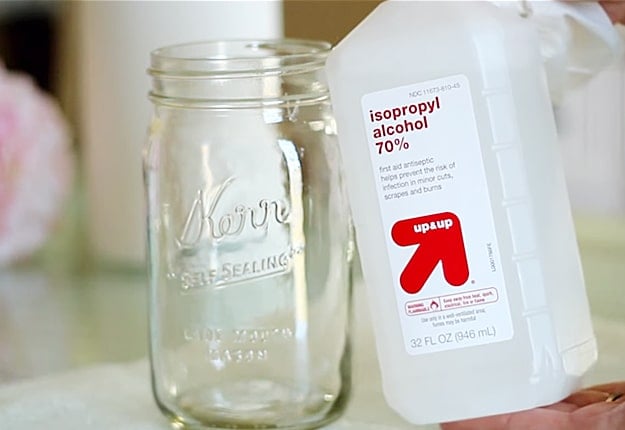
This is done to ensure that the chalk paint will adhere better.
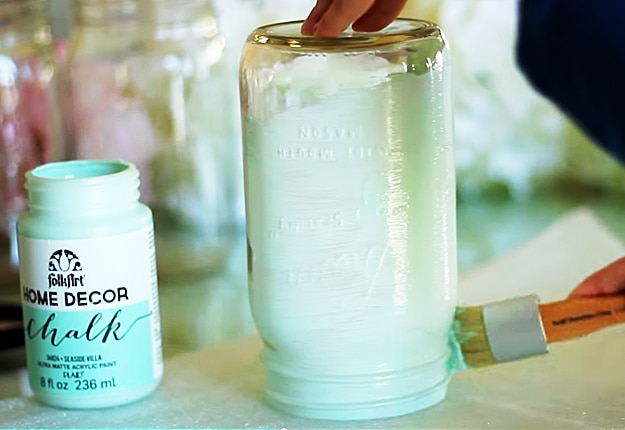
Typically, it would take 1-2 coats to achieve an opaque-matte finish.
Step 3
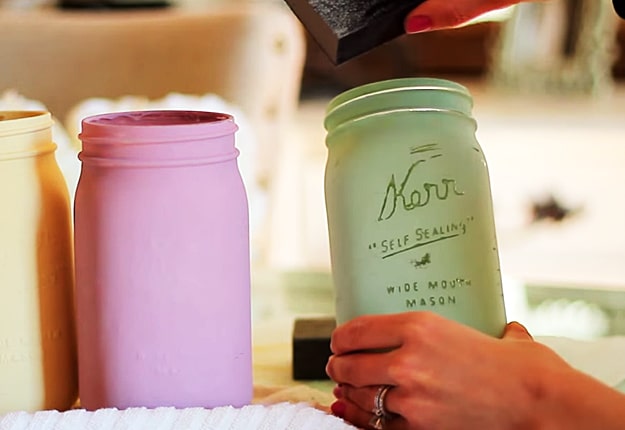
Continue painting the other jars using different colors.
Once they are all dried, you’re able to apply the second coating.
Let them dry overnight before you jump in the destressing/sealing process.
Work by swirling motion all over the surface of the jar.
Once done, wipe off the chalk dust or residue using paper towels.
Step 5
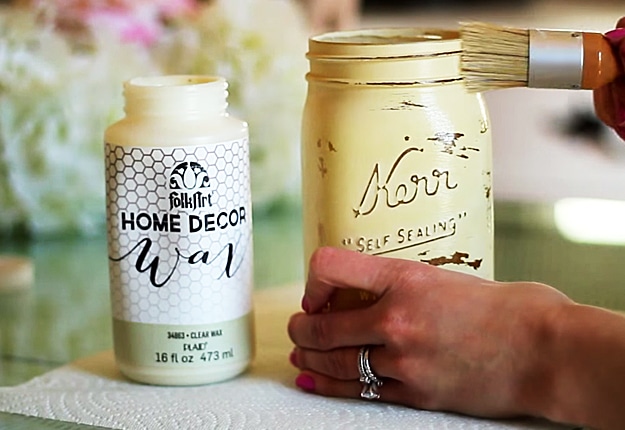
Now its time to seal your mason jars.

Go around the surface by putting your other hand inside the jar to make it quicker and easier.
Step 6
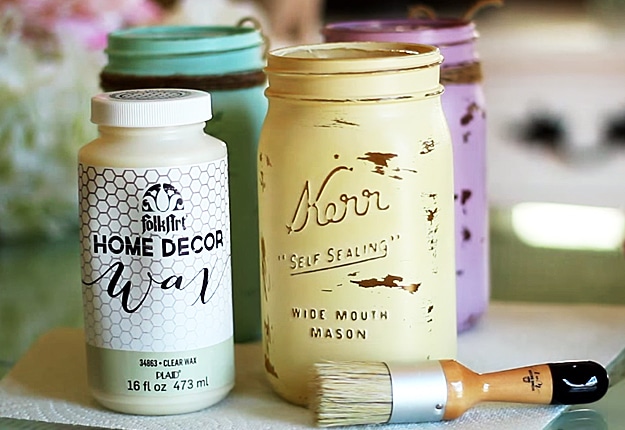
Let them dry and buff with a soft cloth before moving to the next step.
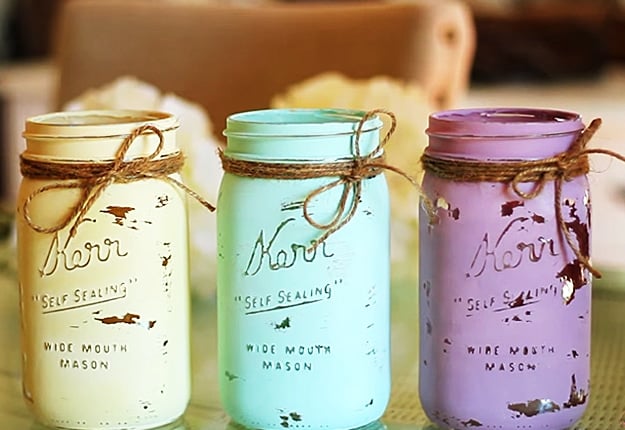
And your DIY Chalk Painted Mason Jars are done!