Step 2

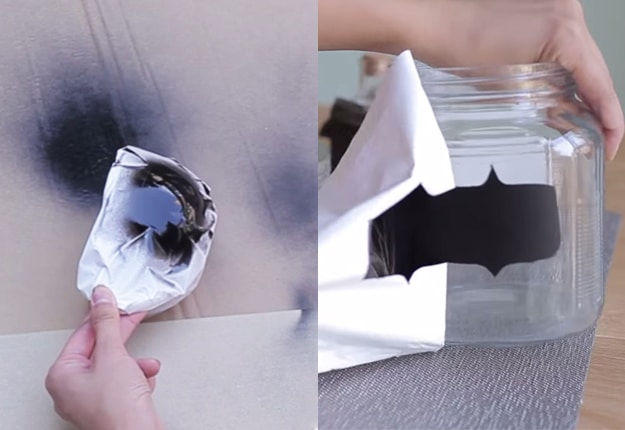
Cut out a big piece of your contact paper utilizing your chosen design (i.e.

Step 4

Spray your chalkboard paint onto the surface area and let it dry for 24 hrs.

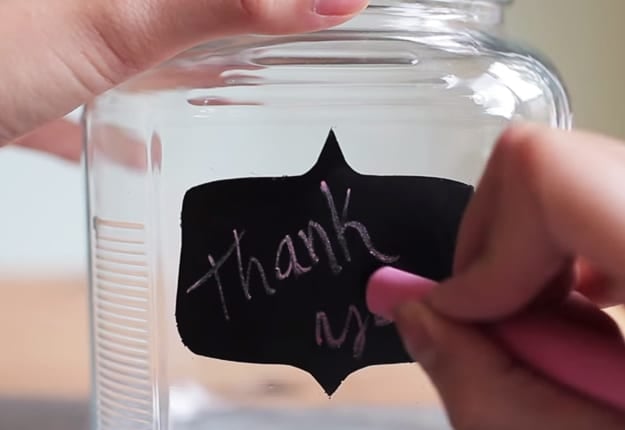
After the paint has completely set, you could now peel off the contact paper.
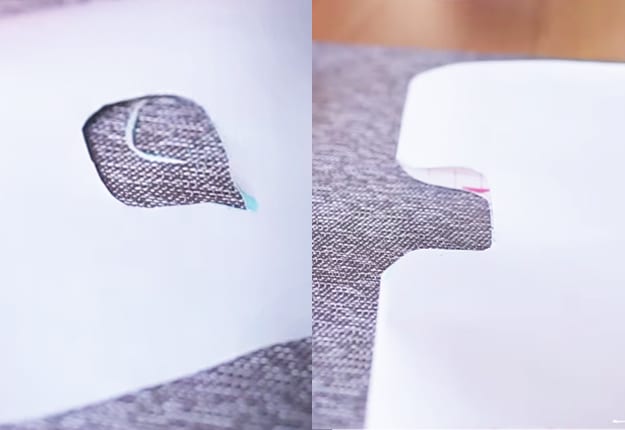
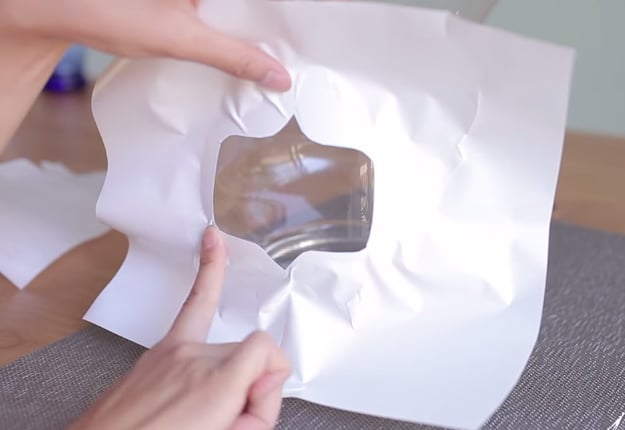
DIY Crafts for the Home | Organization Ideas | Chalkboard Paint Storage | DIY Projects and Crafts by DIY JOY at

DIY Crafts for the Home | Organization Ideas | Chalkboard Paint Storage | DIY Projects and Crafts by DIY JOY at http://diyjoy.com/organization-ideas-chalkboard-labels

DIY Organization Ideas for the Home | Step by Step Chalkboard Paint Tutorial | DIY Projects and Crafts by DIY JOY at http://diyjoy.com/organization-ideas-chalkboard-labels

DIY Organization Ideas for the Home | Step by Step Chalkboard Paint Tutorial | DIY Projects and Crafts by DIY JOY at http://diyjoy.com/organization-ideas-chalkboard-labels

Craft Ideas for the Home | DIY Home Decor | Chalkboard Paint Projects  | DIY Projects and Crafts by DIY JOY at http://diyjoy.com/organization-ideas-chalkboard-labels

DIY Crafts for the Home | Organization Ideas and Storage Tips | How to Make Chalkboard Containers | DIY Projects and Crafts by DIY JOY at http://diyjoy.com/organization-ideas-chalkboard-labels