Wall art pieces like this are great decor for an empty wall.
It gives texture, shape, and dimension to the space, but sometimes they cost a lot.
He showed us how to make geometric wood wall art DIY the easy and best way.
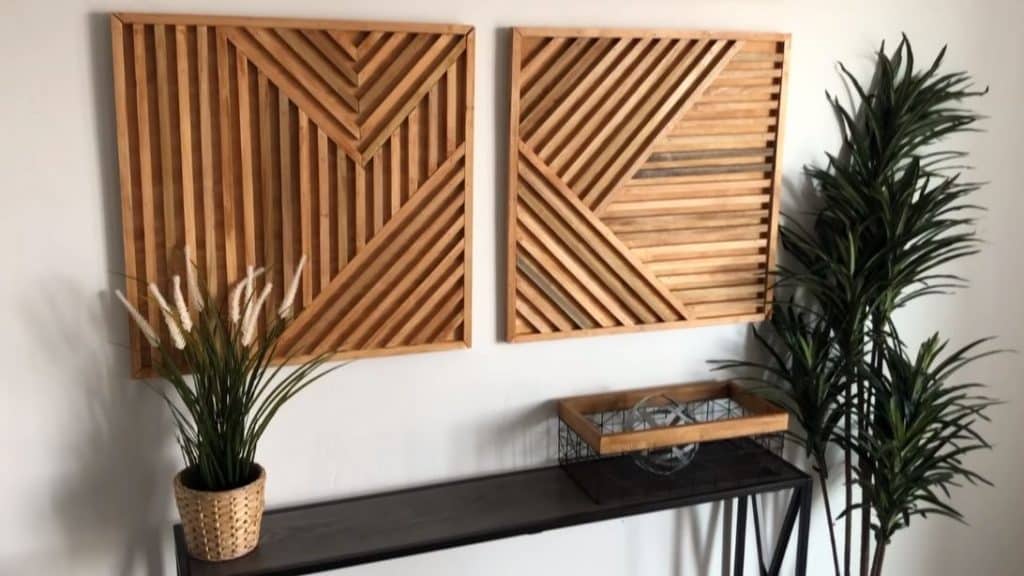
Image by: House to Home DIY
For detailed instructions and tips, watch the video below.
Once done, remove all of the dust and stain the wood into your preferred color using the sponge.
Step 2:
Make a layout of your design.
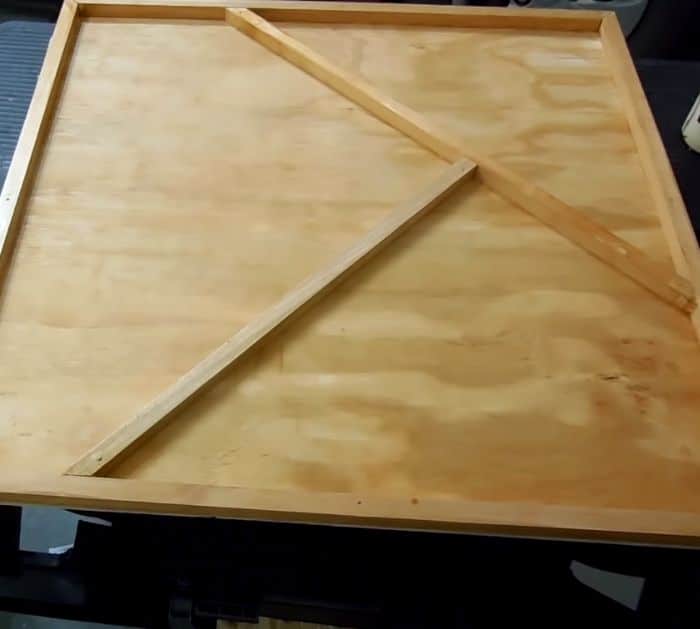
Step 3:
Start with the border and your foundation pieces.
Cut the edges of the dowels at a 45-degree angle to attach them.
Once cut, stain them.
Attach them using wood glue and brad nails.
Wipe the glue as you are building.
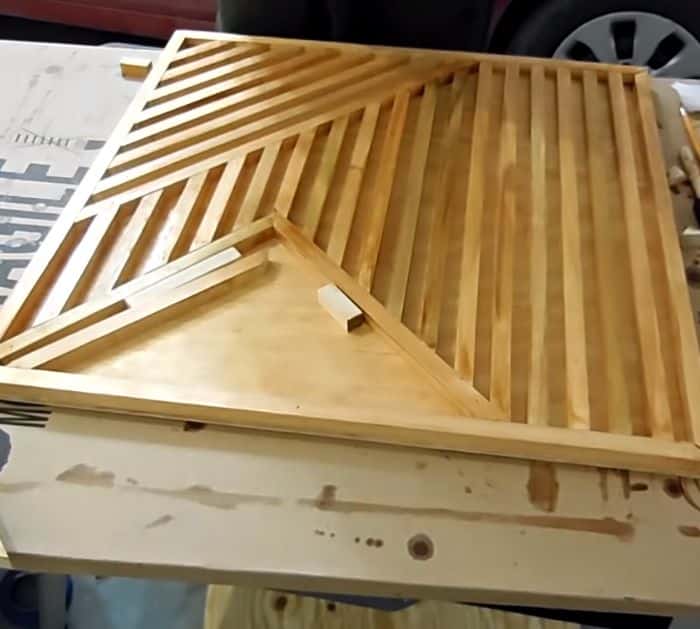
Mark the dowels to the right length and cut.
Dry fit them after cutting.
Once they fit perfectly, stain the dowels on three sides and let them dry.
Next, attach them to the plywood using wood glue and brad nails.
Wipe the wood glue as you are building.
Lastly, attach the sawtooth hooks so you could attach them to the wall.
If you liked this craft project, double-check to followHouse to Home DIYon Youtube and support them.
