Learn how to sew patchwork oven mittens the easier way with this wonderful tutorial byTheCraftyGeminion Youtube.
No need to sew each piece together!
Its a faster method than what you usually do.
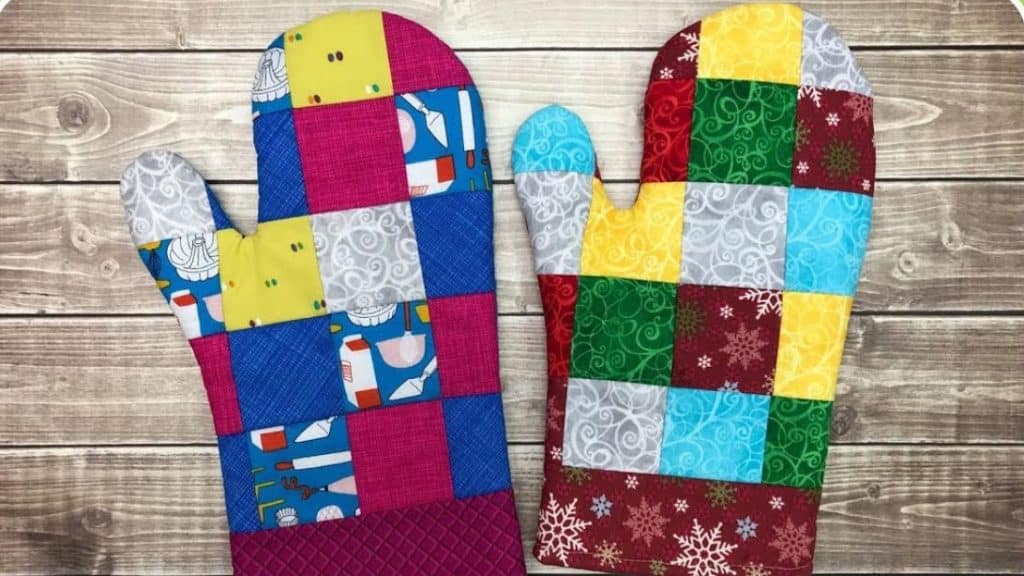
Image by TheCraftyGemini
you’ve got the option to use some of your fabric scraps to make this fun project.
Watch the video below for the detailed instructions.
Step 2:
Cut the fusible grid interfacing 4 squares across and 5 squares down.
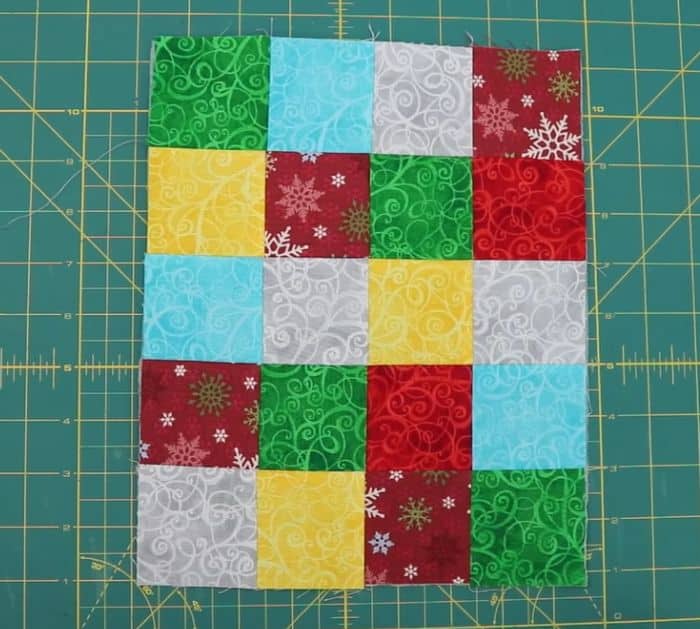
Layer the squares on top of it.
Design the block however you want it to be.
Once your desired layout is done, press them with an iron.
Step 4:
Sew them together exactly where theyre at.
First, sew in columns then in rows.
Fold one column and sew a quarter of an inch seam allowance.
Do the same for the other columns and rows.
Flip it with the right side facing down, then snip where the dash lines meet.
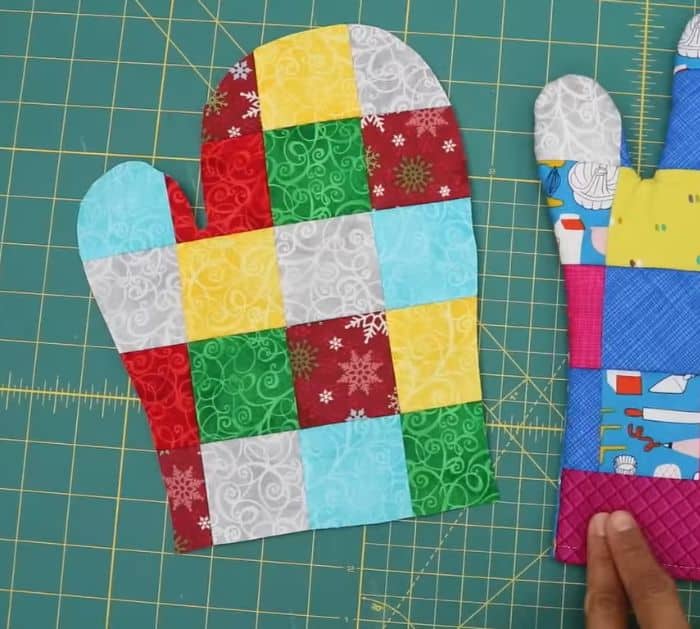
Step 5:
Place the template on top of the block and cut.
Step 6:
Cut 1 strip of fabric measuring 2.5 x 7.
Place on the bottom of the cut block right sides together.
Sew on the bottom with a quarter of an inch seam allowance.
Trim off the excess.
check that to cut mirror image pieces.
Step 7:
Start assembling the oven mitts.
Baste the top and underside with the batting and insulated batting.
For the lining, sew it all away round but double-check to leave an opening.
Trim off the bulk area.
Lastly sew the lining to the exterior piece.
