Now you’ve got the option to create your own personalized pillow cover at home!
Its the perfect gift for friends and family the best way to preserve your favorite memories together.
This DIY tutorial on how to transfer printed photos to fabric is byHandmade Happy Houron Youtube.

Image by: Handmade Happy Hour
Watch the video below for the full instructions.
Materials:
If you want the Instagram look, cut your photos in a square shape.
Instructions:
Step 1:
Plan your design.
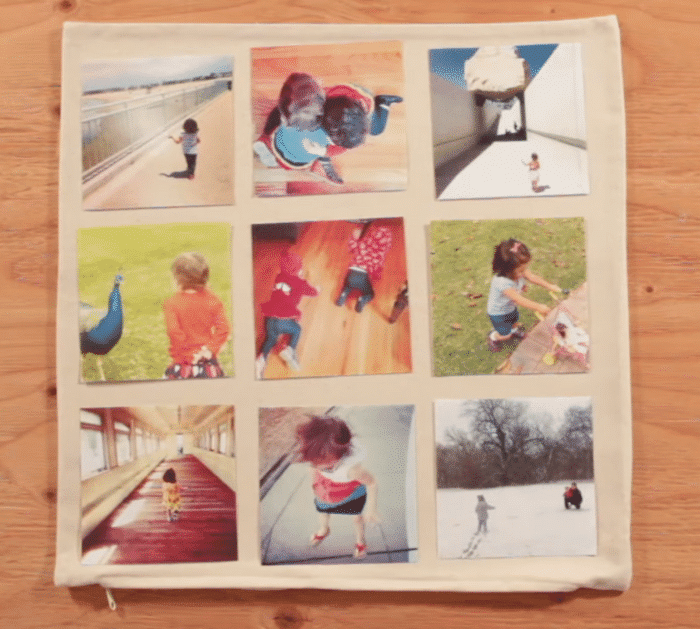
Lay out all your pictures and figure out how you want them to appear on your pillow.
It should be very thick and white.
Dont forget the edges and corners.
Then position the image right on the pillow (the medium side will go down to the pillow).
Clean the edges with just a damp cloth or baby wipes.
confirm that all of the edges are sealed.
Do it for all the remaining pieces.
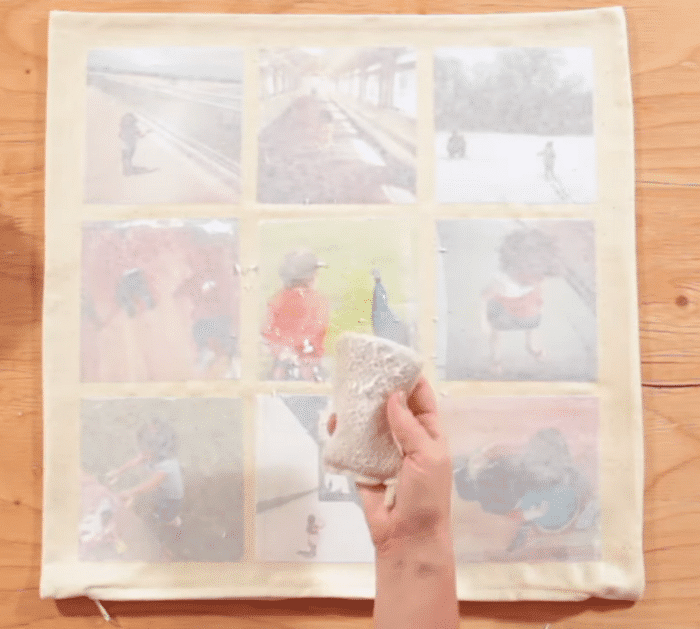
Do not rub hard, just damp the sponge to all the images.
Let the water soak in and leave it for minutes.
Step 5:
Start removing the layer of paper by gently rubbing in a circular motion.
After you do one layer, let it dry.
You have to repeat the step a couple of times till all the layers of paper are gone.
you could hand wash this in cold water.
