Its fun to create nature-themed quilts just like these beautiful leaf patterns.
This is an easy project byKaren Eckmeierthat doesnt leave a lot of fabric scraps.
it’s possible for you to experiment with different sizes, colors, and fabric designs.
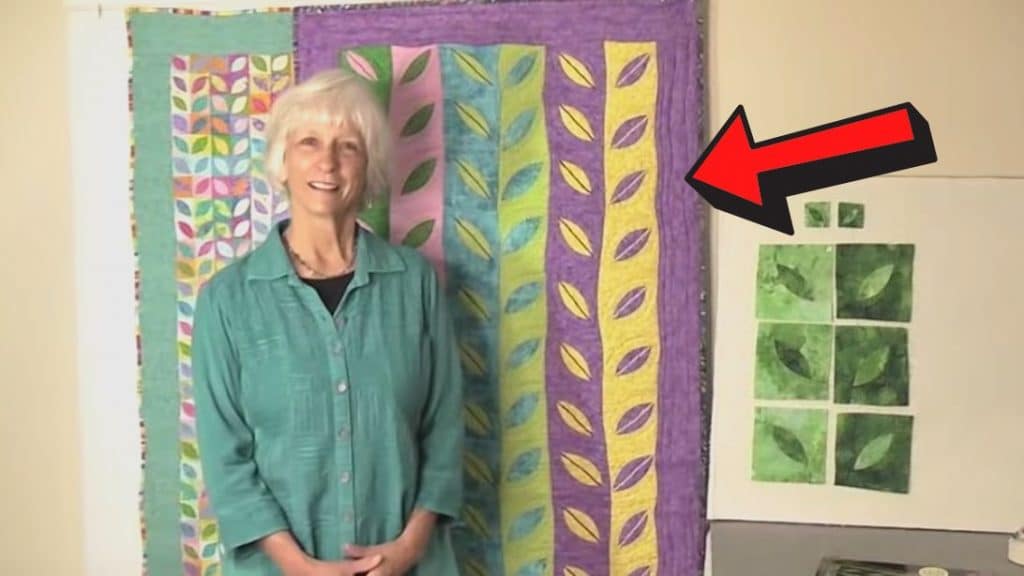
Image by: Karen Eckmeier
This is also a free-form pattern which means every block is unique.
Sewing these different leaf sizes together in a big piece gives charm to the overall look.
Measure 1 1/2 from the right bottom corner towards the left and mark.
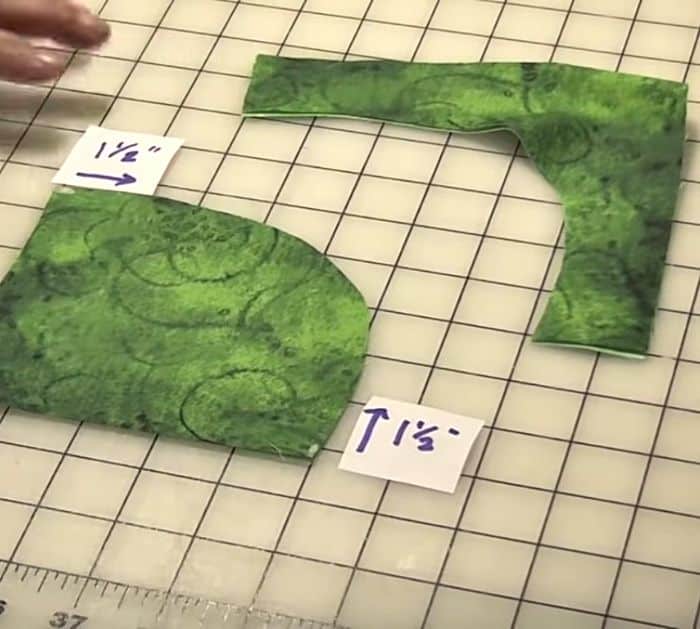
Next, measure 1 1/2 from the top left corner and mark.
Step 3:
Remove the top part.
On the bottom part, measure 1 1/2 from the upper left corner towards the right and mark.
Next, measure 1 1/2 from the bottom right corner towards the top and mark.
Place the top part right side down with the curve on the top over the bottom part.
Align the curve with the marks and trace with chalk.
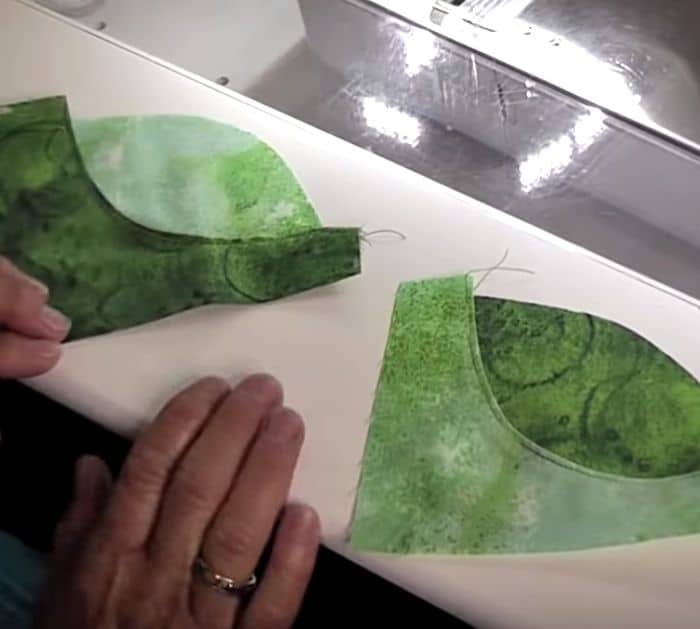
Next, cut the curve using your rotary cutter.
Now, you will have 6 shapes.
Step 4:
Set aside the leaves.
Get one of the concave shapes and place it right side down.
Fold the curve about a 1/4 and press using an iron.
Do the same for the remaining 3.
Overlap them a little bit with a quarter-inch seam allowance then secure them with pins.
Top stitch the leaf with the arc.
Next, place the bigger arcs on the other side of the leaf and secure them with pins.
Top stitch them together.
Step 6:
Trim off the tabs from the bigger arcs and also the edges.
