Its a big design centerpiece you’re free to hang in your living room or bedroom.
This is the lighted mountain wood wall art DIY byanusual createson Youtube.
Want to recreate this at home for your space?
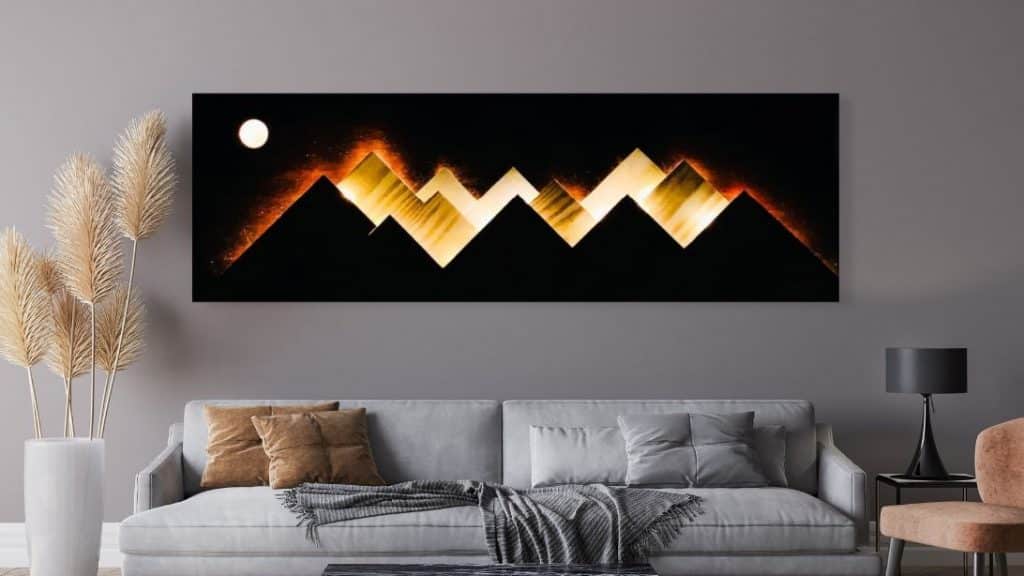
Image by: anusual creates
Read on or watch the video below.
Simply draw the shape of the mountains on the wooden board.
verify that all the mountains are aligned at 45 degrees.
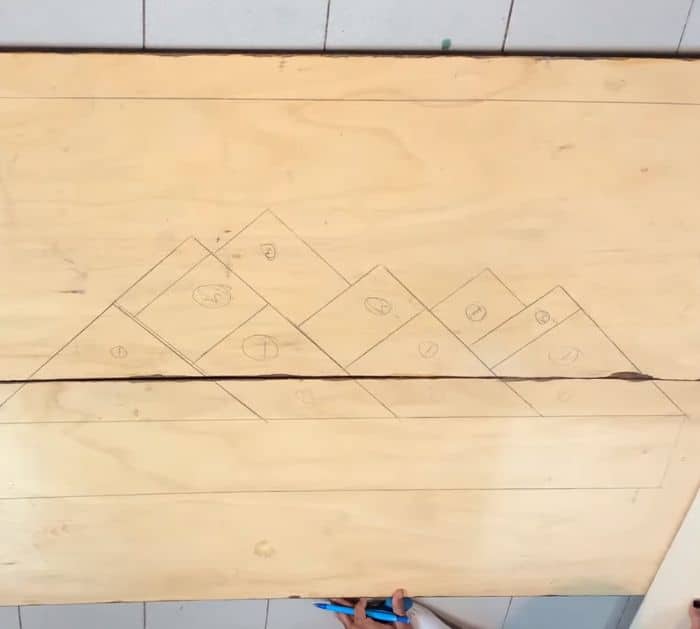
Mark the sheets in the sizes you need then cut them at 45 degrees.
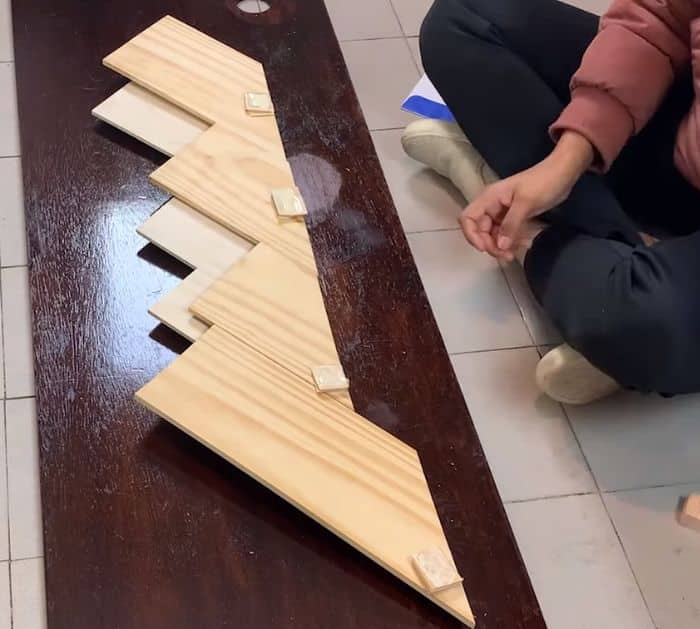
Step 2:
Glue each of the mountains on the first layer together using wood glue.
Do the same for the remaining layers.
Oil the pieces to maintain the color of the wood.
Step 3:
Sand the wood board and stain.
Next, glue some small blocks on the bottom of the mountains for each layer except the front layer.
Use them to create a gap between each layer.
Next, place the second layer and let it dry.
Lastly, glue the top layer.
Put some weight on the top and let them dry completely.
