You just need to insert your hair in the middle, then twist it to make a bow.
Its a simple fashion accessory that works really well when youre in a rush.
Learn how to make this magic bow hair DIY through this wonderful tutorial byEstadistica Datos del Mundoon Youtube.

Image by: Estadistica Datos del Mundo
Fold the top fabric in half to make a crease.
Step 2:
Mark a line on the crease.
Measure 4.53 in from both ends, then mark with a pencil.

From the two points, mark 0.20 inches up and down from the center line.
Next, trace the lines.
Measure 0.98 inches from both ends, then mark.
Draw a round corner on both sides.
Step 3:
Sew it leaving an opening at the bottom.
Make small cuts on the rounded corners.
Flip the fabric to the other side and align the seam.
Once done, finger-press the seams open.
Step 5:
Roll up and join the top and bottom parts.
Sew with a 0.2 inches seam allowance.
Flip the fabric right side out.
Do the same for the other side.
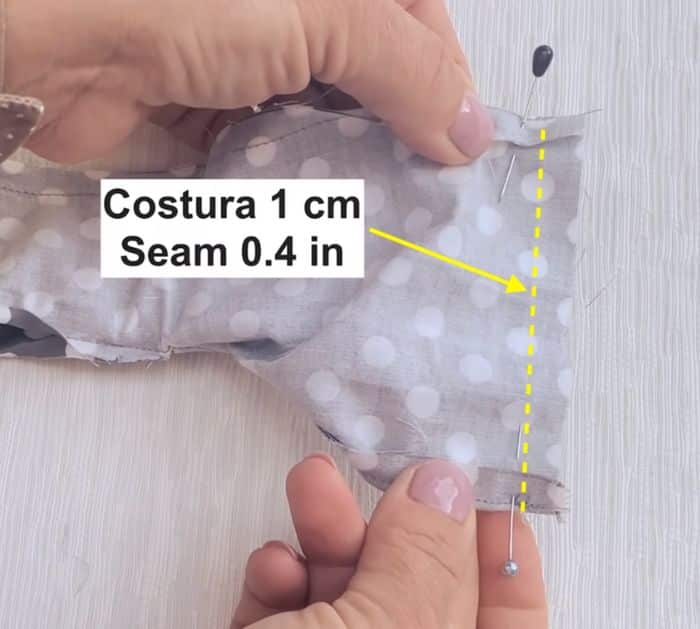
Fold at the seam and secure with pins.
Sew the end with a 0.4-in seam allowance.
Repeat on the other side.
Step 6:
Turn the fabric right side out.
Push the corners using a stick, then press with an iron.
Step 8:
Fold the ends of the aluminum wire using pliers.
Insert in the opening from the center, then form a rectangle following the edges of the fabric.
Sew the opening on top and in the middle.
