Whats more, its a no-sew project, and the materials are probably lying around your house already.
Cheap, quick, and easy, and this project is super handy!
Watch the video tutorial below to learn the step-by-step process.
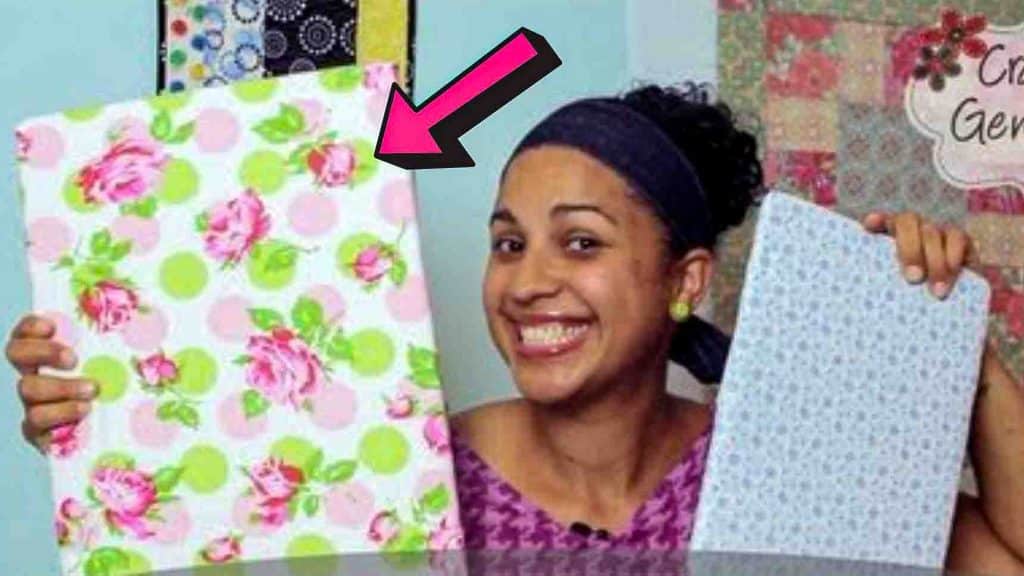
Image credits: TheCraftyGemini via Youtube
Next, pull in the corners first and staple them down.
After this, fold the edges in, pulling it nicely, then staple it in place.
(Staple the center first, then the sides.)

Turn the board, and do the same process to the opposite long edge.
After this, do the short sides, folding them in, then stapling down.
Center it as best as you could.
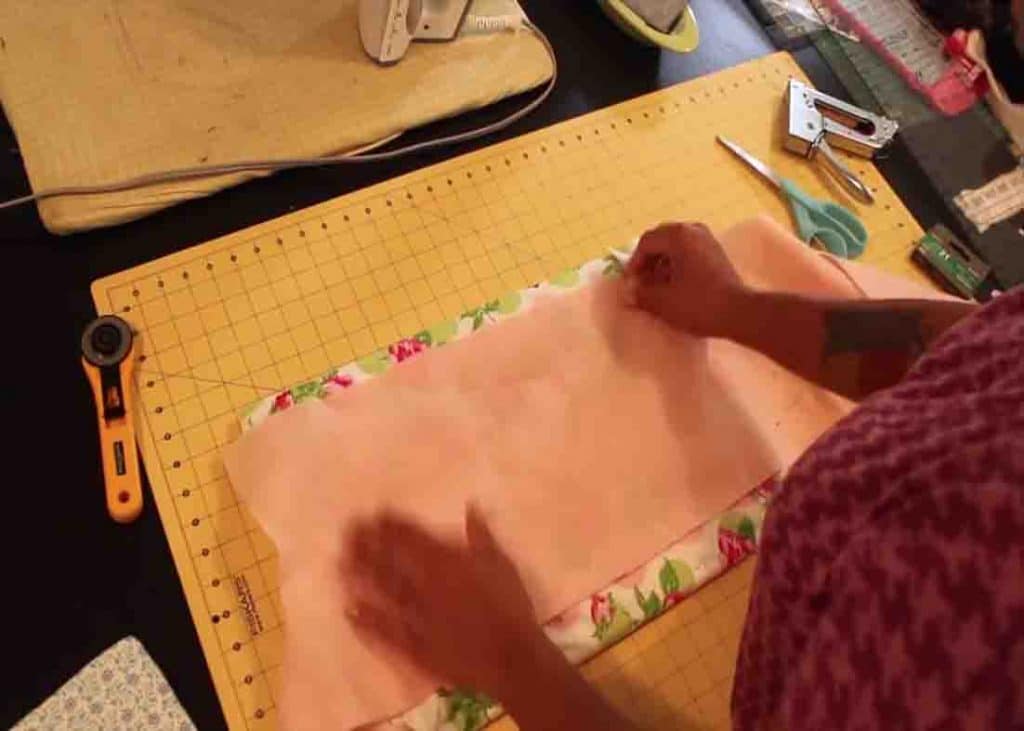
After stapling the long sides, do the short sides next.
Your ironing board is now finished.
