tune up your old covers with this new and modern design!
Easily make them at home instead of buying from the store with this DIY tutorial.
This idea to make quilted fabric scraps for cushion cover is byEstadistica datos del Mundoon Youtube.
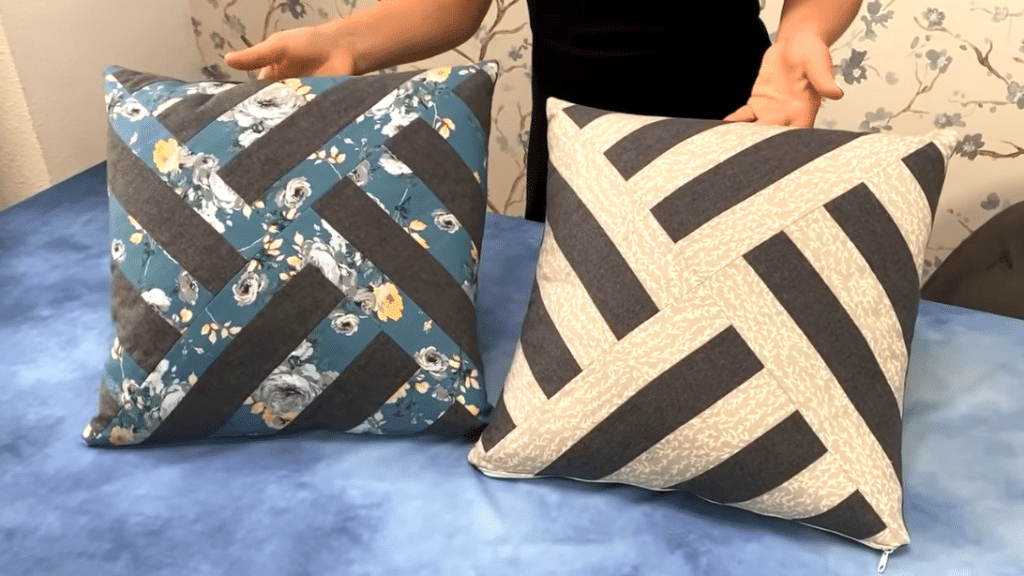
Image by: Estadistica Datos del Mundo
Read on for the step-by-step instructions.
5 inches by 2.4 inches.
Sew the top edge with a seam allowance of 0.3 inches.

Next, get another patterned fabric and sew on the bottom edge with a 0.3 inches seam allowance.
Continue with the same process until all of the cotton strips are sewn together with alternating designs.
Then kick off the seams and iron the folds.

For example, if the width is 12.2 inches cut two squares measuring 12.2 inches by 12.2 inches.
Once done, cut the two squares diagonally, creating 4 triangular pieces.
The two opposite sides should have the same patterns.
Once done, place the 2 triangles on top of the other two triangles with the right side down.
Sew the center diagonal line for both with a 0.3 inches allowance.
pop kick open the seams and iron the folds.
Next, place one triangle on top of the other with the right sides facing.
Sew them together with a 0.3 inches allowance.
Flatten using an iron.
Step 5:
Measure the big square quilted fabric.
Cut a square on the cotton fabric and thin thermo-adhesive batting with the same measurements as the quilted fabric.
Cover with fabric and iron.
Measure 0.6 inches from both ends of the zipper and mark.
Sew the zipper on the quilted fabric from the first mark to another.
Now place the cotton fabric on top and sew the other side of the zipper into it.
Finish the seam on the cotton and quilted fabrics.
Do a backstitching on the edges of the zipper teeth.
Step 8:
Sew the quilted fabric on the cotton fabric with a 0.3 inches allowance.
Then do a zigzag stitch on the edges.
Once done pull the right side out and place the cushion inside.
