Learning to make your own baby dress is another great way to show love to your babies.
Step 2
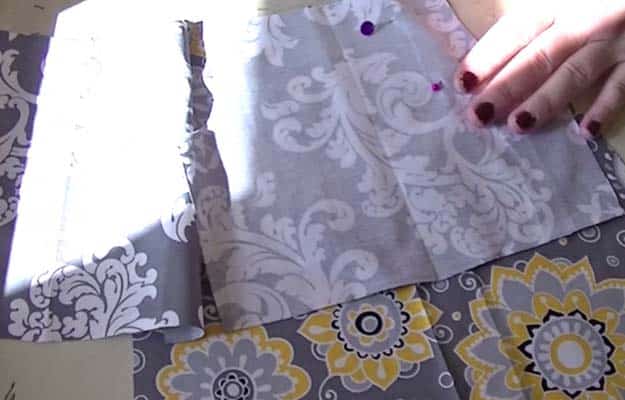
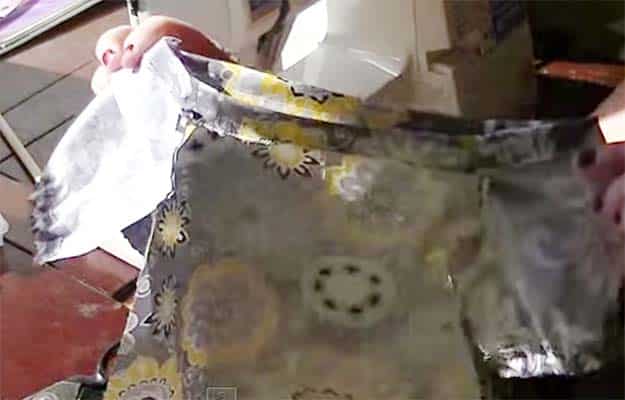
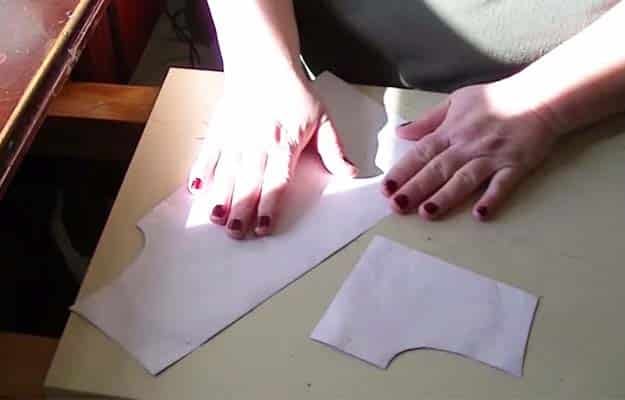
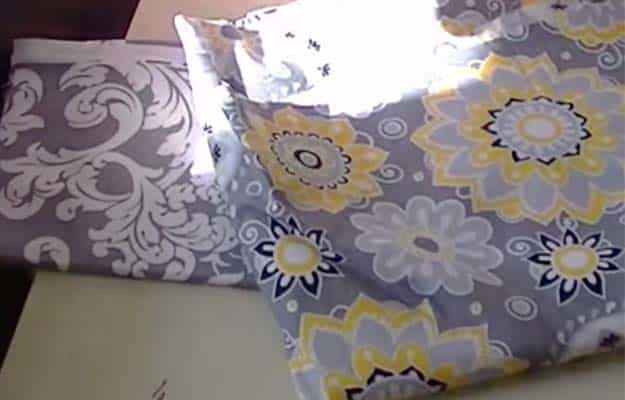
Next is deciding on the color or style of the cloth we want to use .
In this tutorial, were gonna use two different designs for the body and the sleeves.
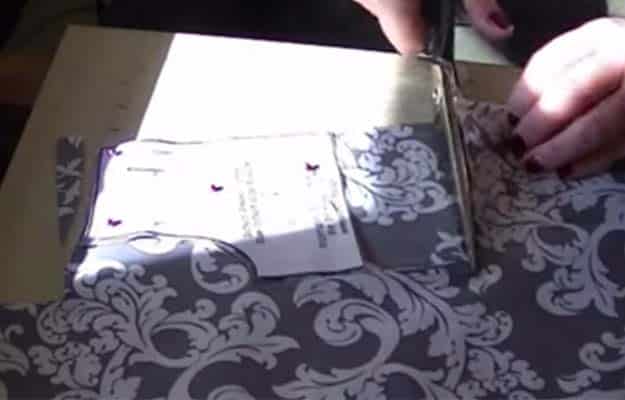
Leave enough room for the pattern cut outs.
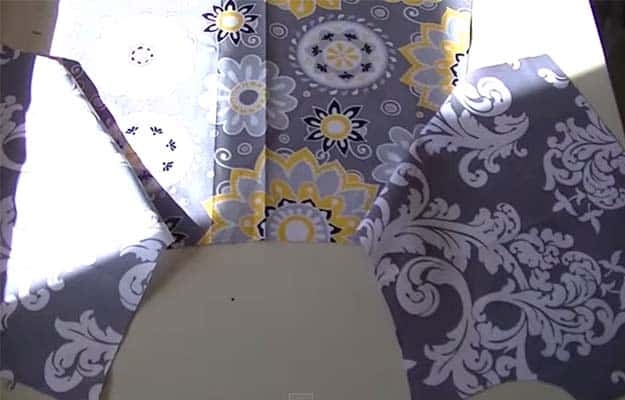
Do this for the body patterns too.
Same thing from what we did on the sleeves.
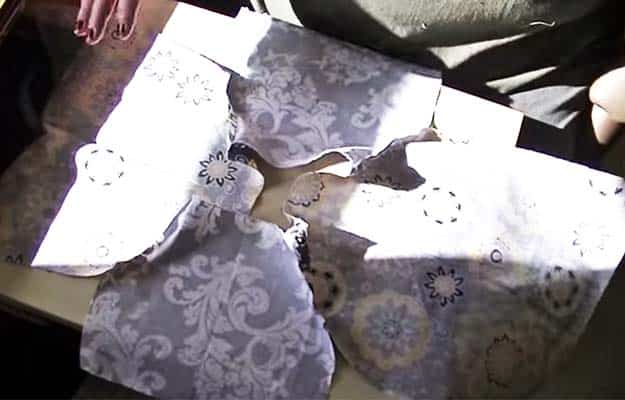
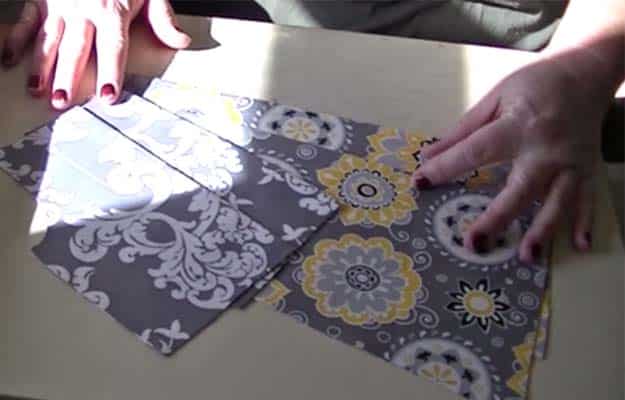
They should now look like these.
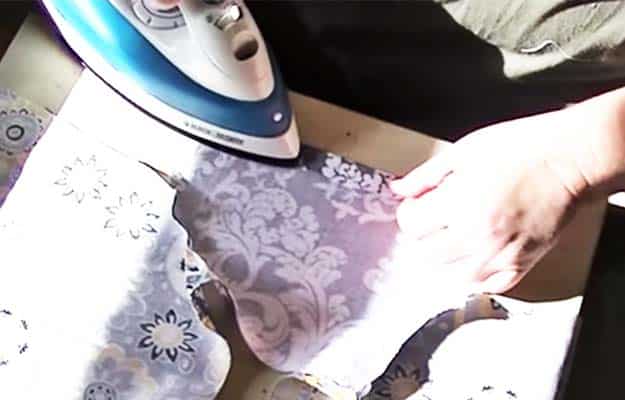
Step 6
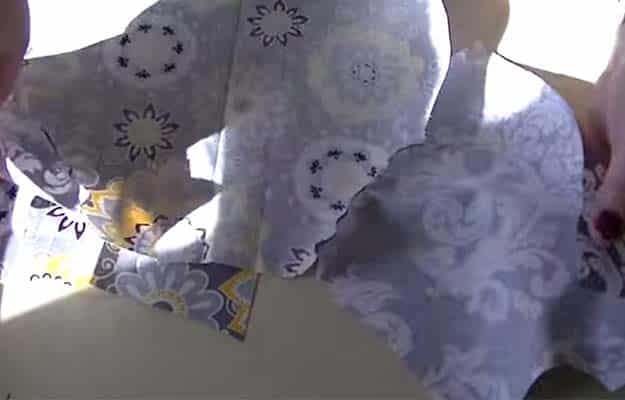
Lets unfold themand iron those creases out.
Well do that to the 2nd sleeve too.
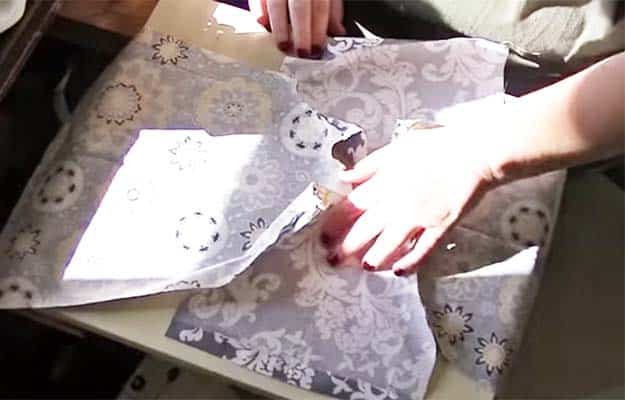
They should now look similar to this.
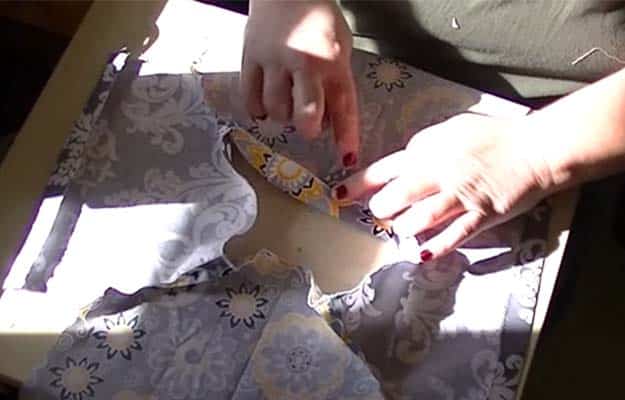
Step 8
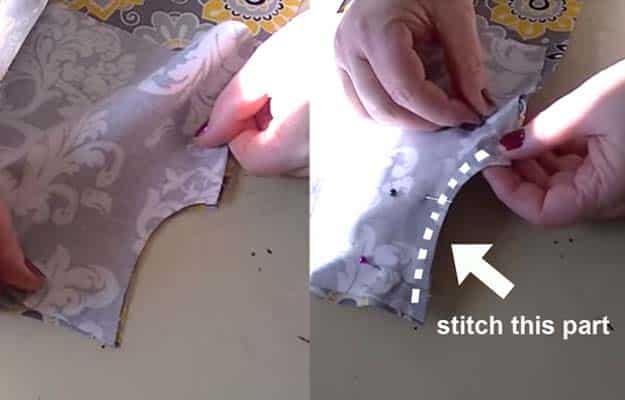
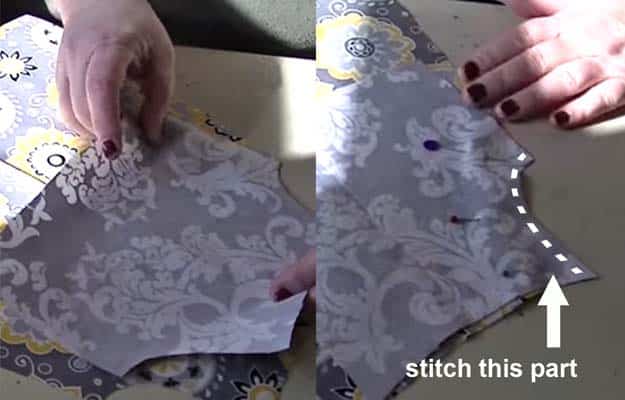
Flip it over and align it on the other part of the body.
Step 9
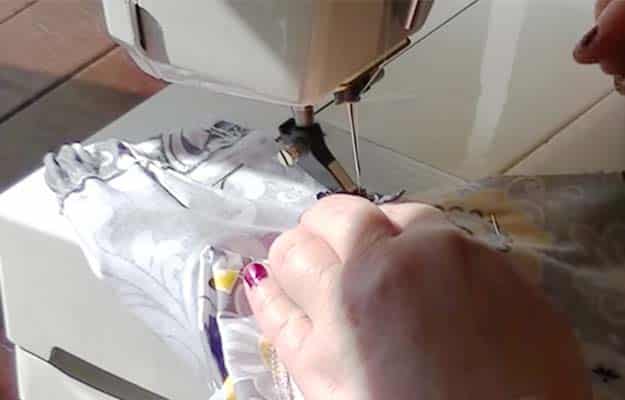
Let us now stitch those sleeves to the second pattern of the body.

They should now look like this.
Step 10
The next thing we need to do is iron the bottom part of the sleeves.
This is part where we put a space at step 4.
Lets do this also to the 2nd sleeve that we have.
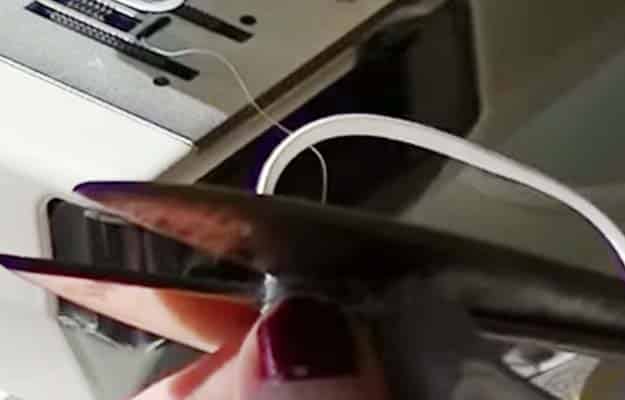
Step 12
Stitch the sleeves and the collar part.
remember to leave an opening for the elastics to be inserted.

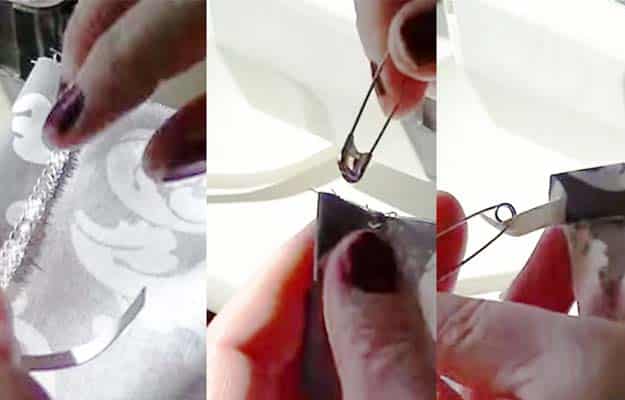
Step 13
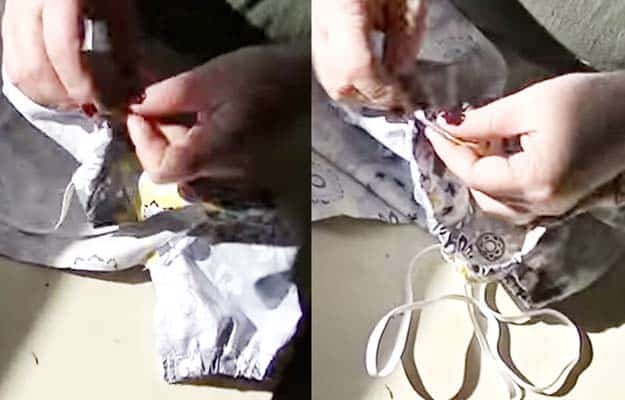
Insert the elastics using safety pins to make it easier to go through the holes.
Step 14
Lets stitch to lock those elastics.
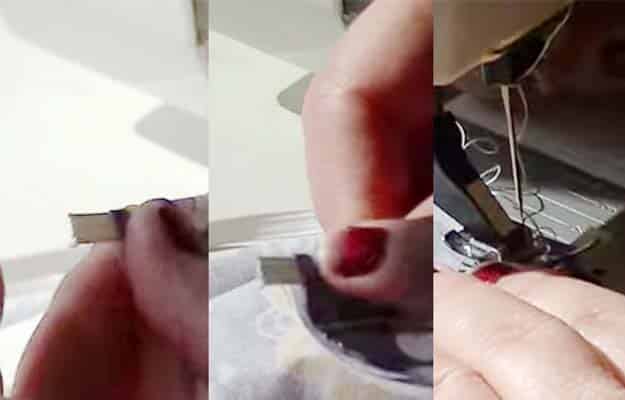
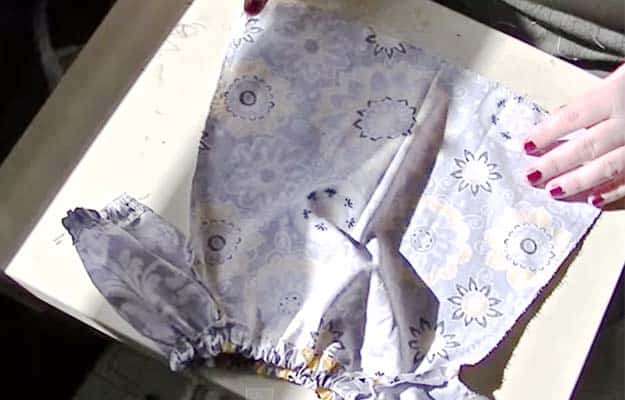
Step 15
Check the measurement of the arm width.
Cut the excess of the elastic bands.
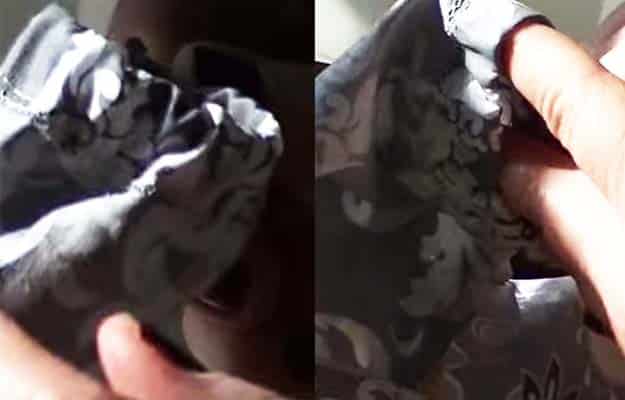
This is how it should look by now.
Step 18
Lets now start sewing the body of the dress to close it.

This is now how it should look like.
I put markings on the sides to have a better view on where the stitch should go.
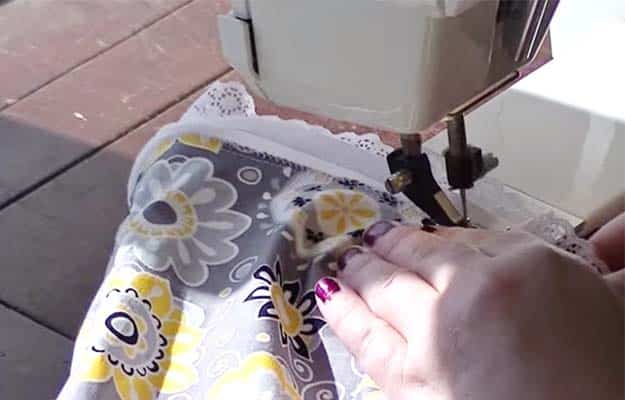
Sew the design around the bottom of the dress.
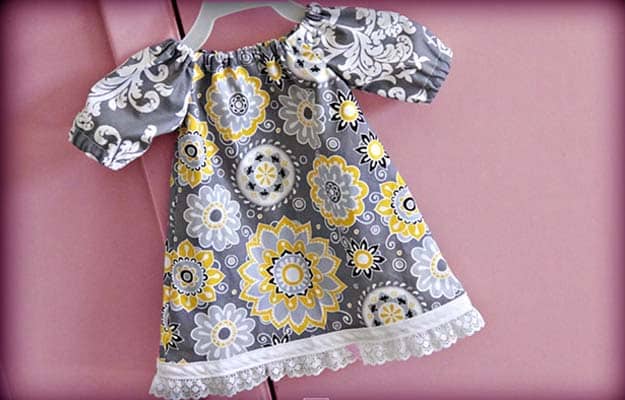
And our pretty little Baby dress is done!