Looking for new designs for your next quilt project?
Try these two beautiful blocks.
They are simple and beginner-friendly; you could easily create them in a few minutes!
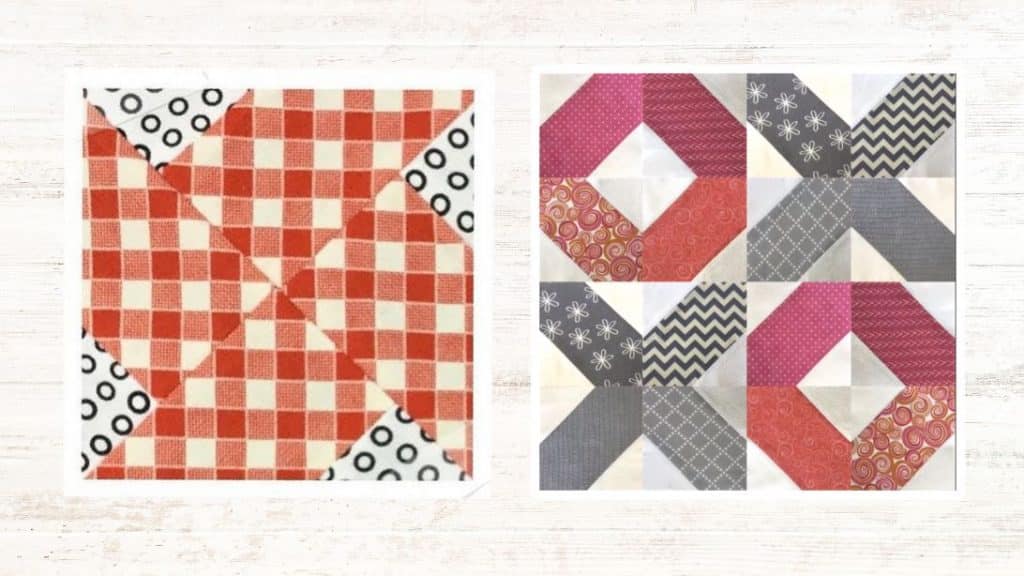
Image by: Teresa DownUnder
Learn the step-by-step instructions with this whirlwind and road to Tennessee quilt block tutorial byTeresa DownUnderon Youtube.
you could make different patterns from the Tennesse blocks by changing the position of each piece.
Watch the video below to get ideas on what design you might choose from.

What are you waiting for?
Read on for the full instructions.
Cut at 4-1/2 inch intervals to make 4 squares using a ruler and rotary cutter.
Next, cut each square on the diagonal from one corner to the opposite corner to make 8 triangles.
These triangles will make 2 blocks.
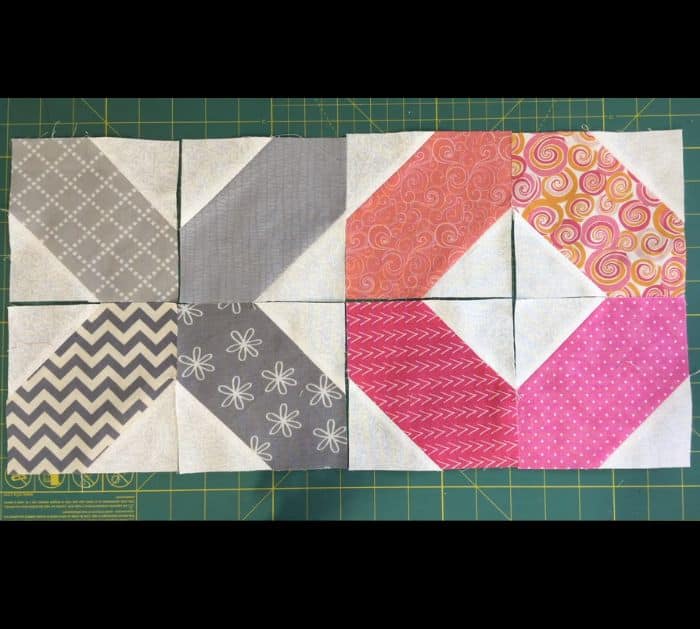
Assemble them in this pattern below then sew them in pairs.
Press them using iron and you are done.
Place the 5-inch square right side up on your work surface.
Next, put the smaller squares on opposite corners right side down.
Secure both with pins and sew along the diagonal lines.
Cut at 1/4 from each diagonal line.
Press the seams to open using an iron.
Repeat the same process and make 8 blocks.
There are a lot of samples in the video below for your to choose from.
